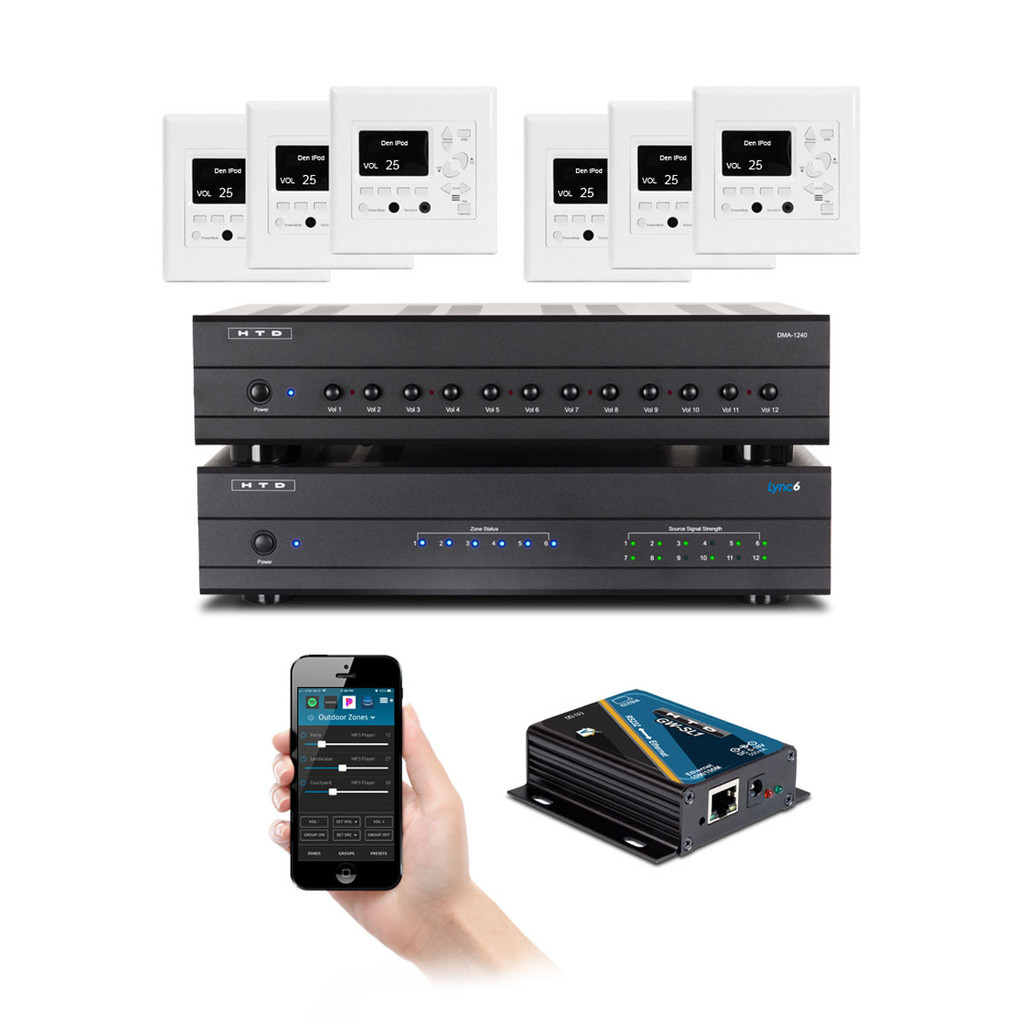
In this post, I review Home Theater Direct's Lync 6 whole house audio system. I purchased this system myself. I was not given to me, nor do I have any affiliation with Home Theater Direct. I installed this system in my own home.
HTD Lync 6 Purchasing Process
I purchased everything from their website https://www.htd.com, during a 10% off 20th anniversary sale they were running. I didn't remember them ever having a site wide sale, so I took the opportunity to purchase my whole house audio system.
The purchasing process went pretty smoothly. The only issue I had was that the confirmation email that I received said that I should be notified of it shipping within 24 hours but 48 hours later I hadn't received anything. I sent an email from them and got a quick response indicating that their sale was so successful that their warehouse was behind. It ended up shipping that day.
Here is what I purchased:
They charged a flat fee $45 for shipping.
HTD's Packaging
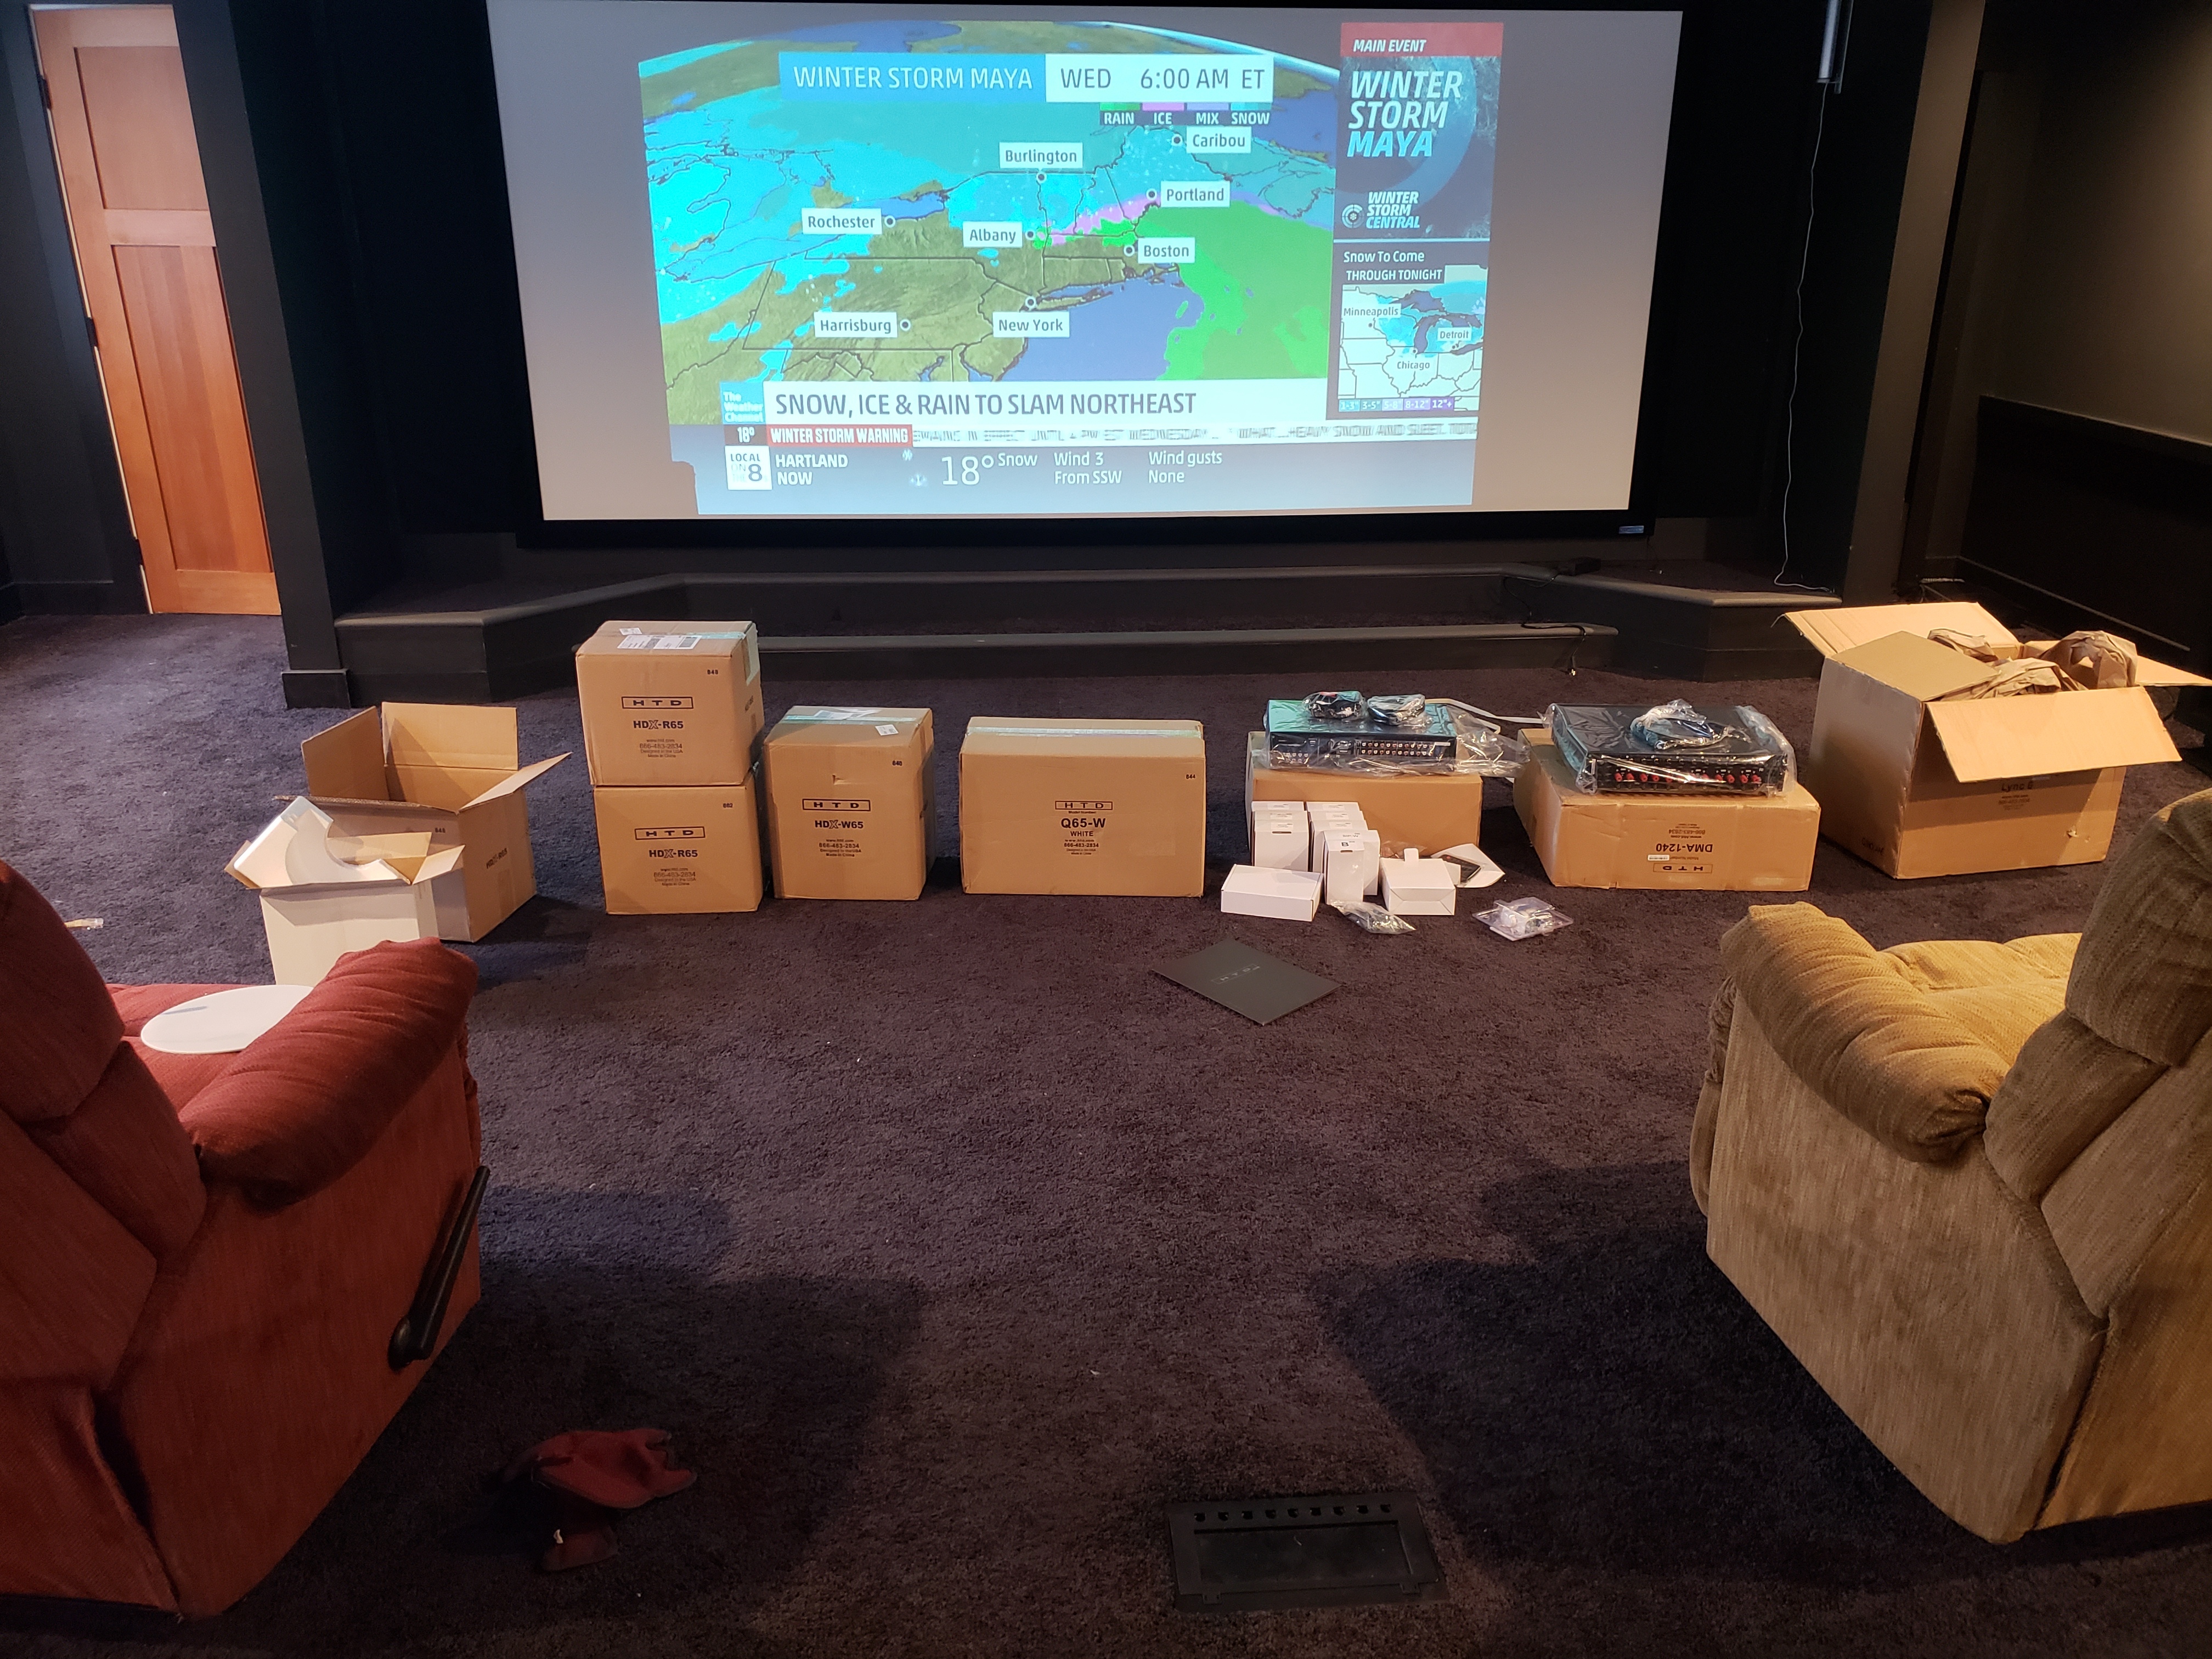
HTD Lync 6 Packaging
The shipment arrived a few business day after getting the shipping notification. It came in 7 boxes. One box for each pair of speakers, one box for the amp and one box with the controller and all of the other accessories. Everything was at least double boxed and the outside boxes were double walled cardboard. All of the larger components were in dense Styrofoam.
Here is a quick video I took of the packaging:
Installing the Lync 6 System
When we built our house in 2014 I pre-wired it for a wired whole house audio system. This made it pretty straight forward to install this system. I already had speaker wire running to all speaker locations and CAT 6 running to each keypad location. These all ran back to my Leviton structured media panels in my utility room.
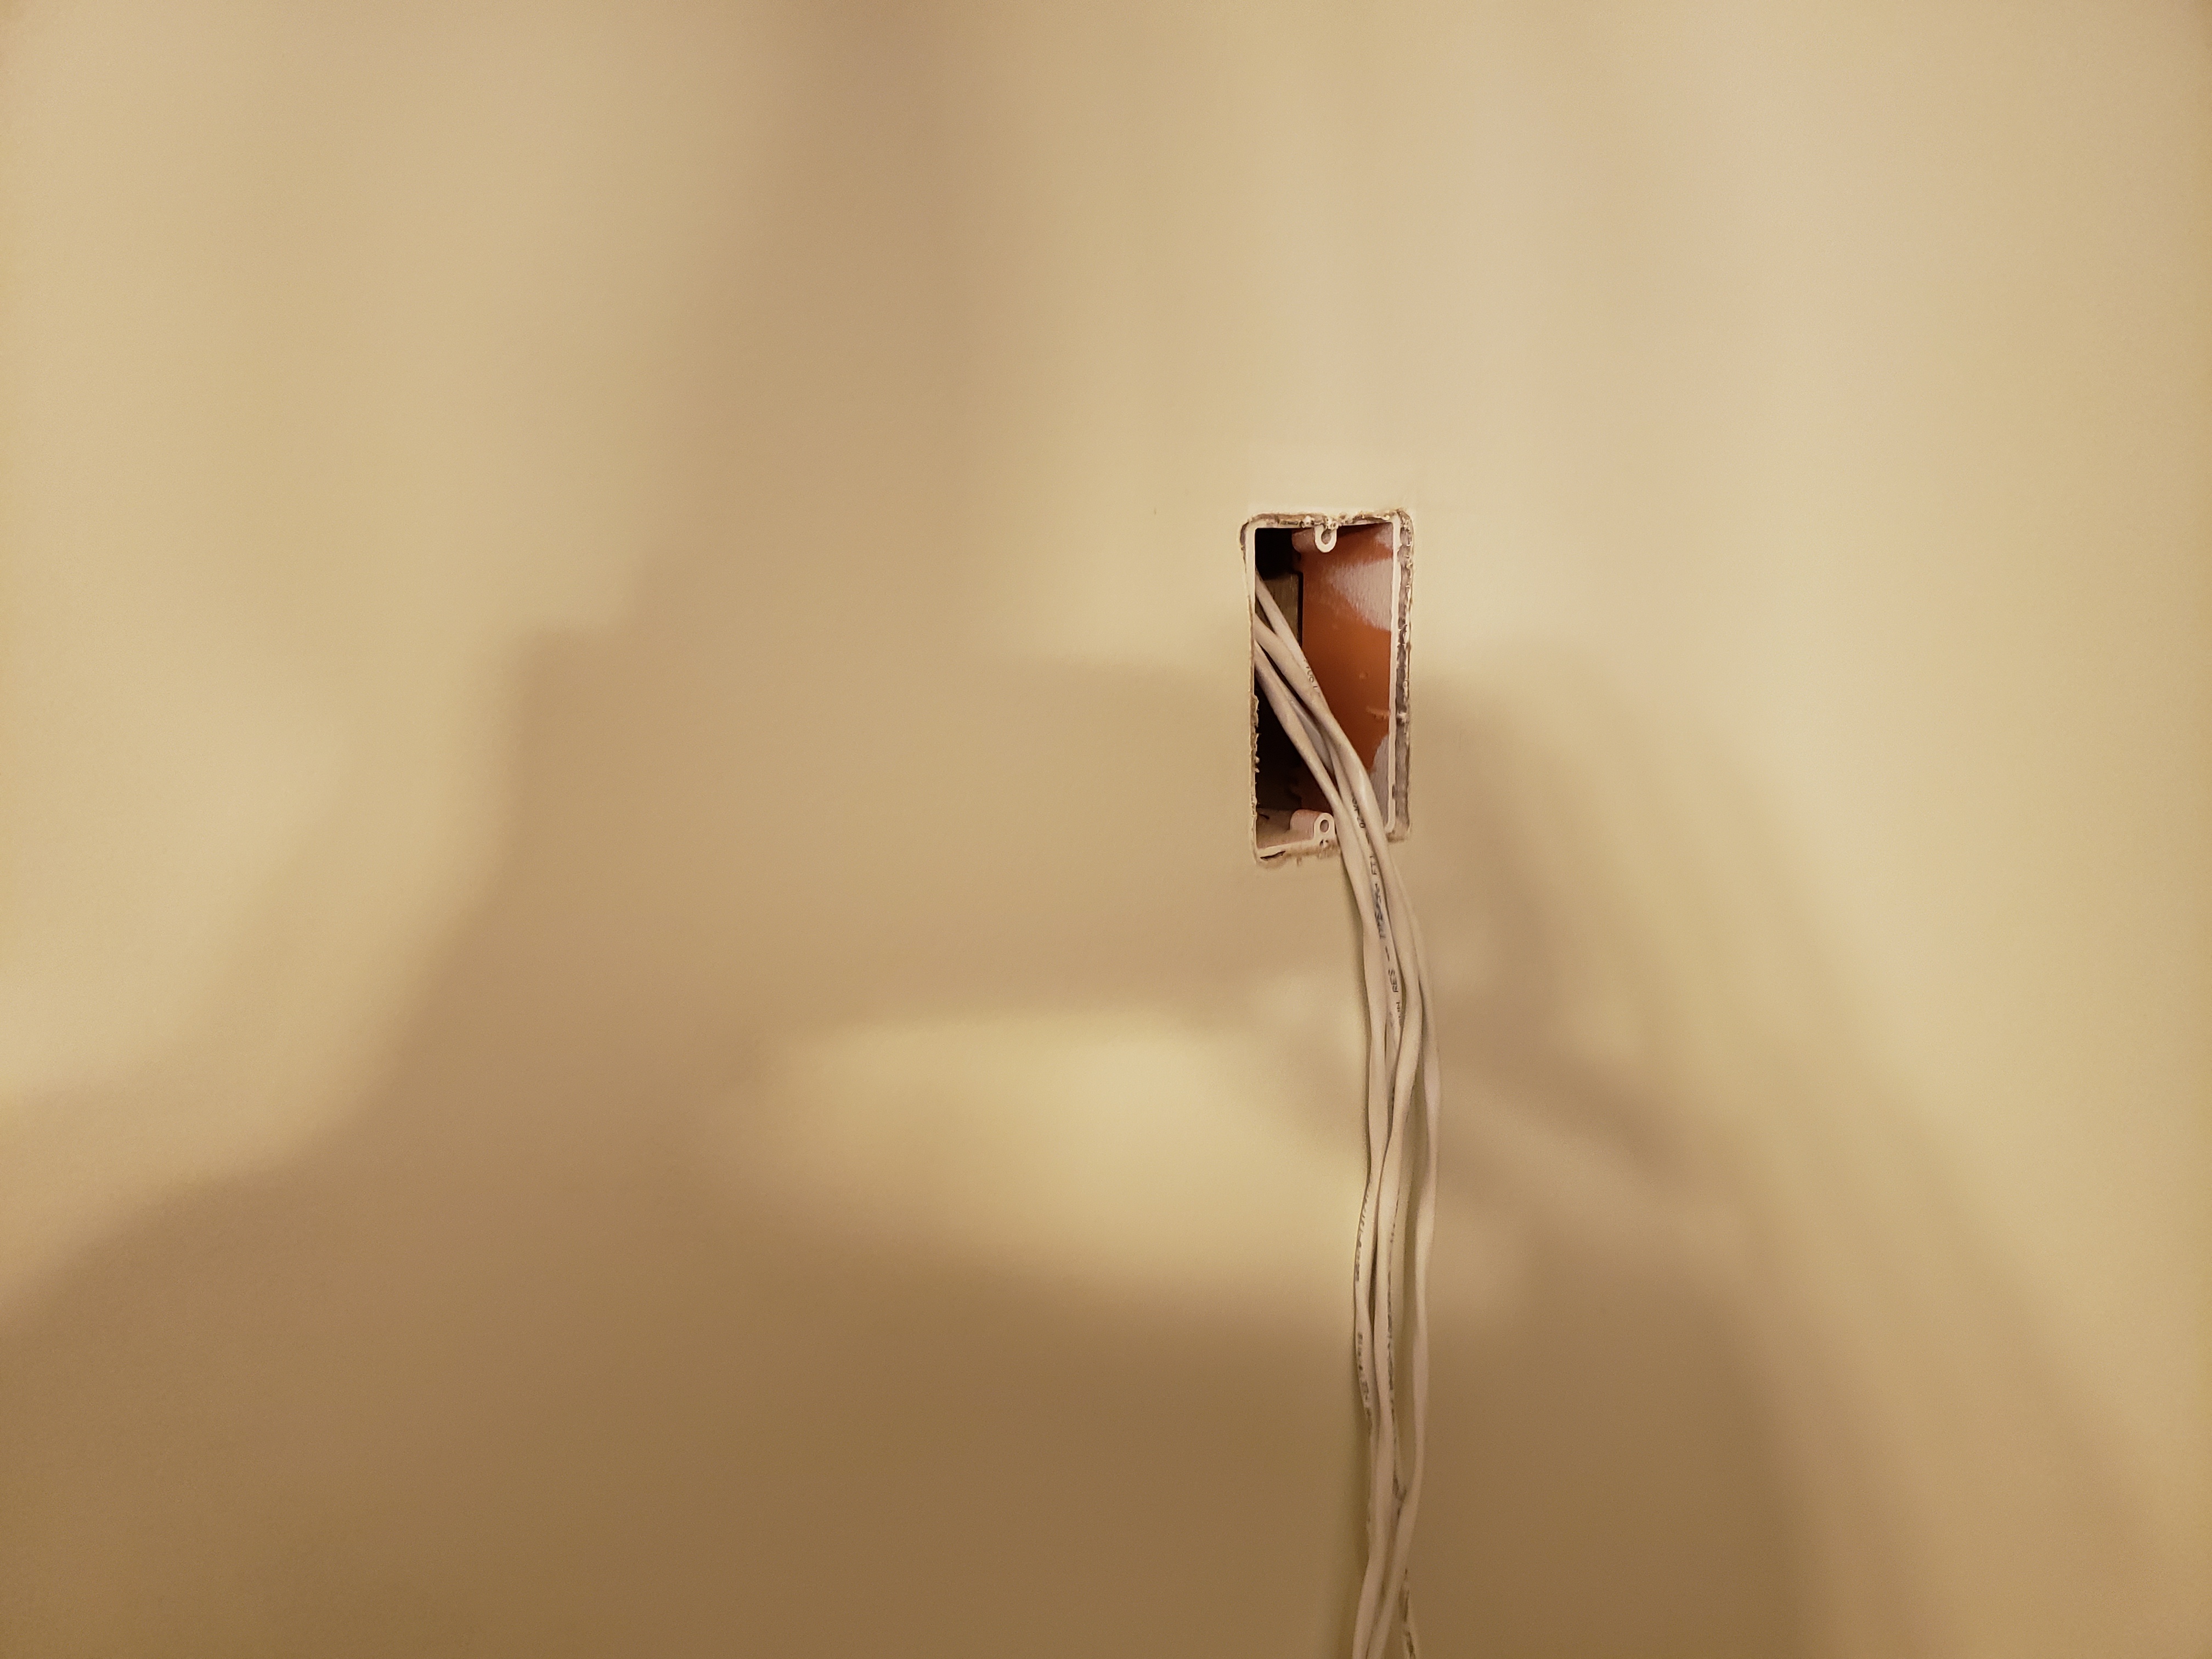
Speaker Wire for volume control
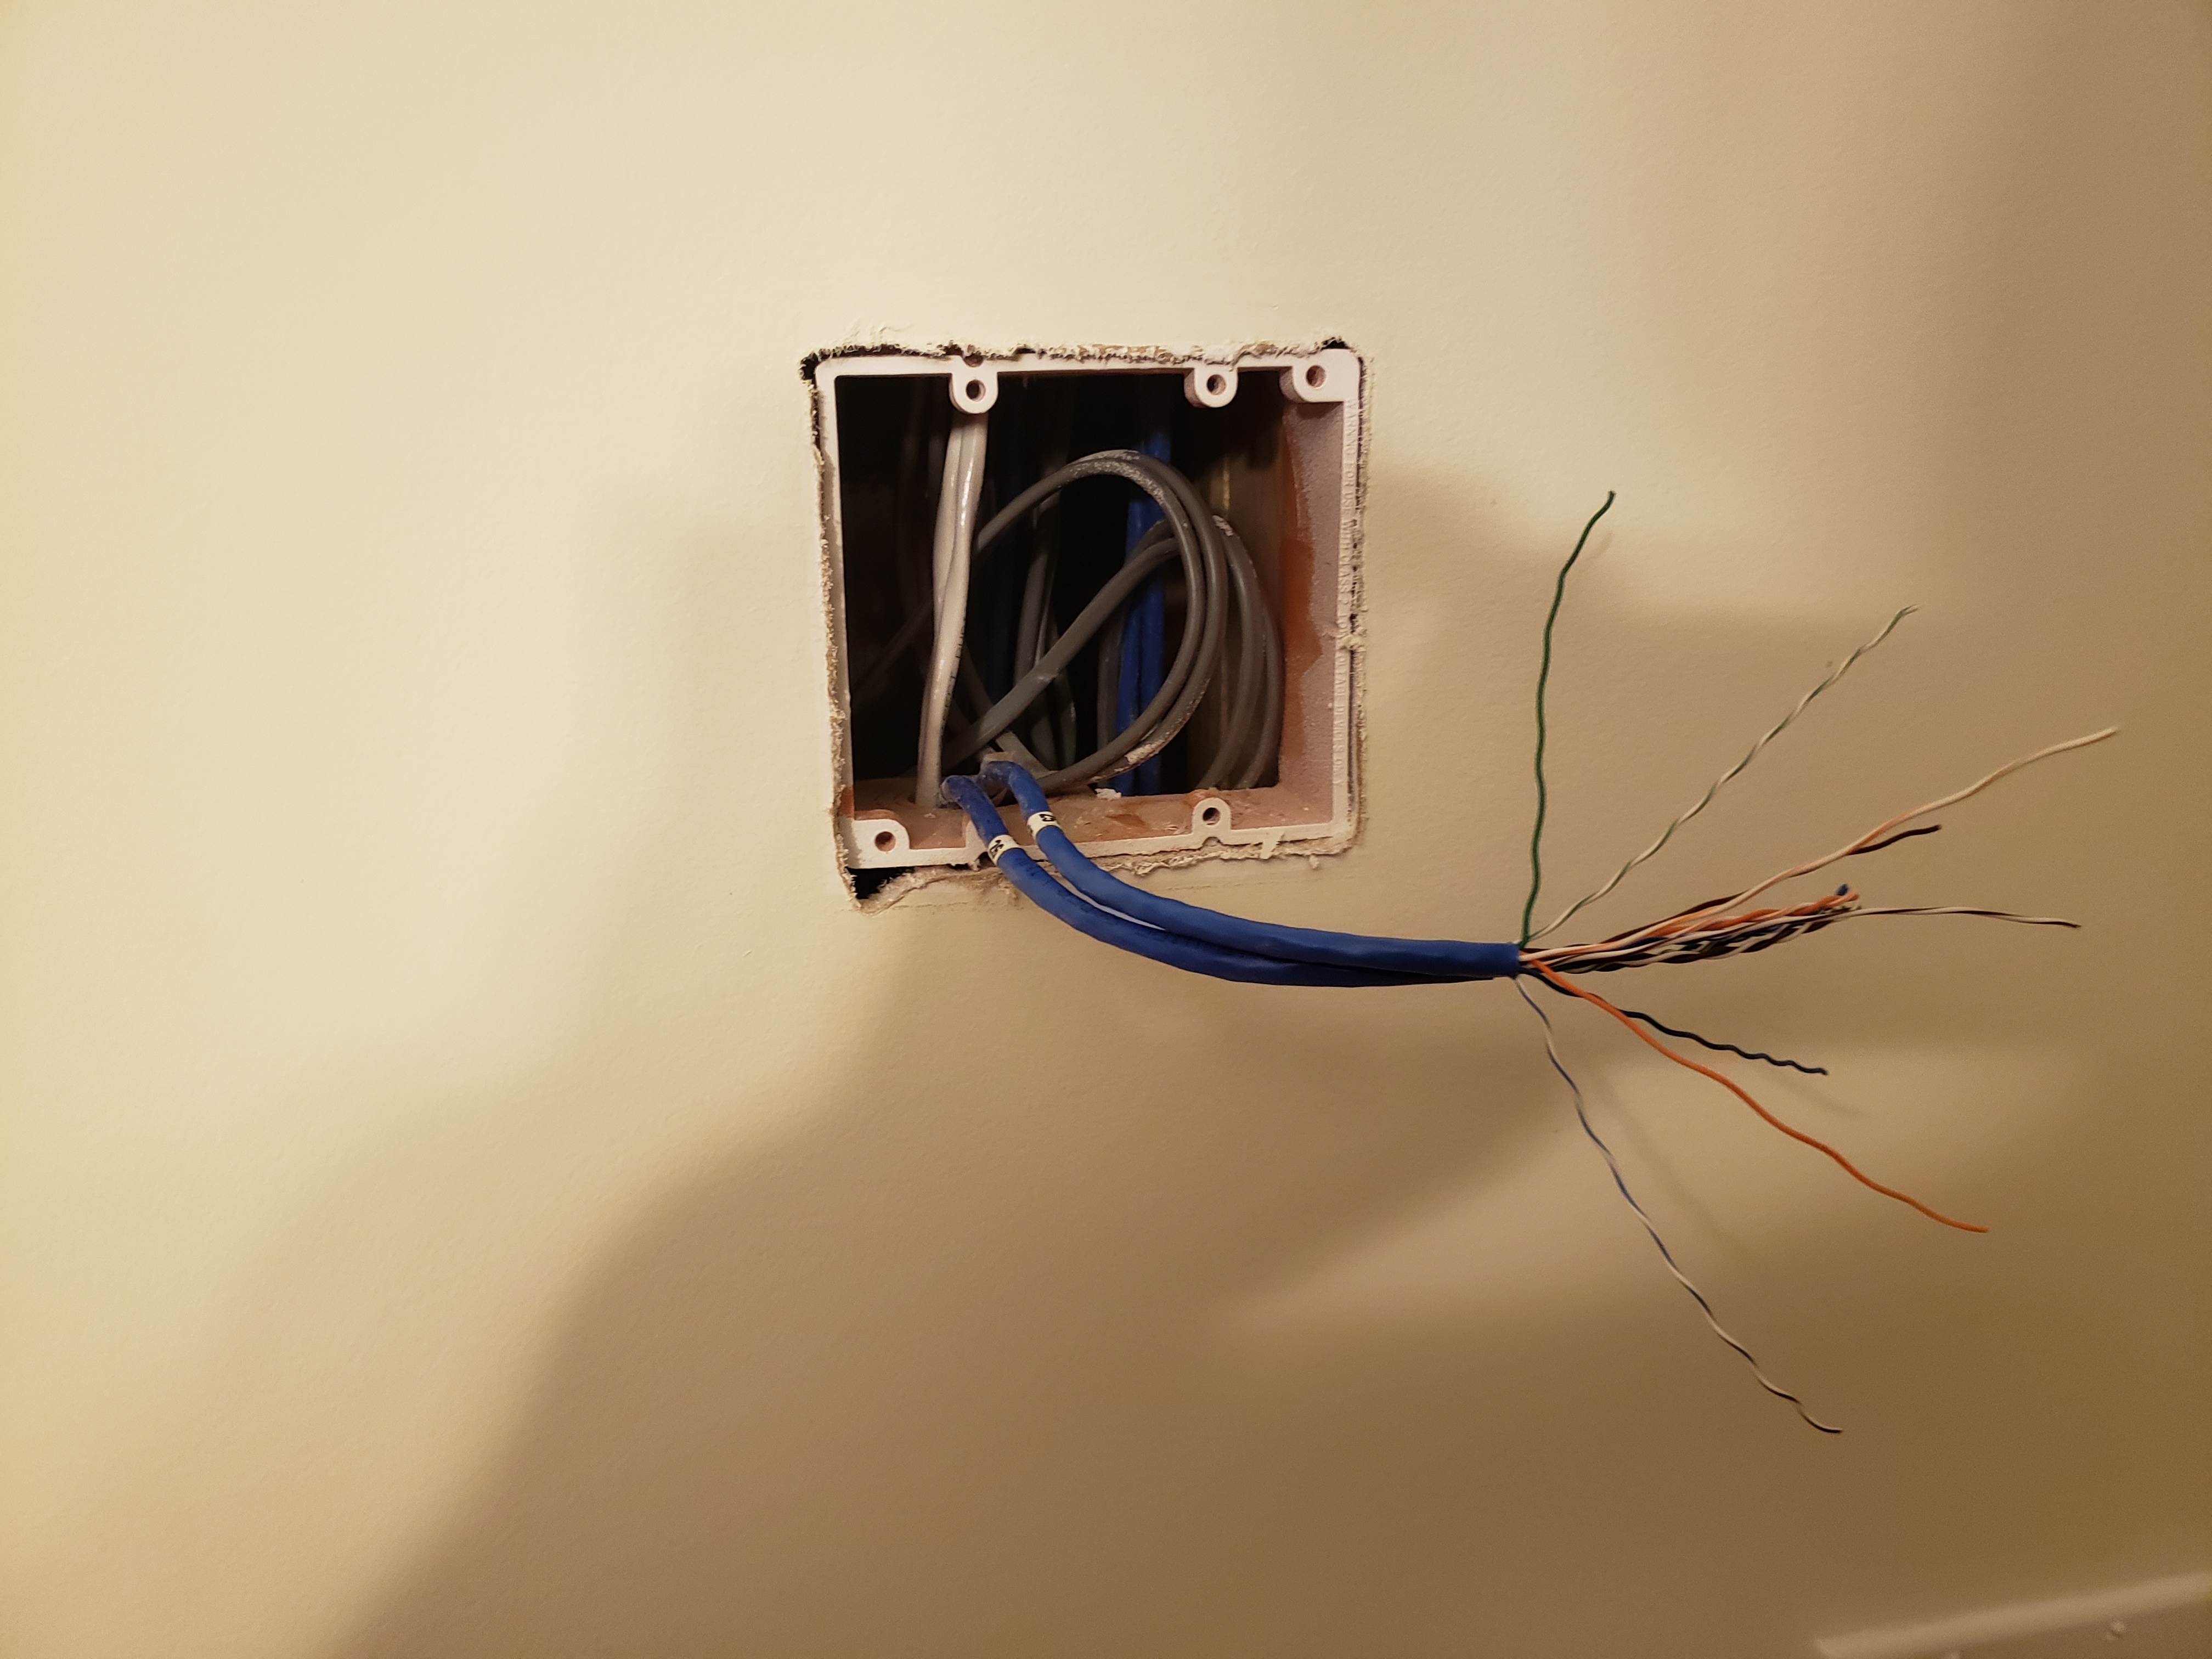
CAT 6 at Keypad Location
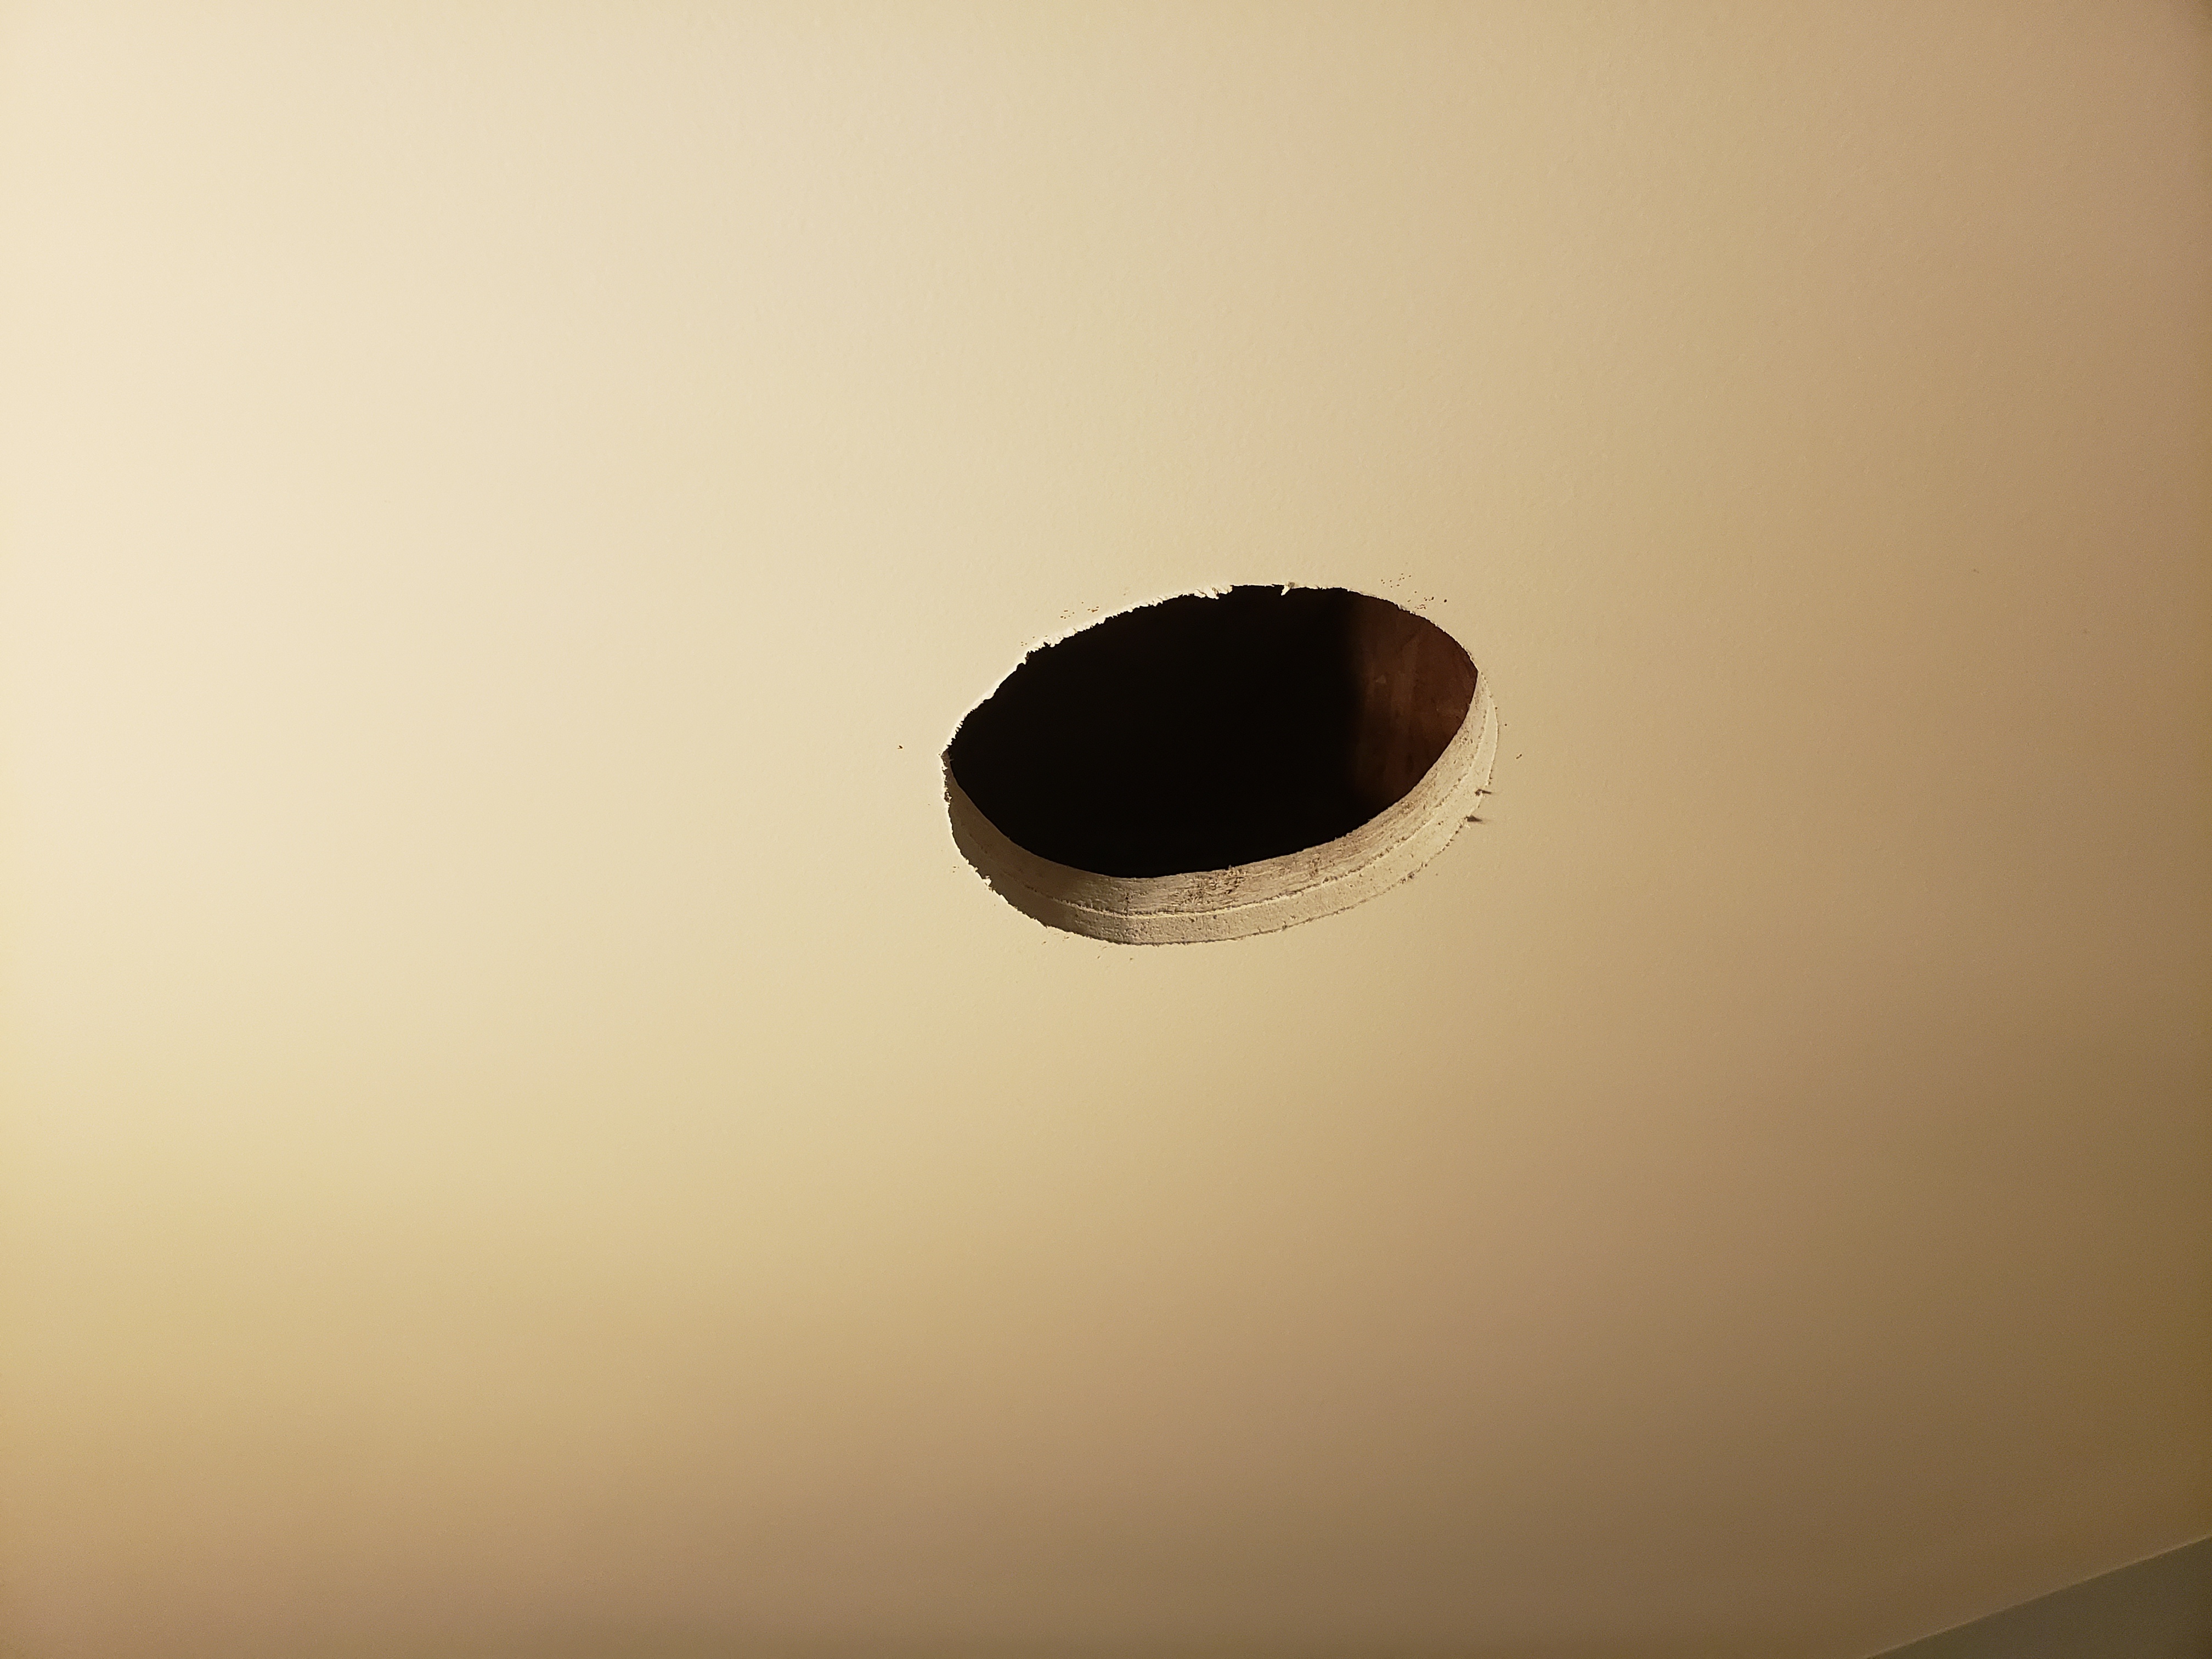
Speaker Cutouts- Speaker Wire is in the hole
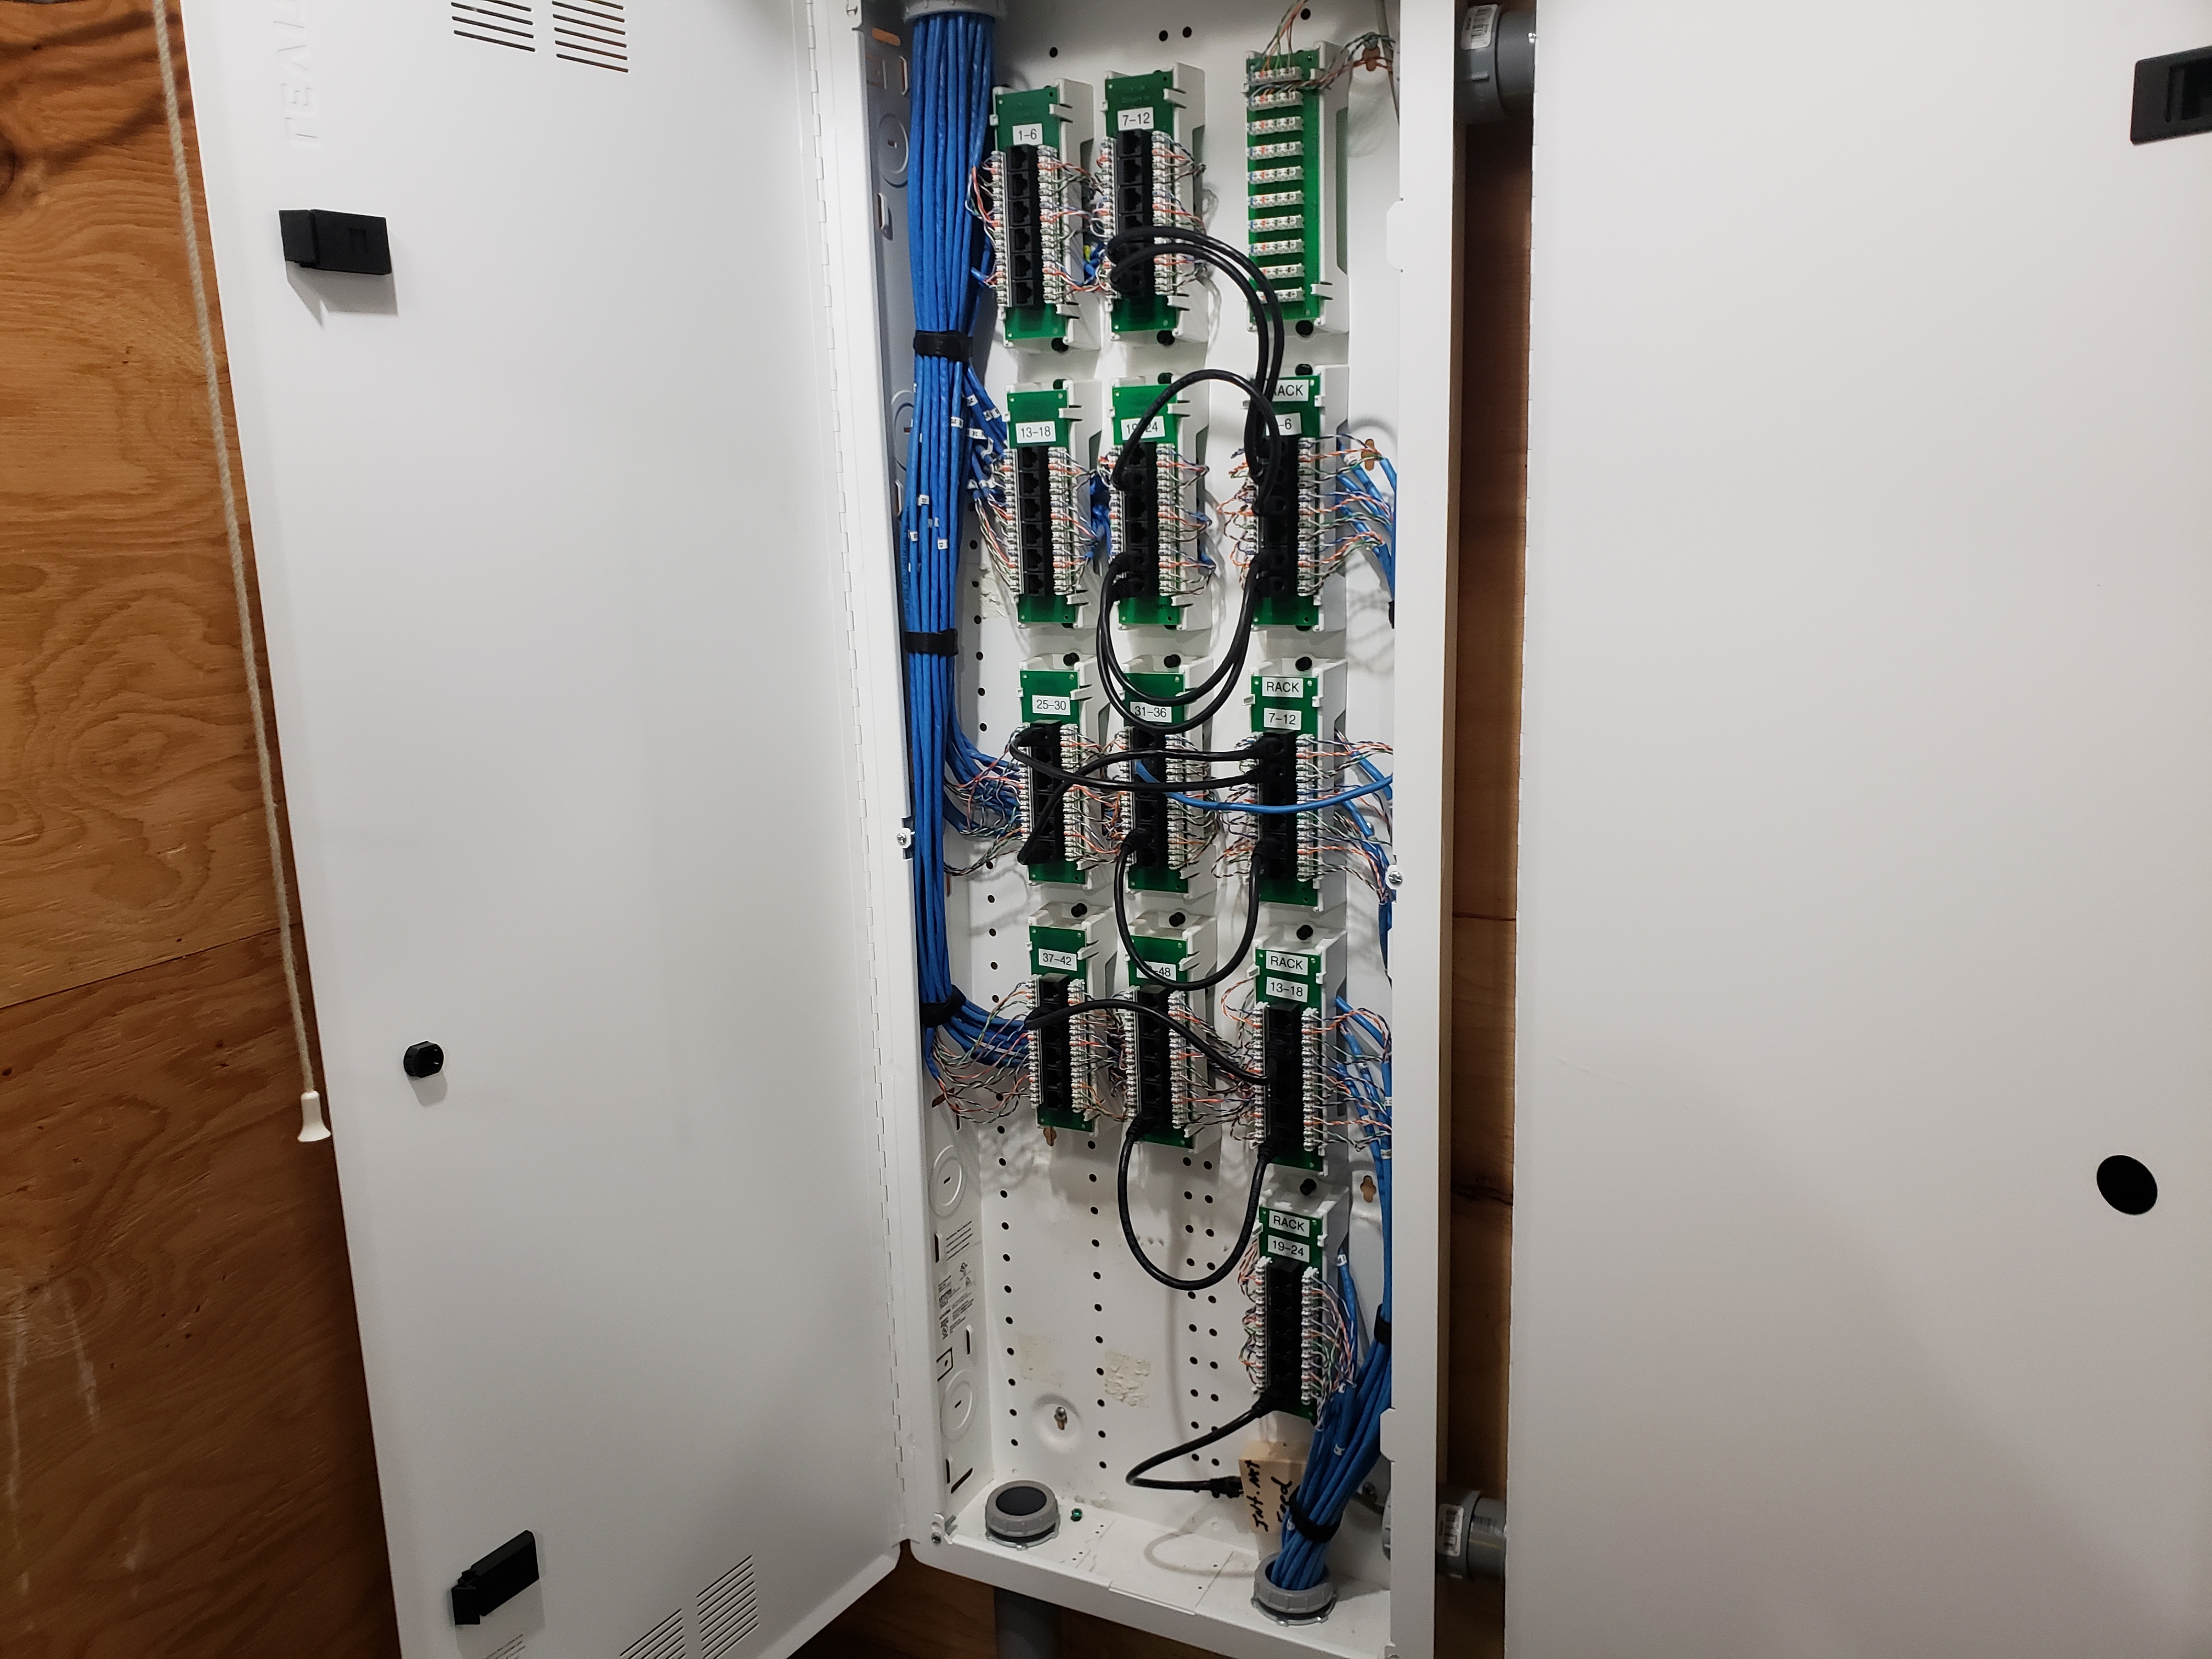
Structured Media Enclosure- CAT 6
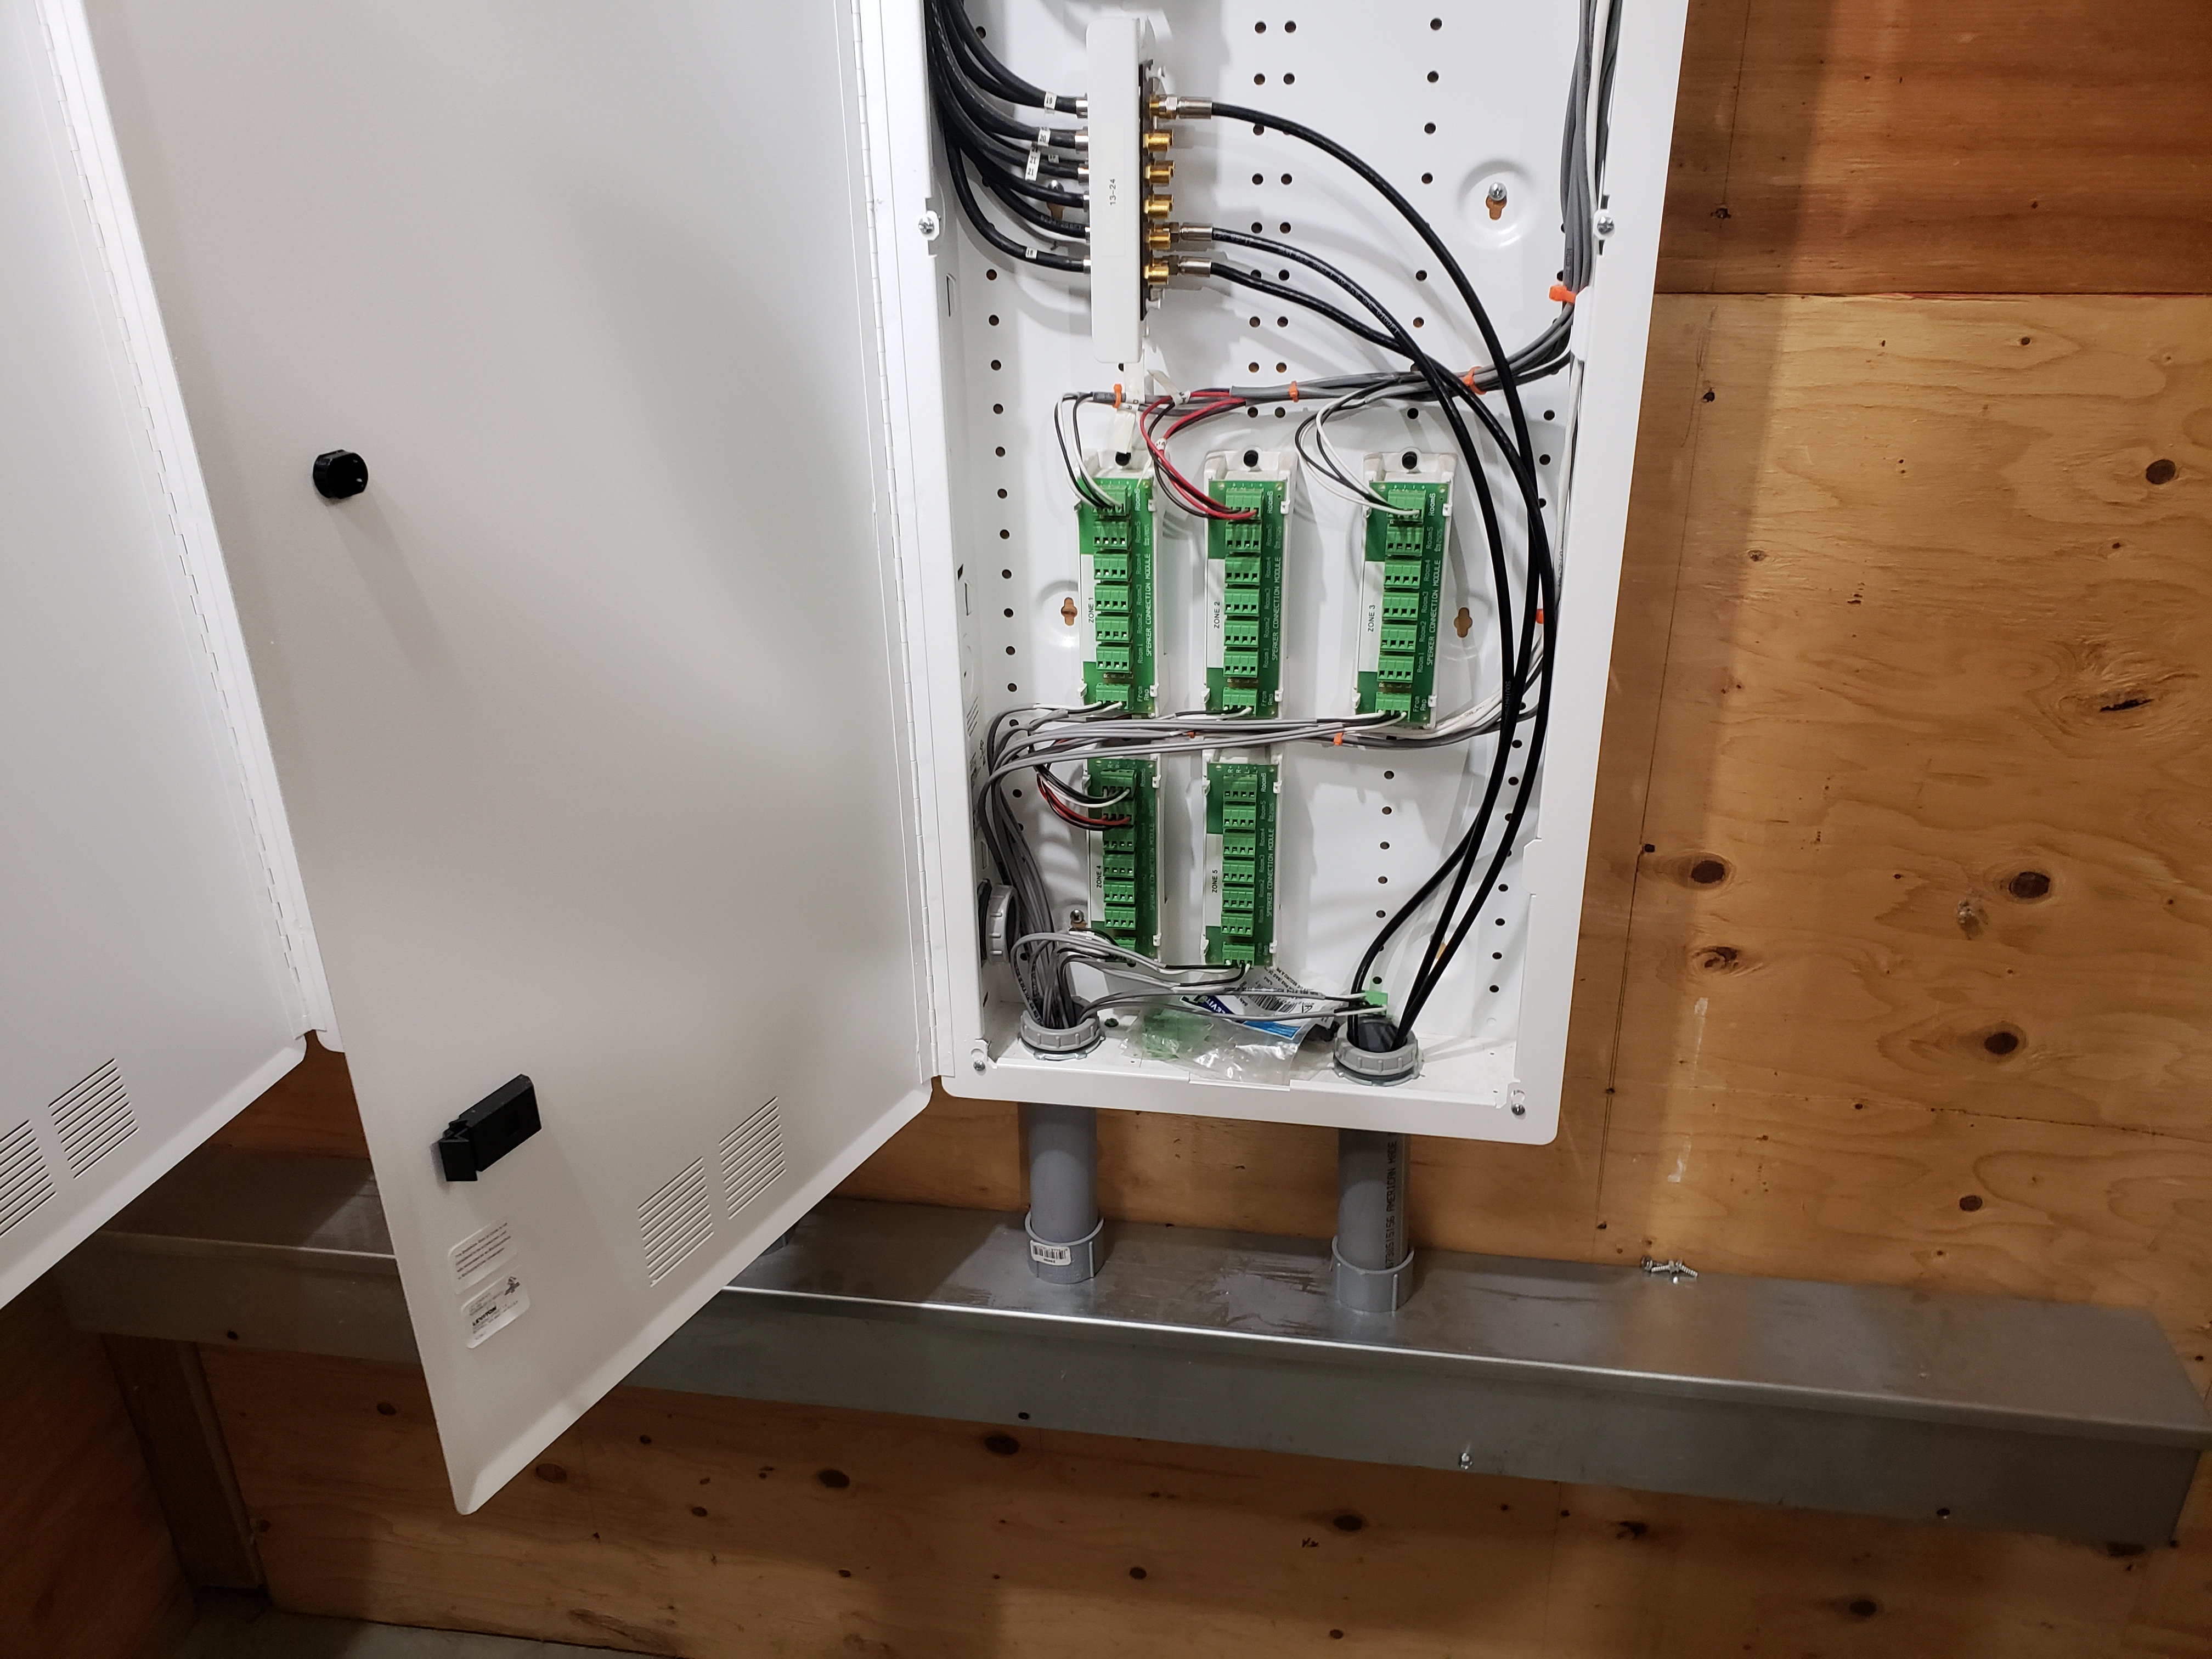
Structured Media Panel- Speakers
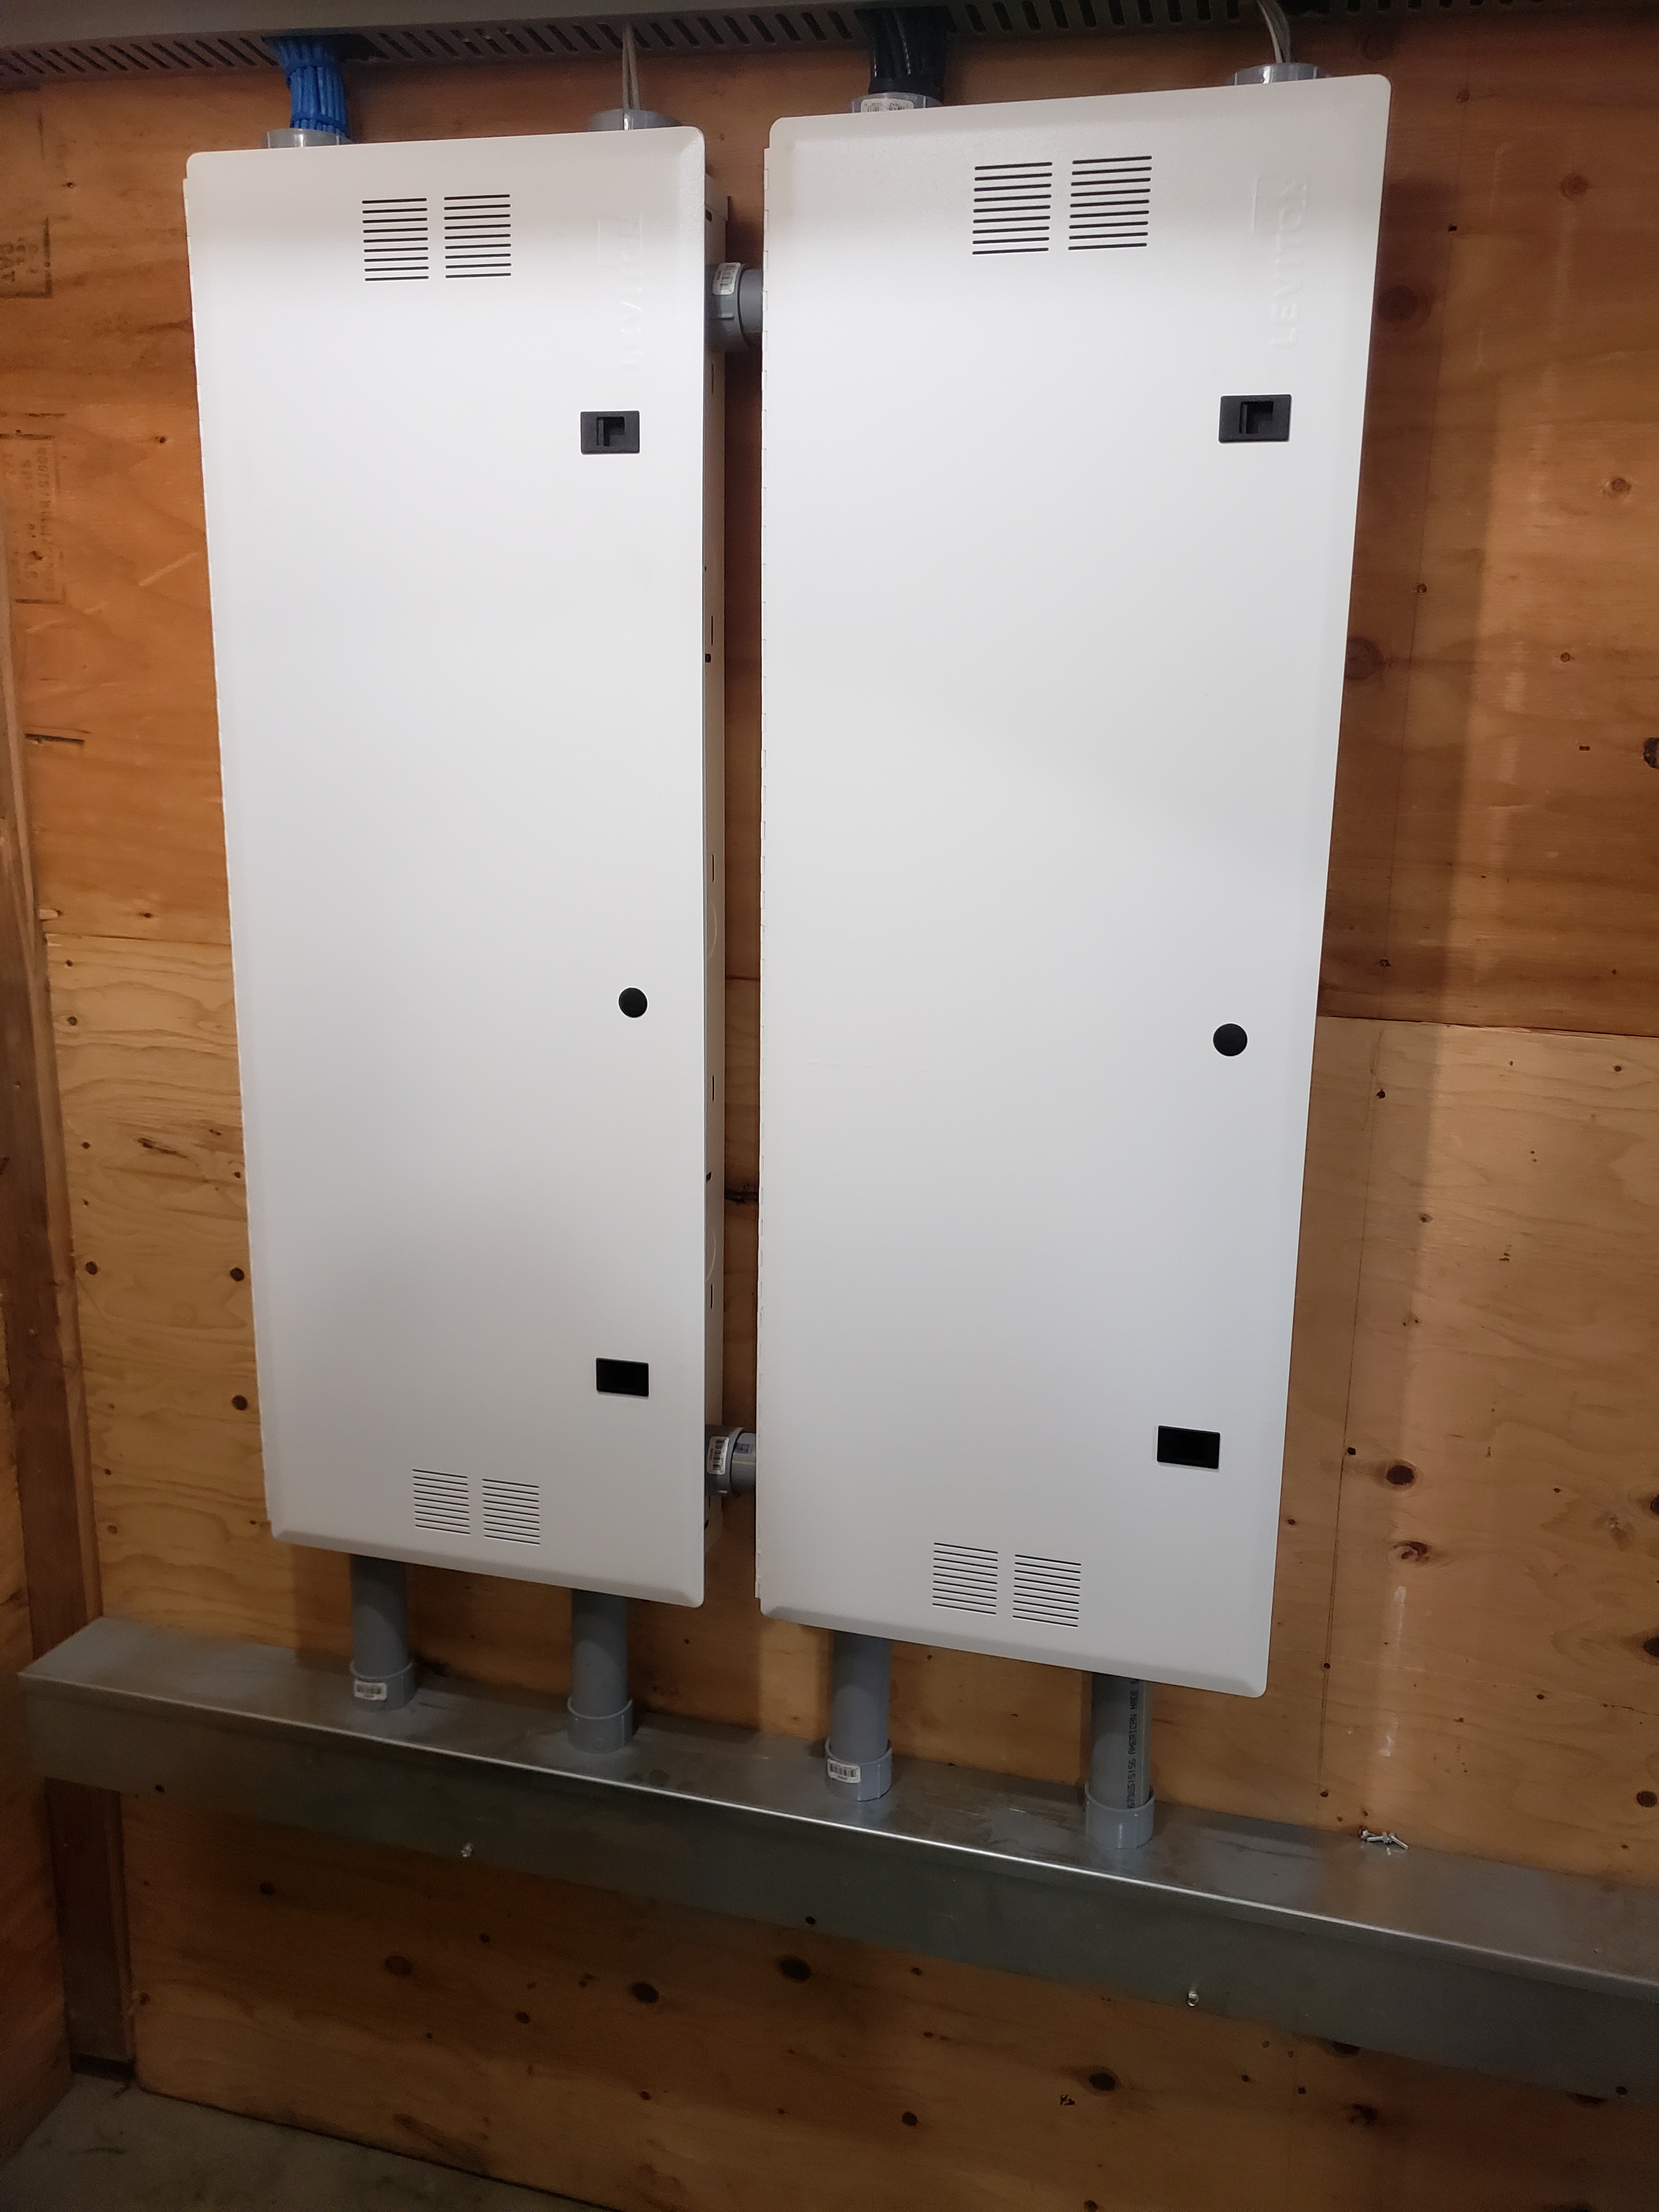
Structured Media Enclosures- Closed
I'm building a media closet in my basement and installing a rack that will hold the whole house audio, network switch, surveillance and a media server. Notice the wiring trough below the media enclosures. The closet and rack are on the other side of that wall and the trough is how the wires get over there.
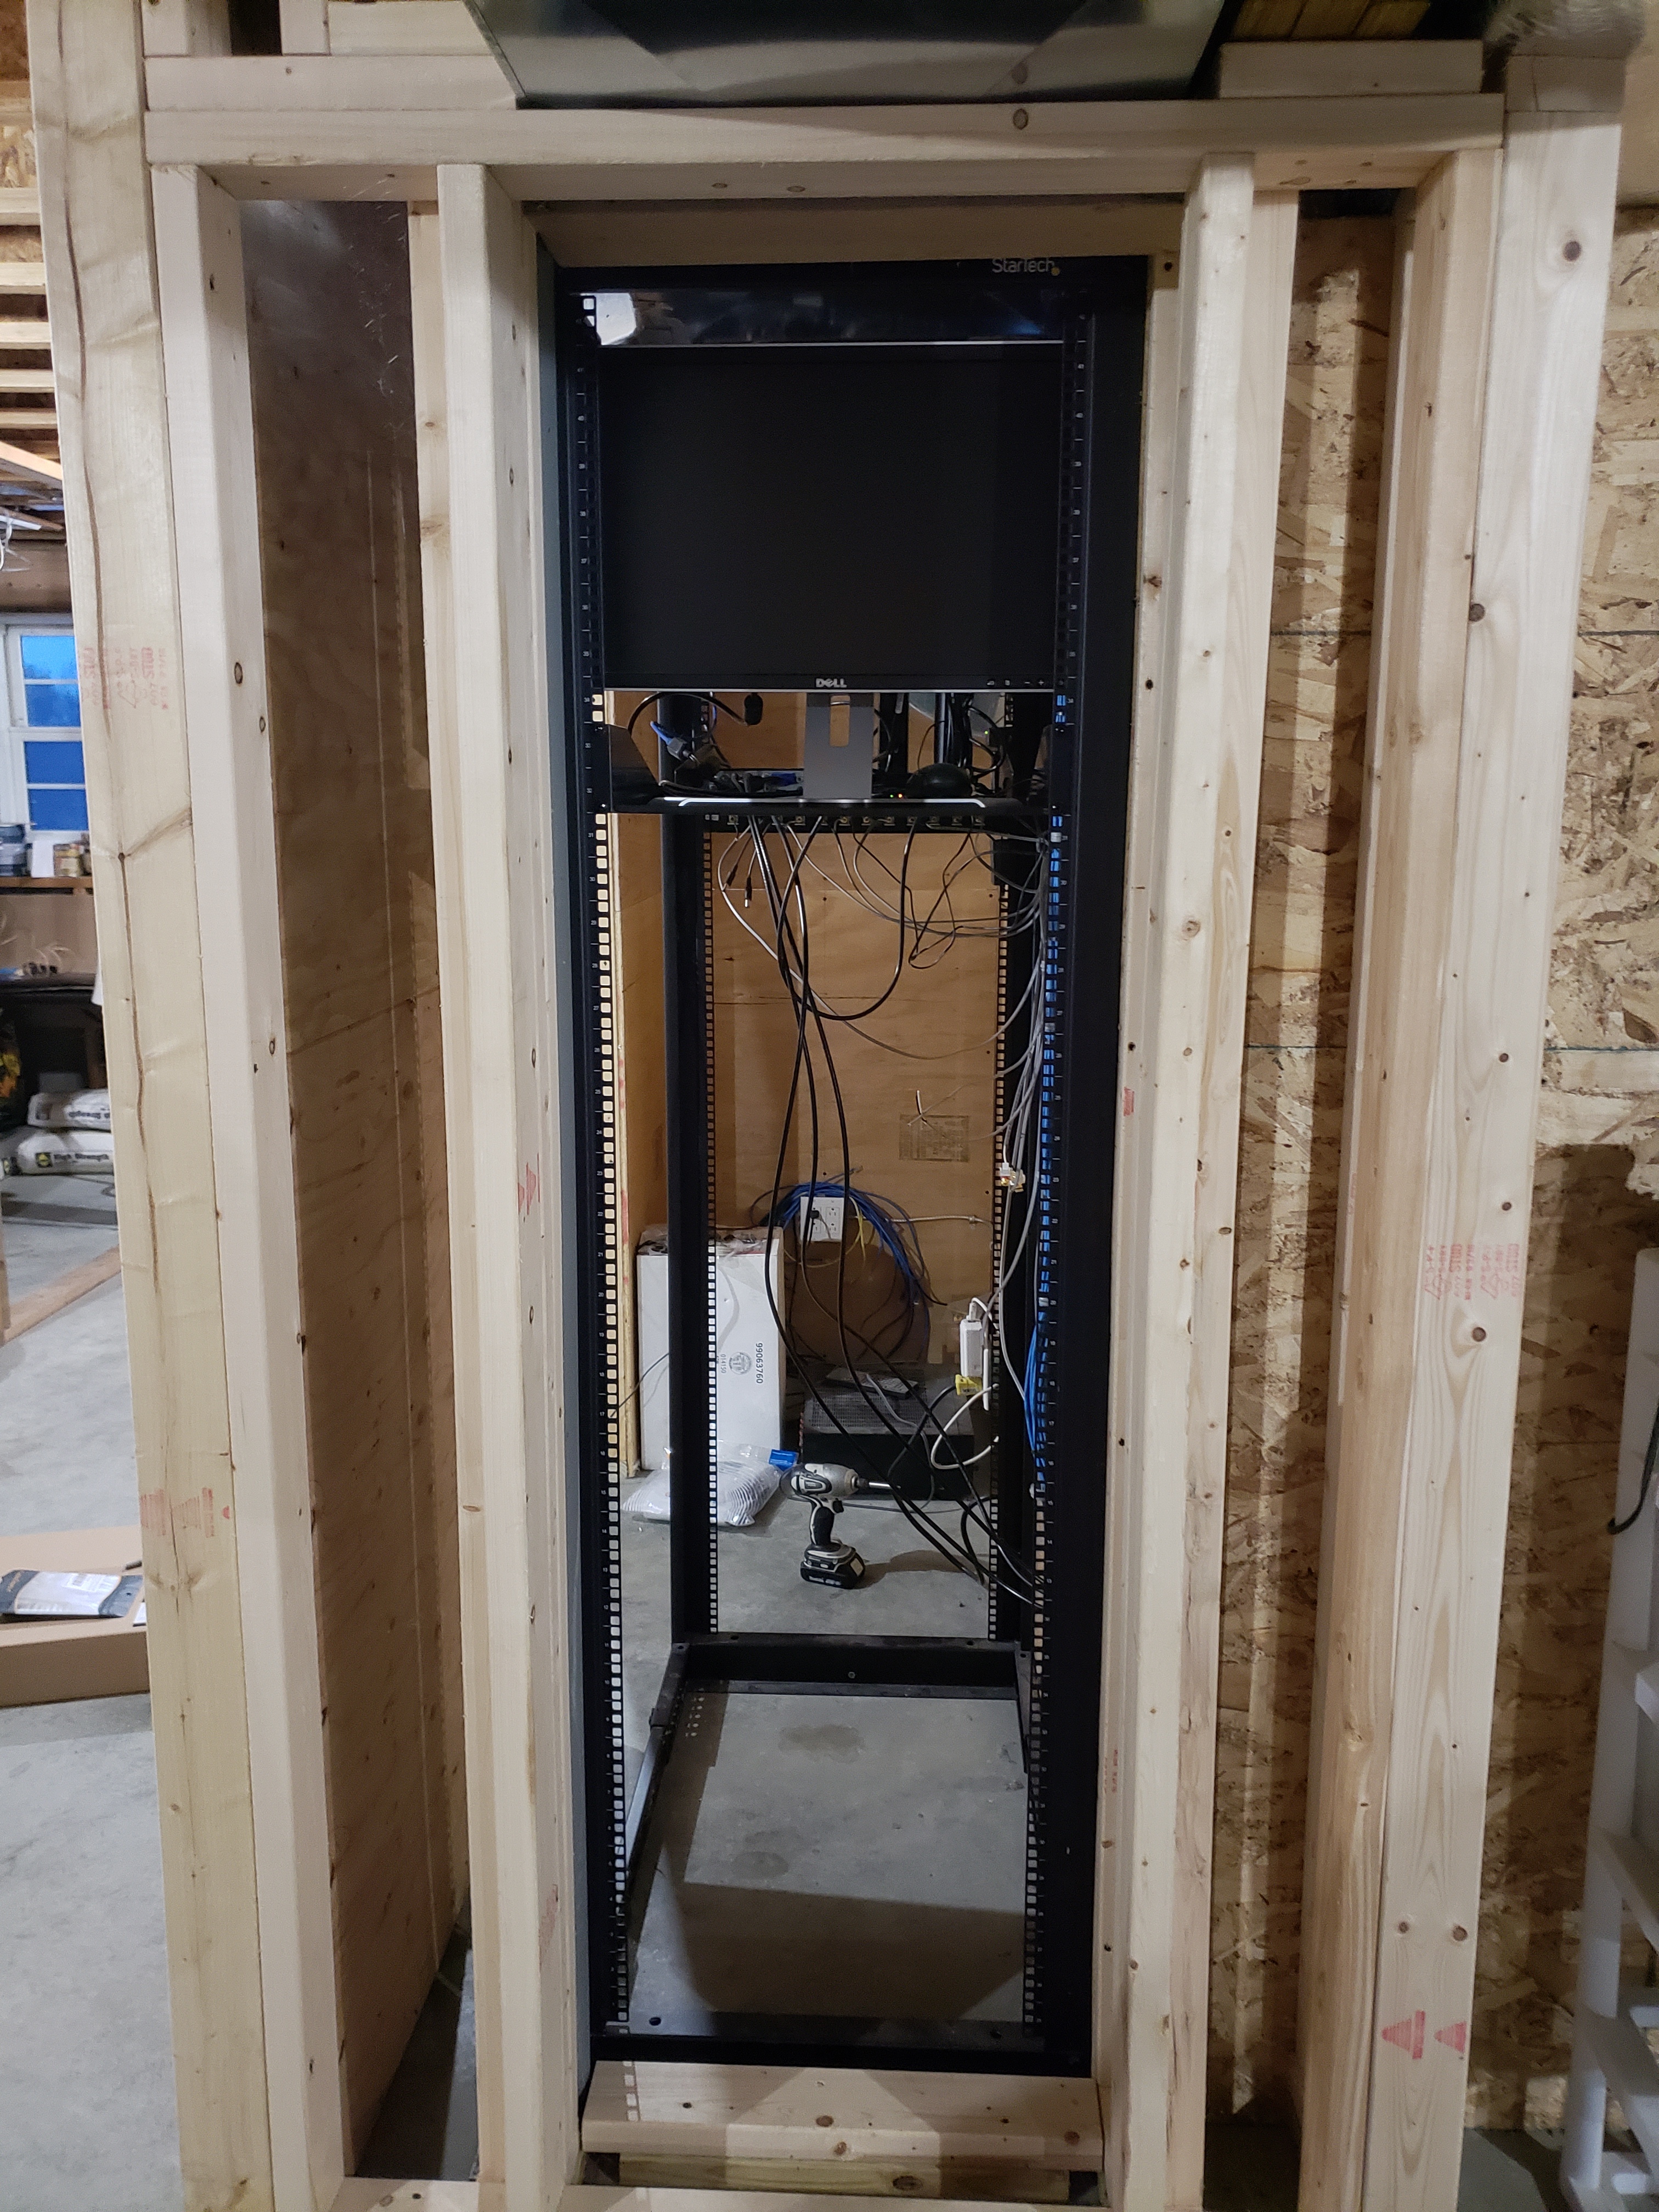
Front of the rack
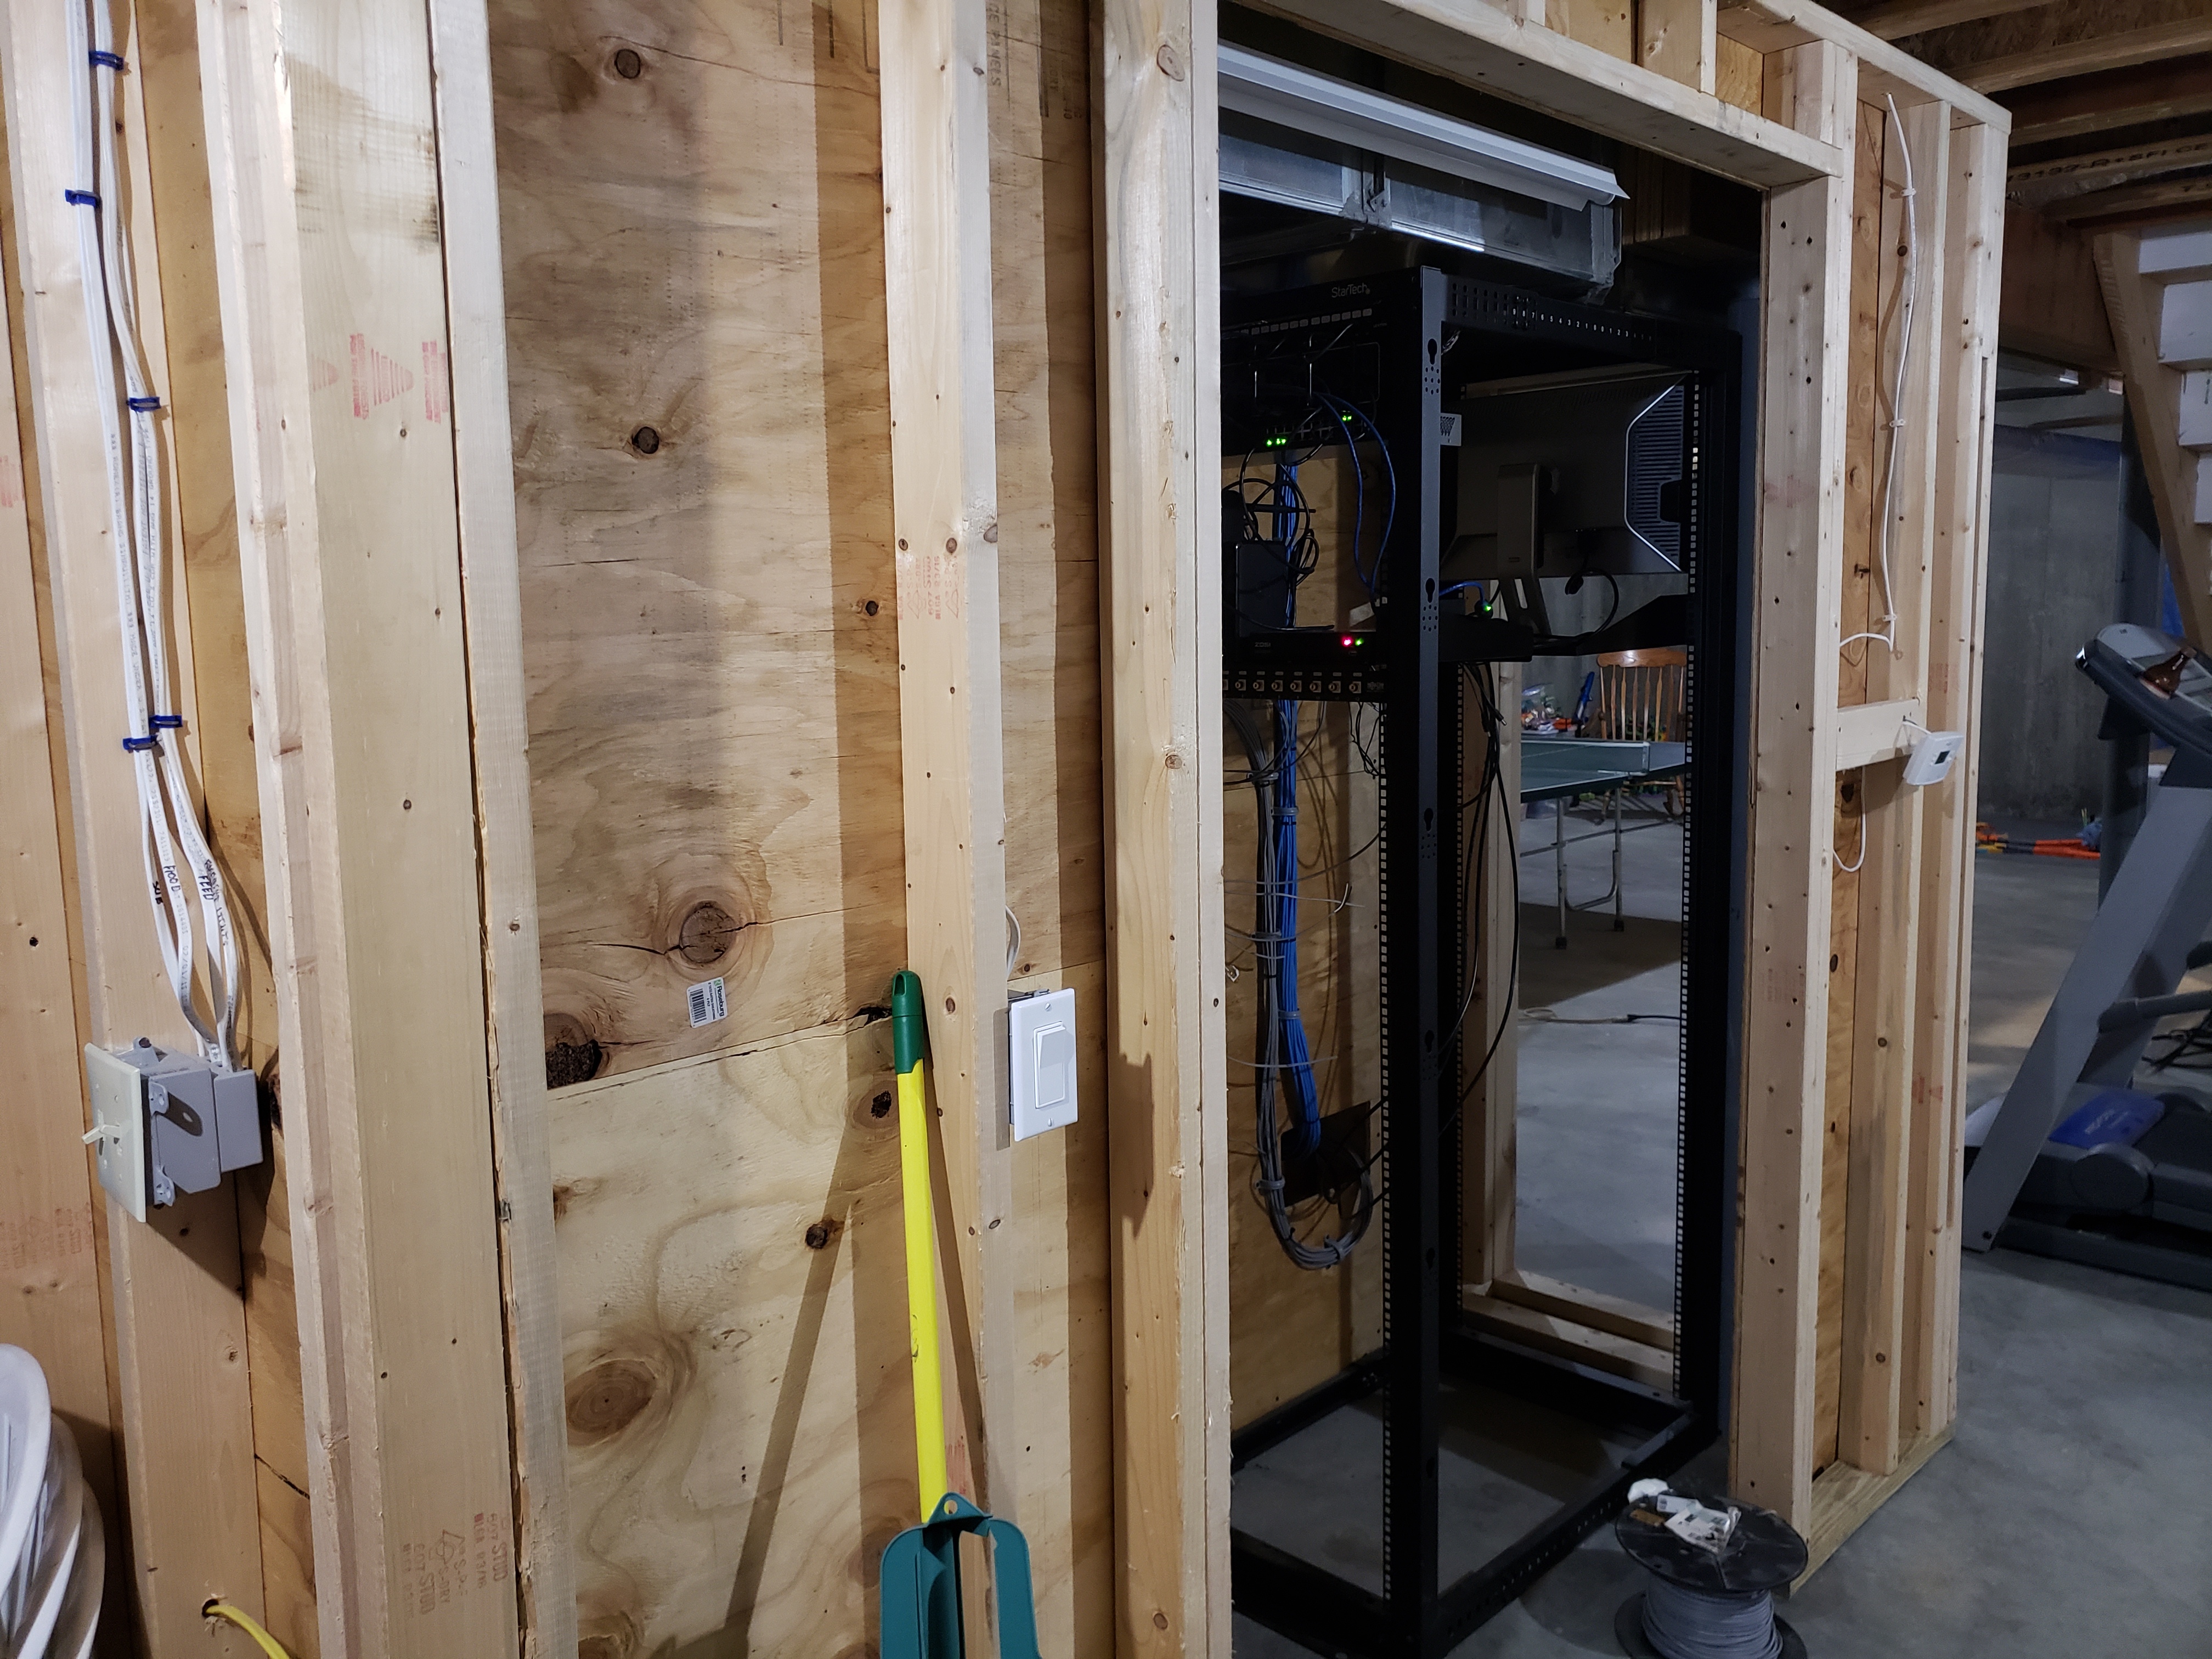
Media Closet
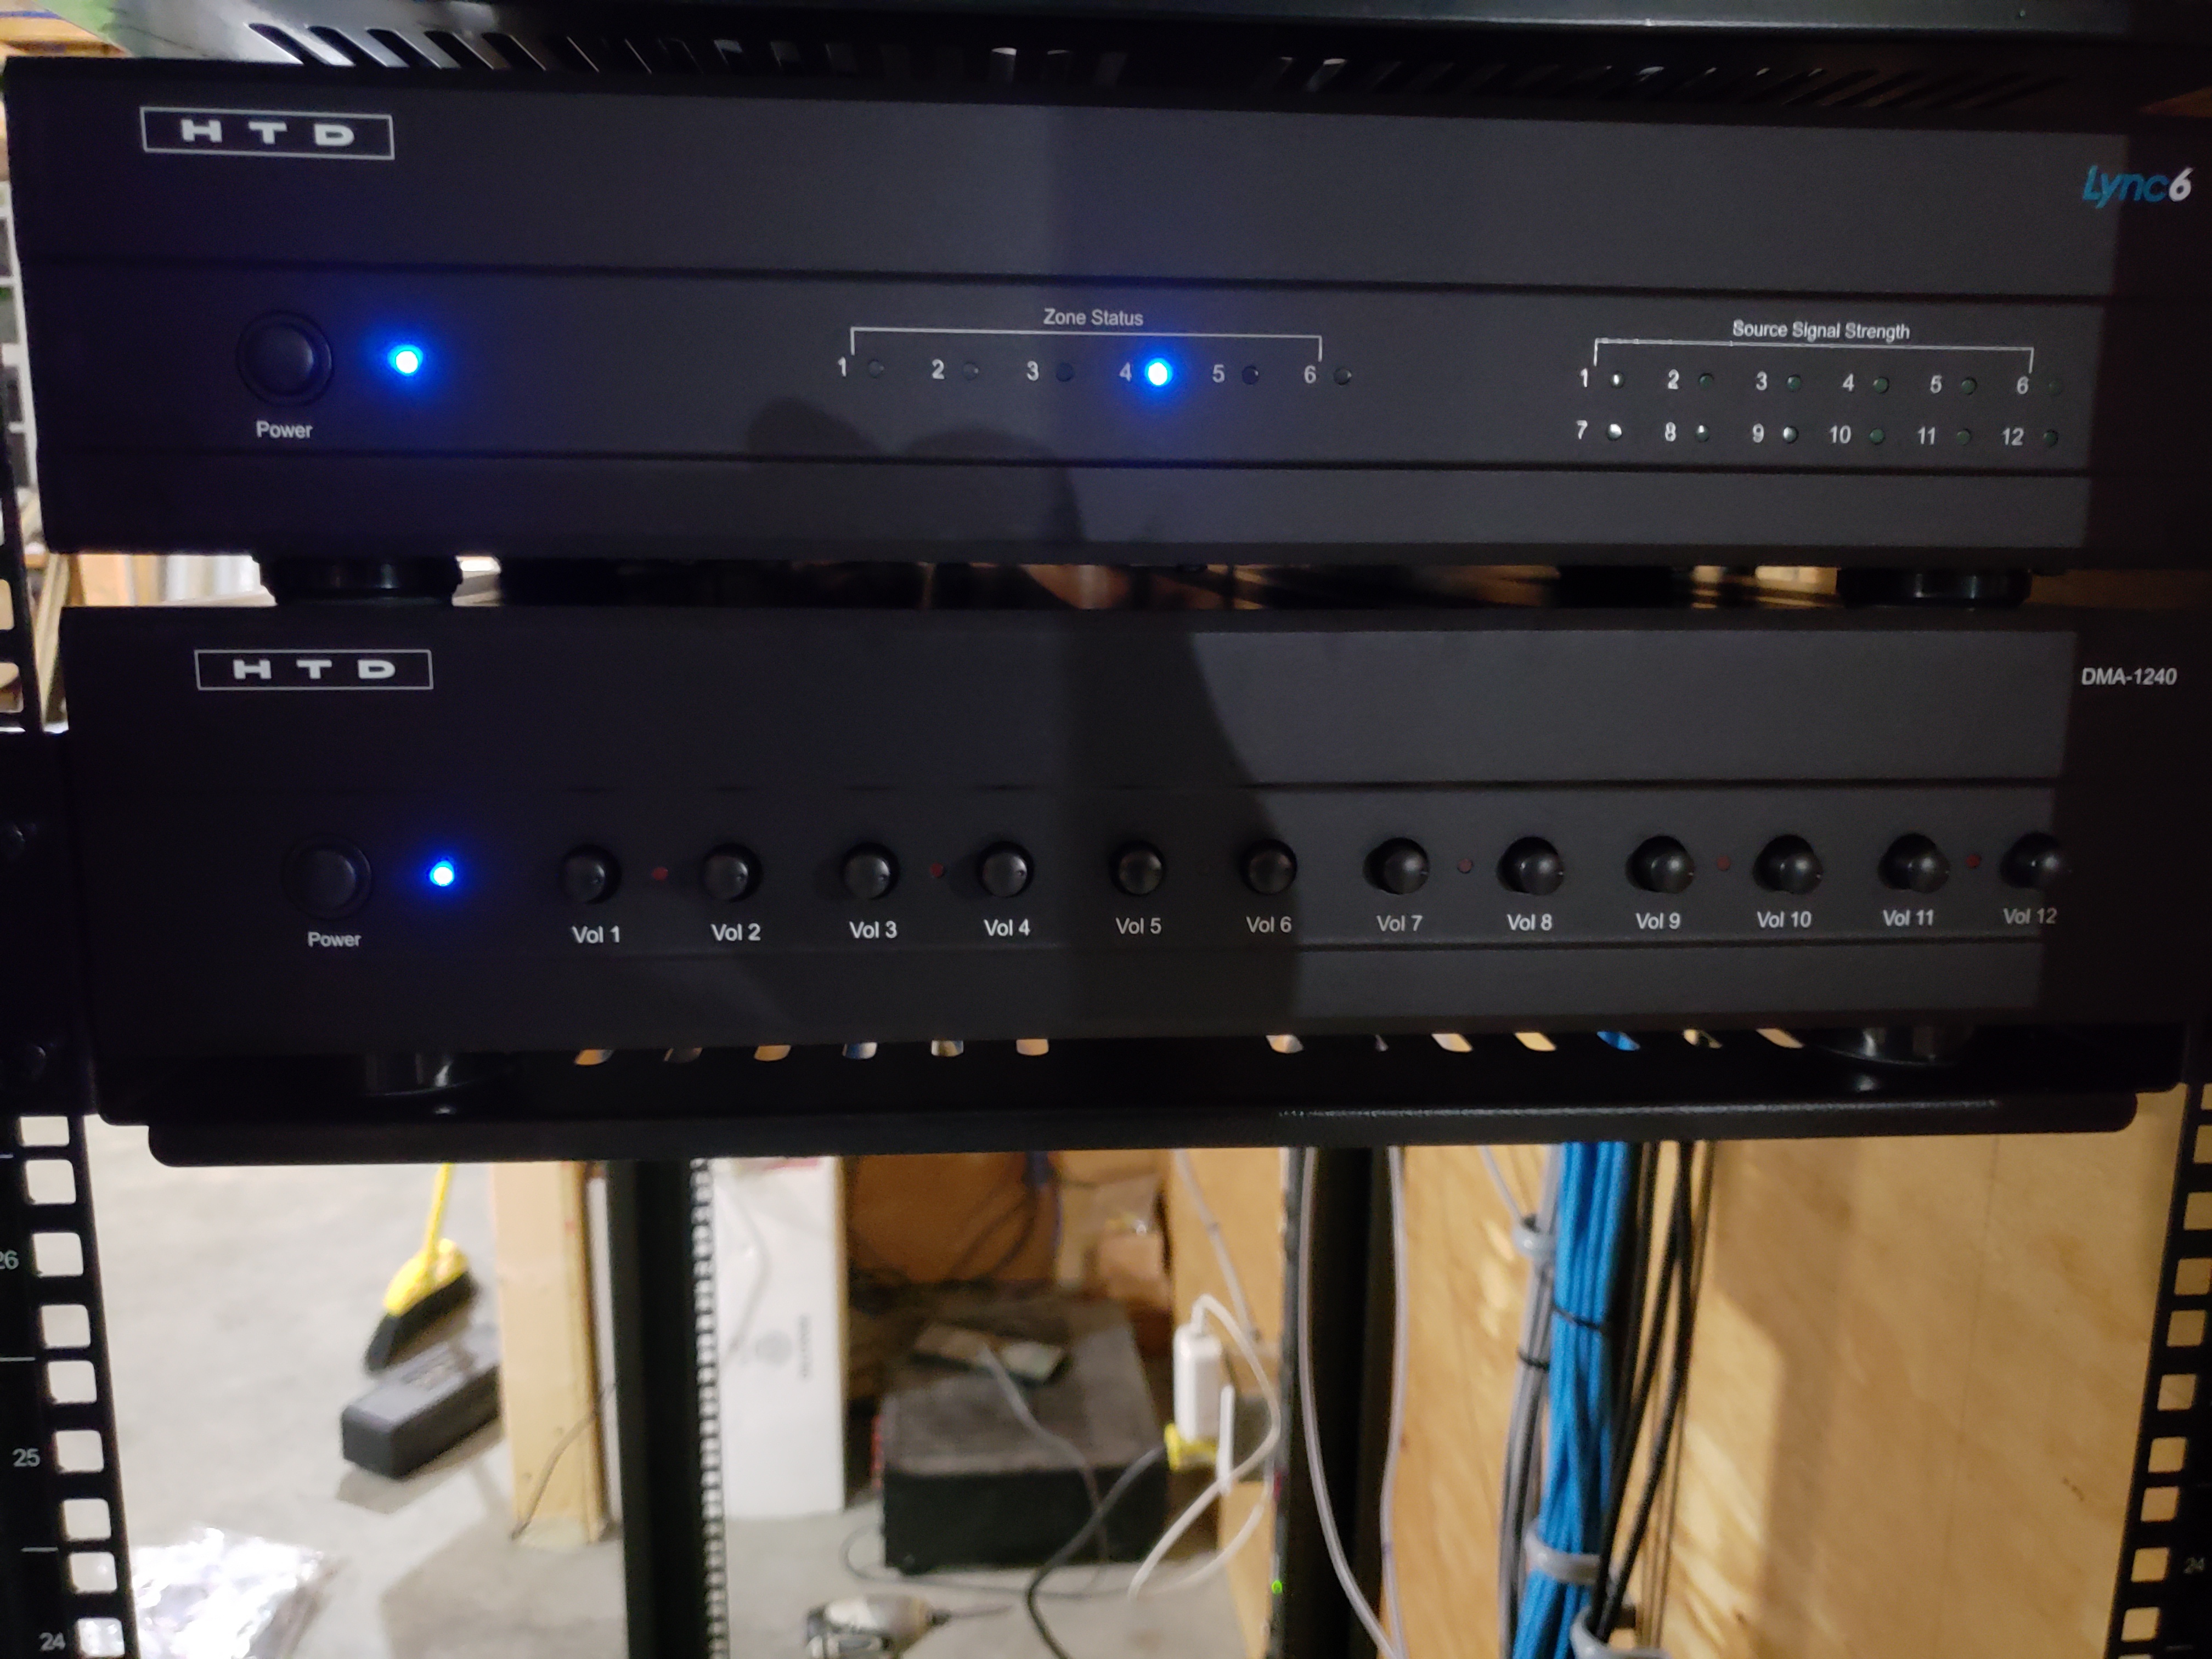
Lync 6 and amp in the Rack
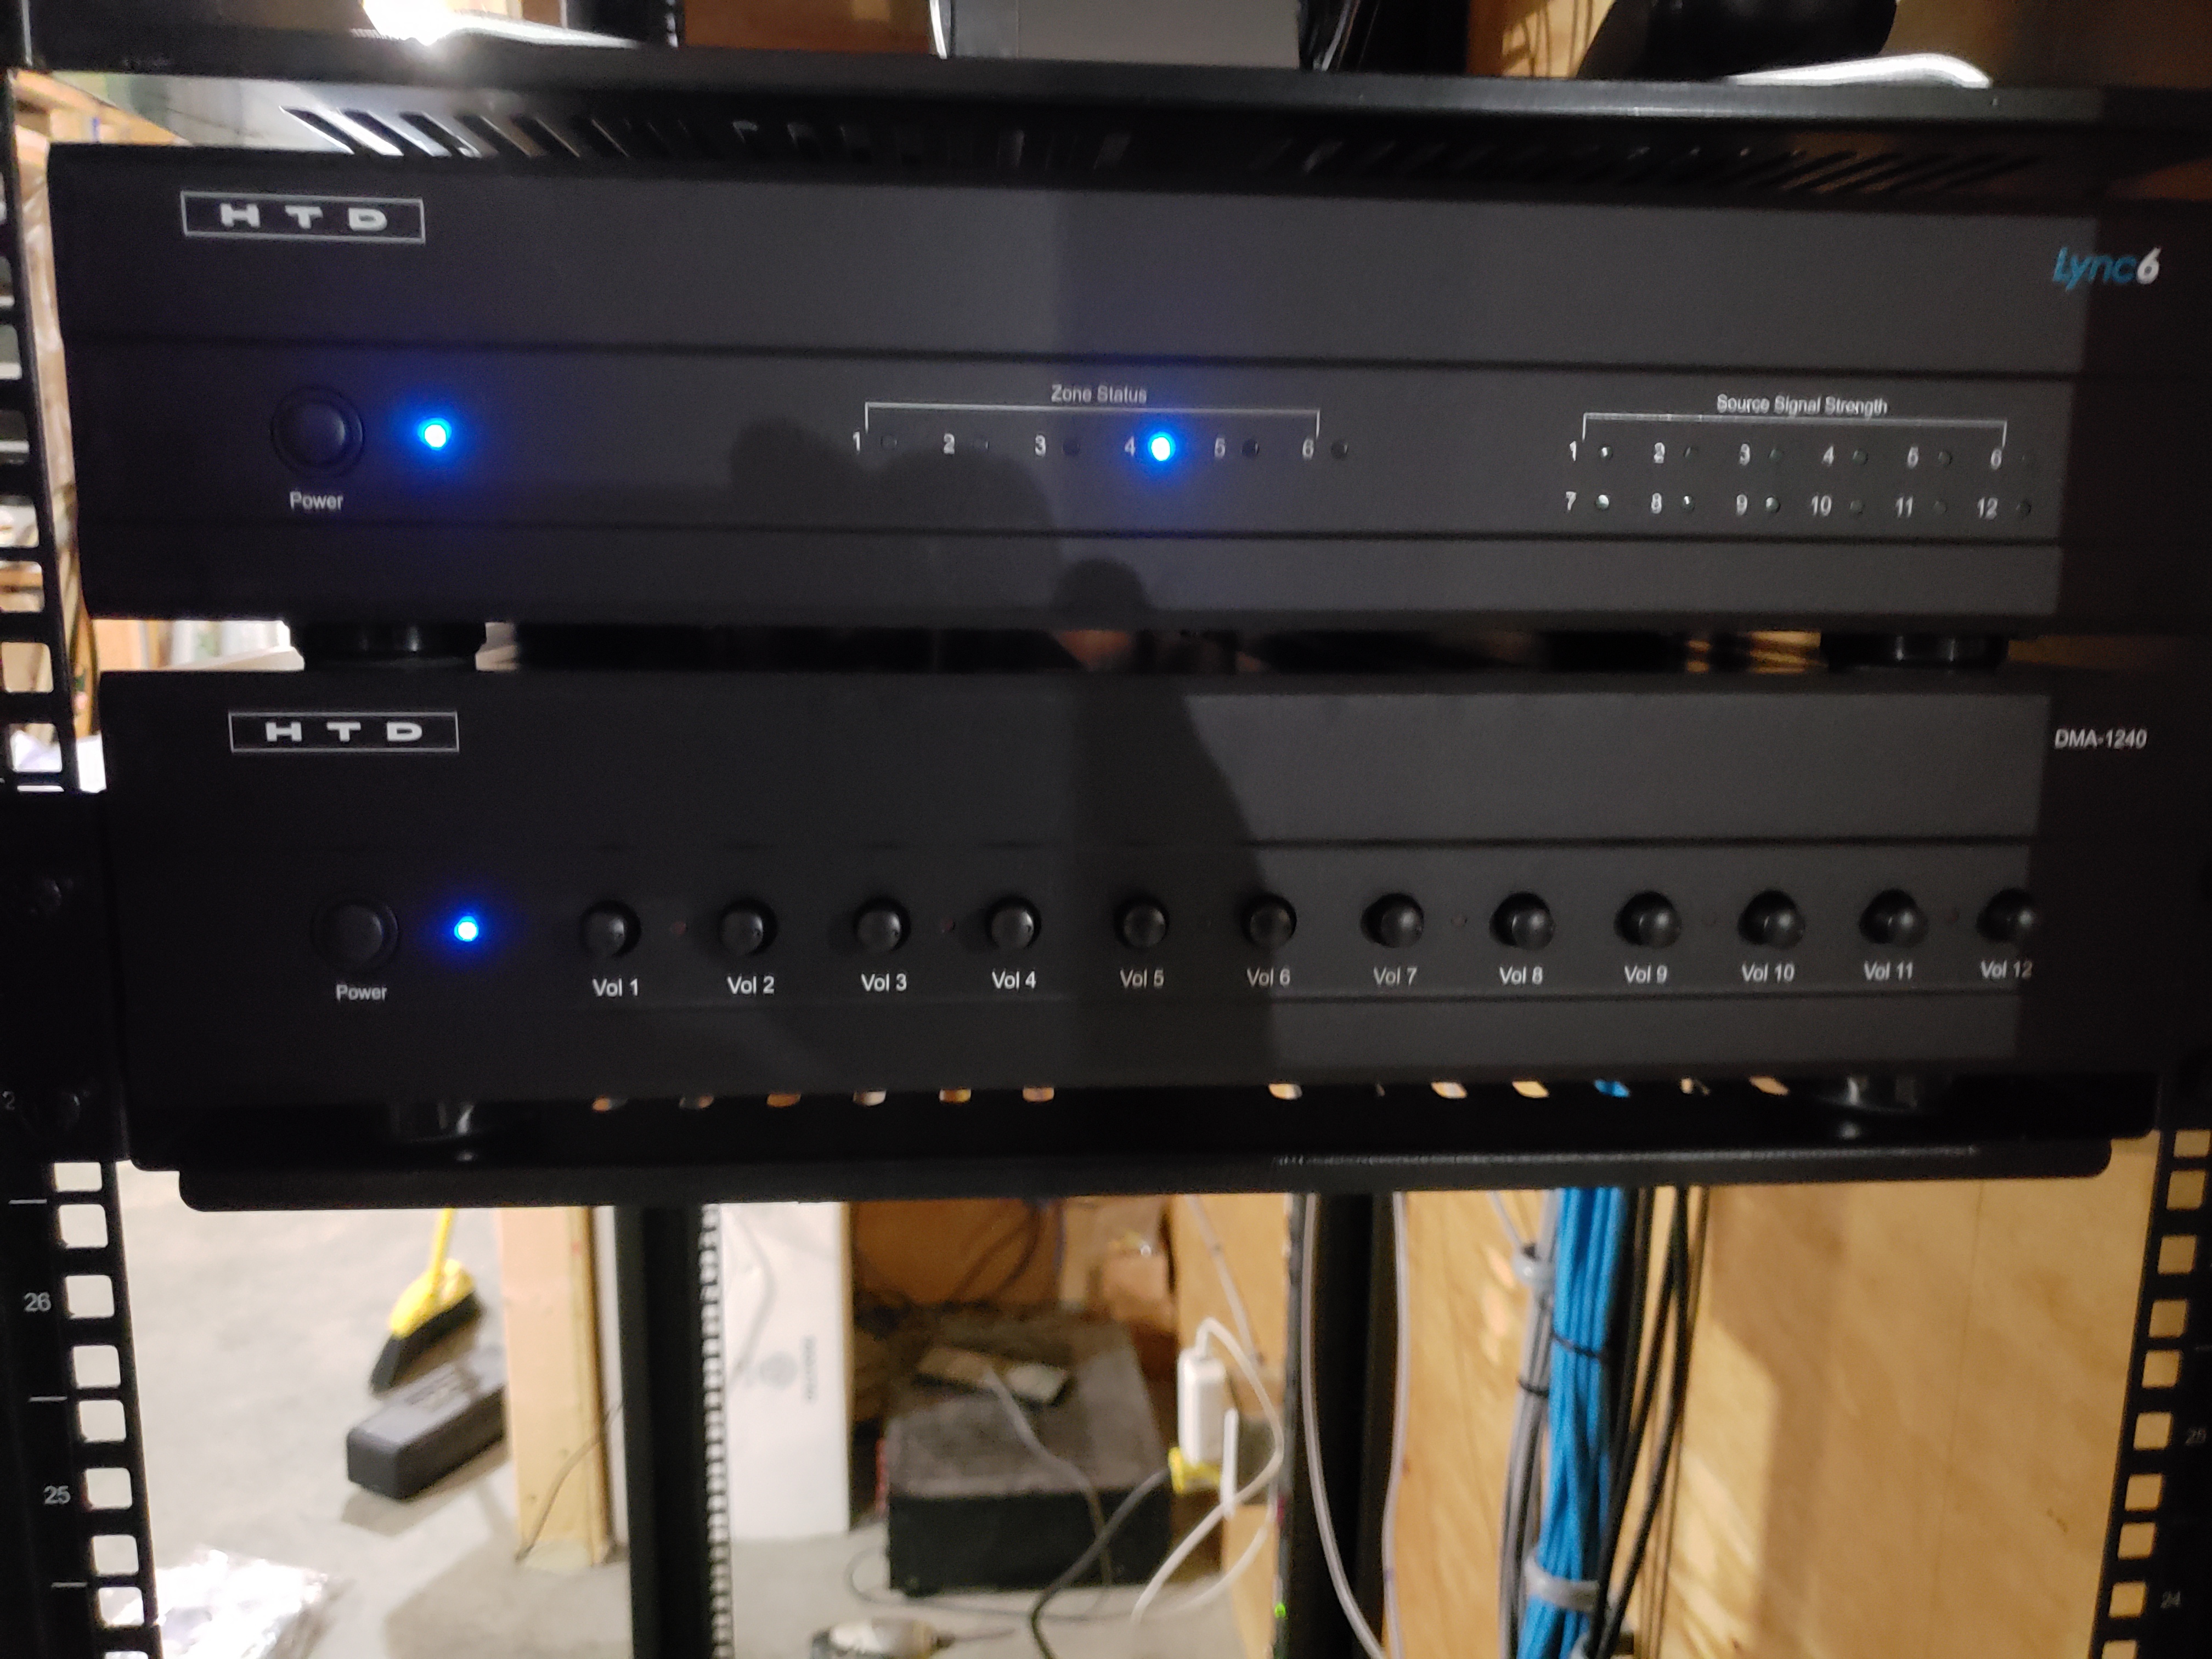
Lync 6 and amp in Rack
I had to run the wire from the structured media panels to the rack. To do this, I used two 12 port keystone panels, 14 AWG speaker wire and banana keystone jacks. I already had CAT 6 lines running from the media enclosures to a 24 port patch panel in the rack.
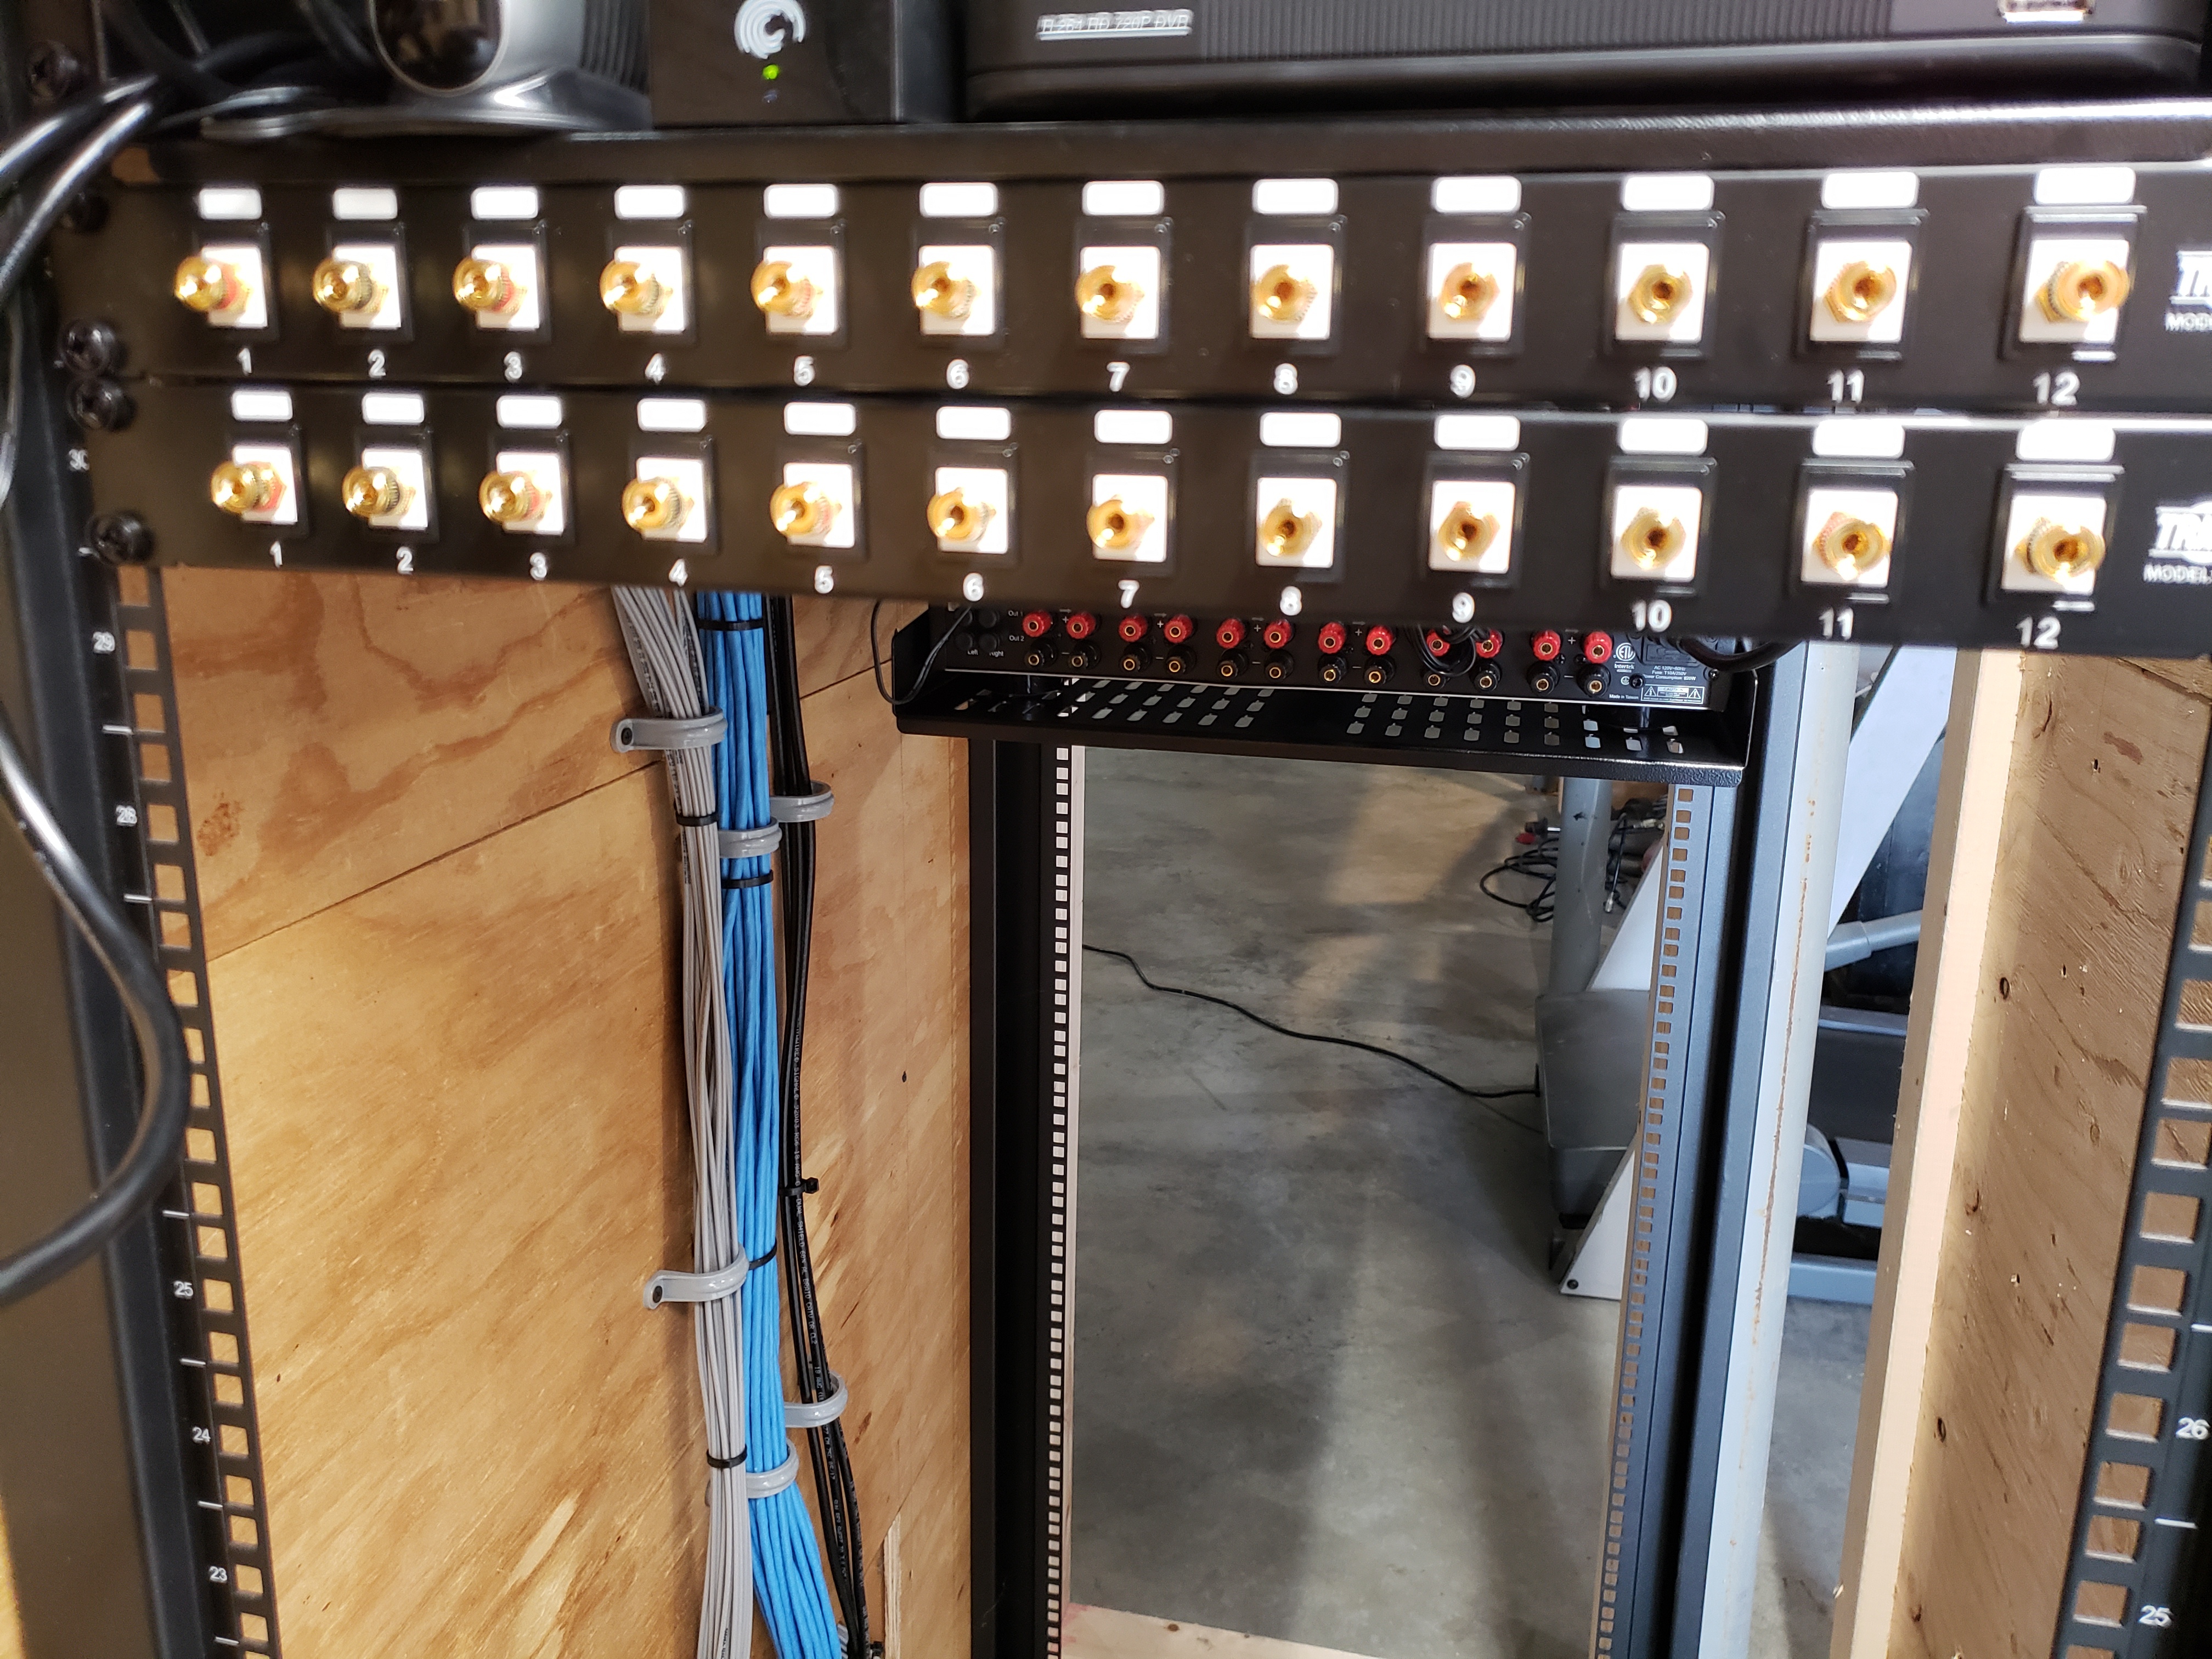
Banana Keystone Jacks
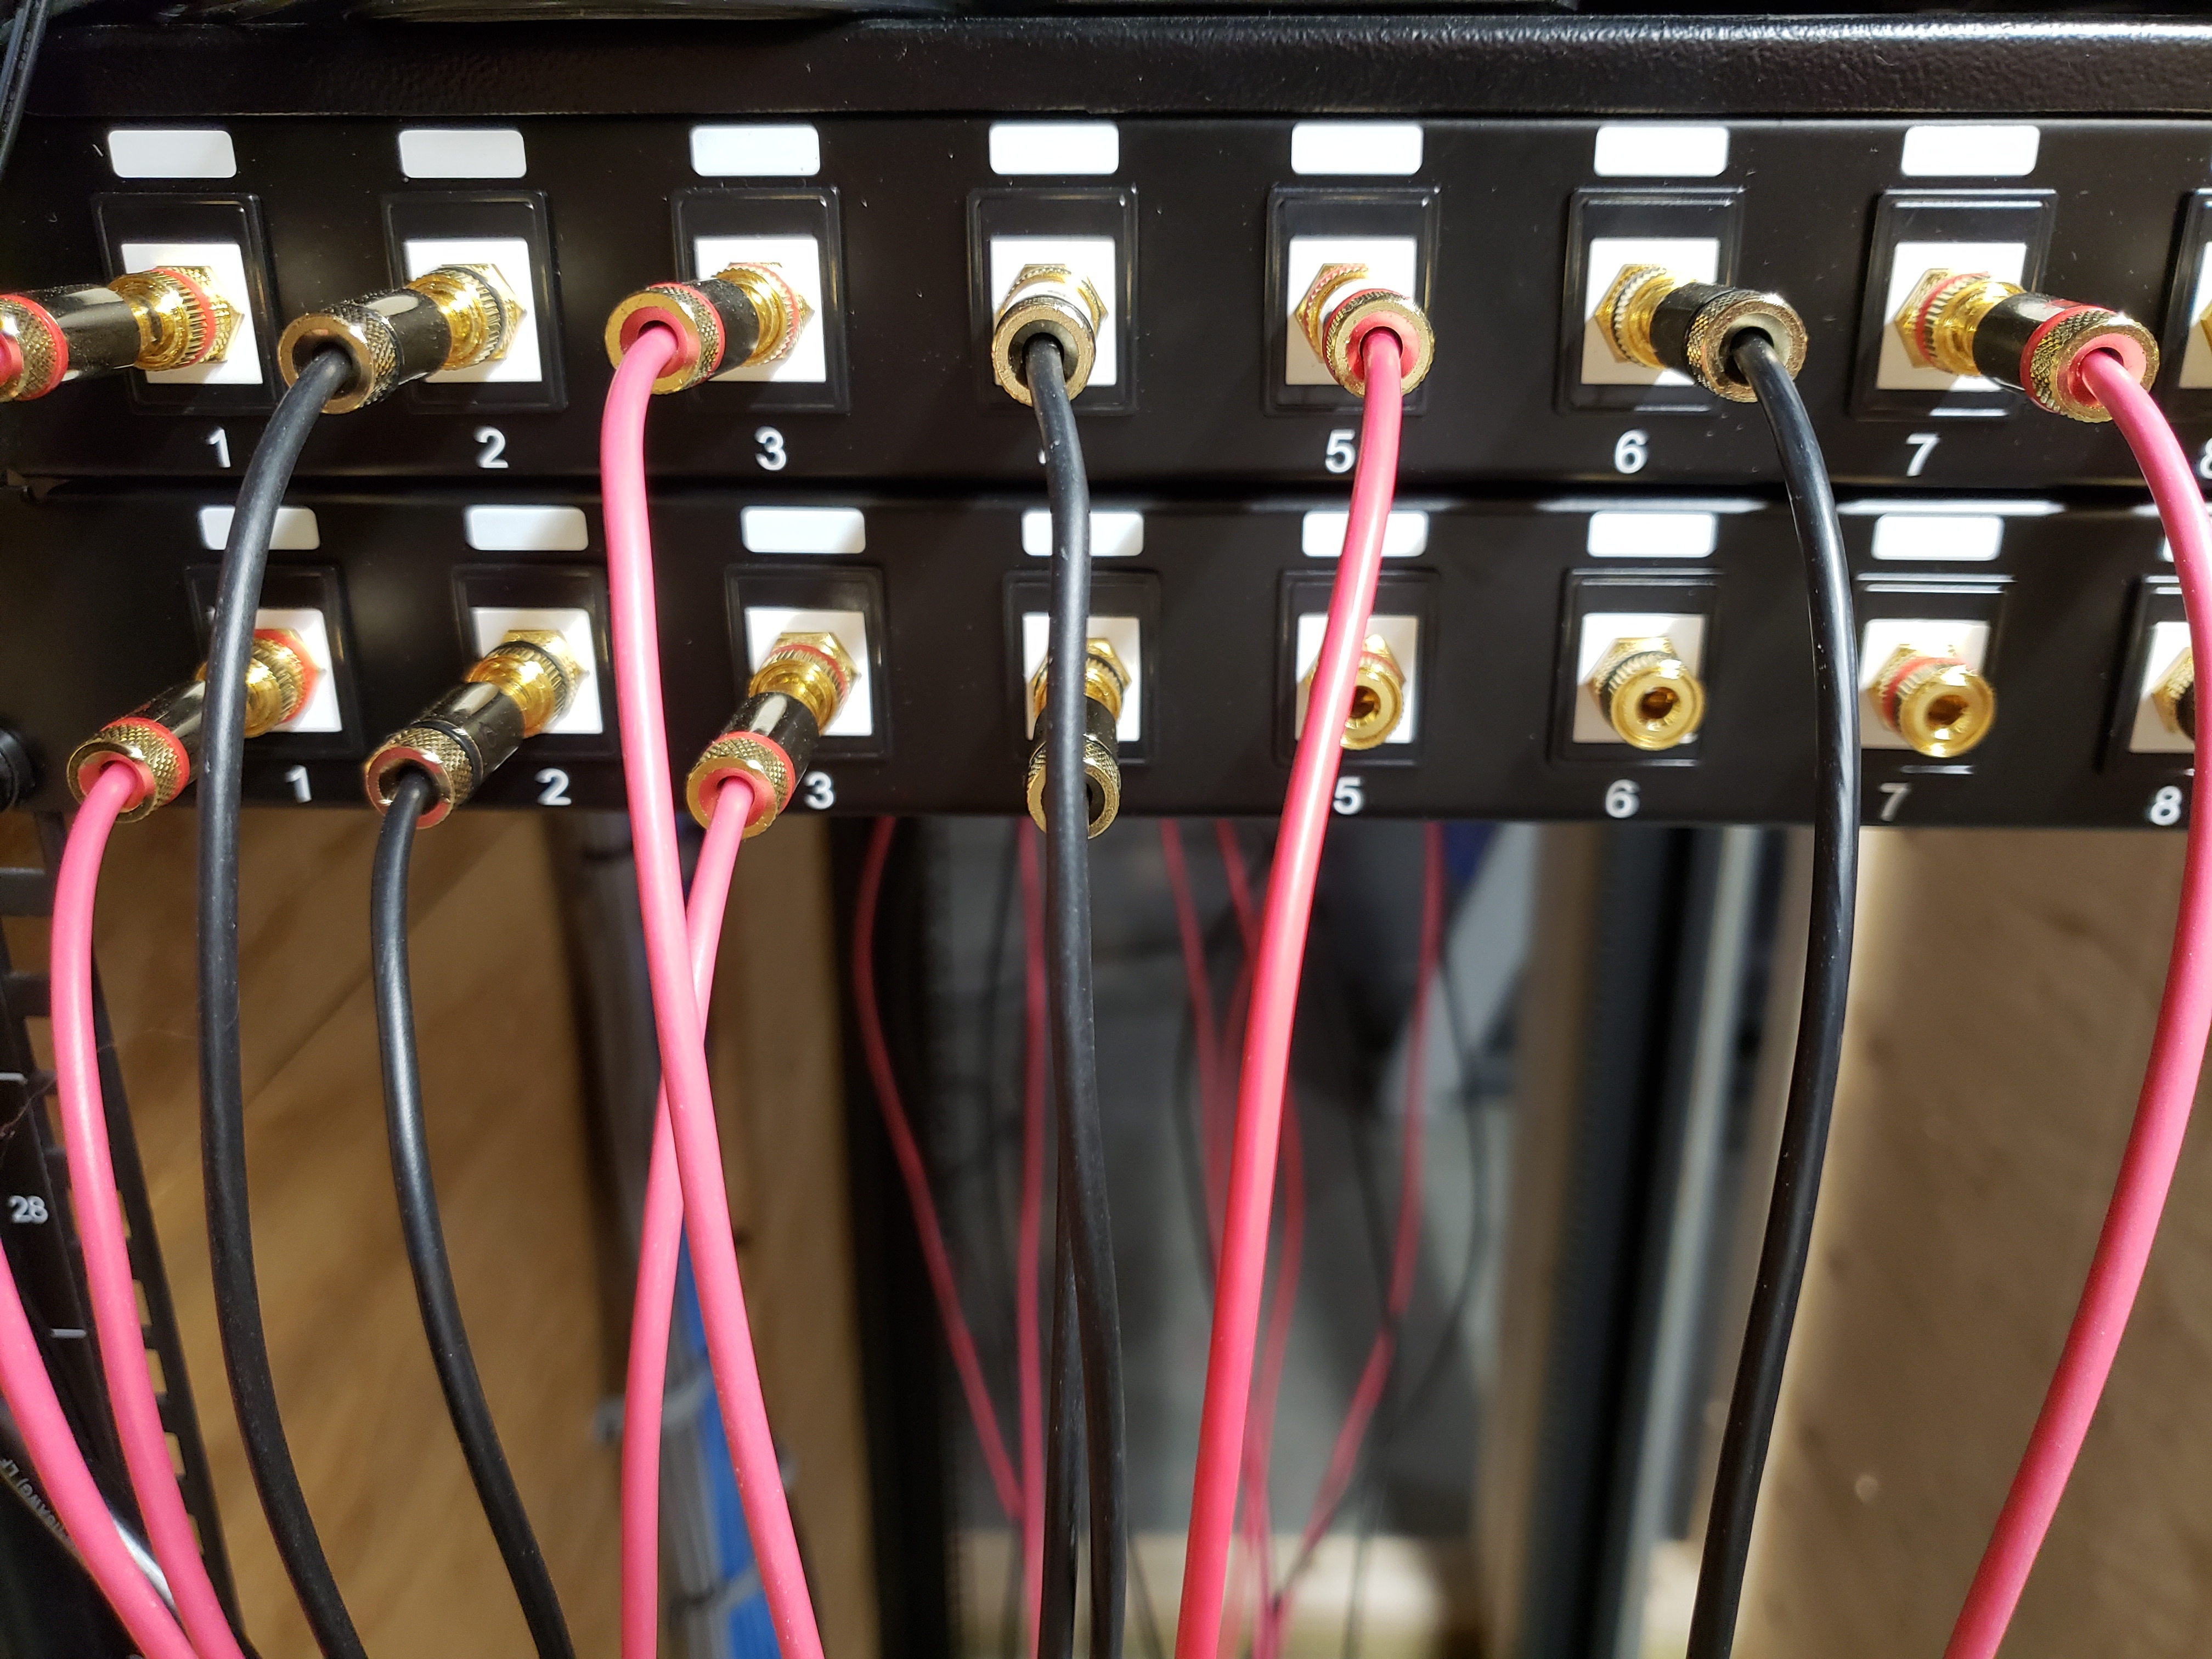
Banana Keystone Jacks
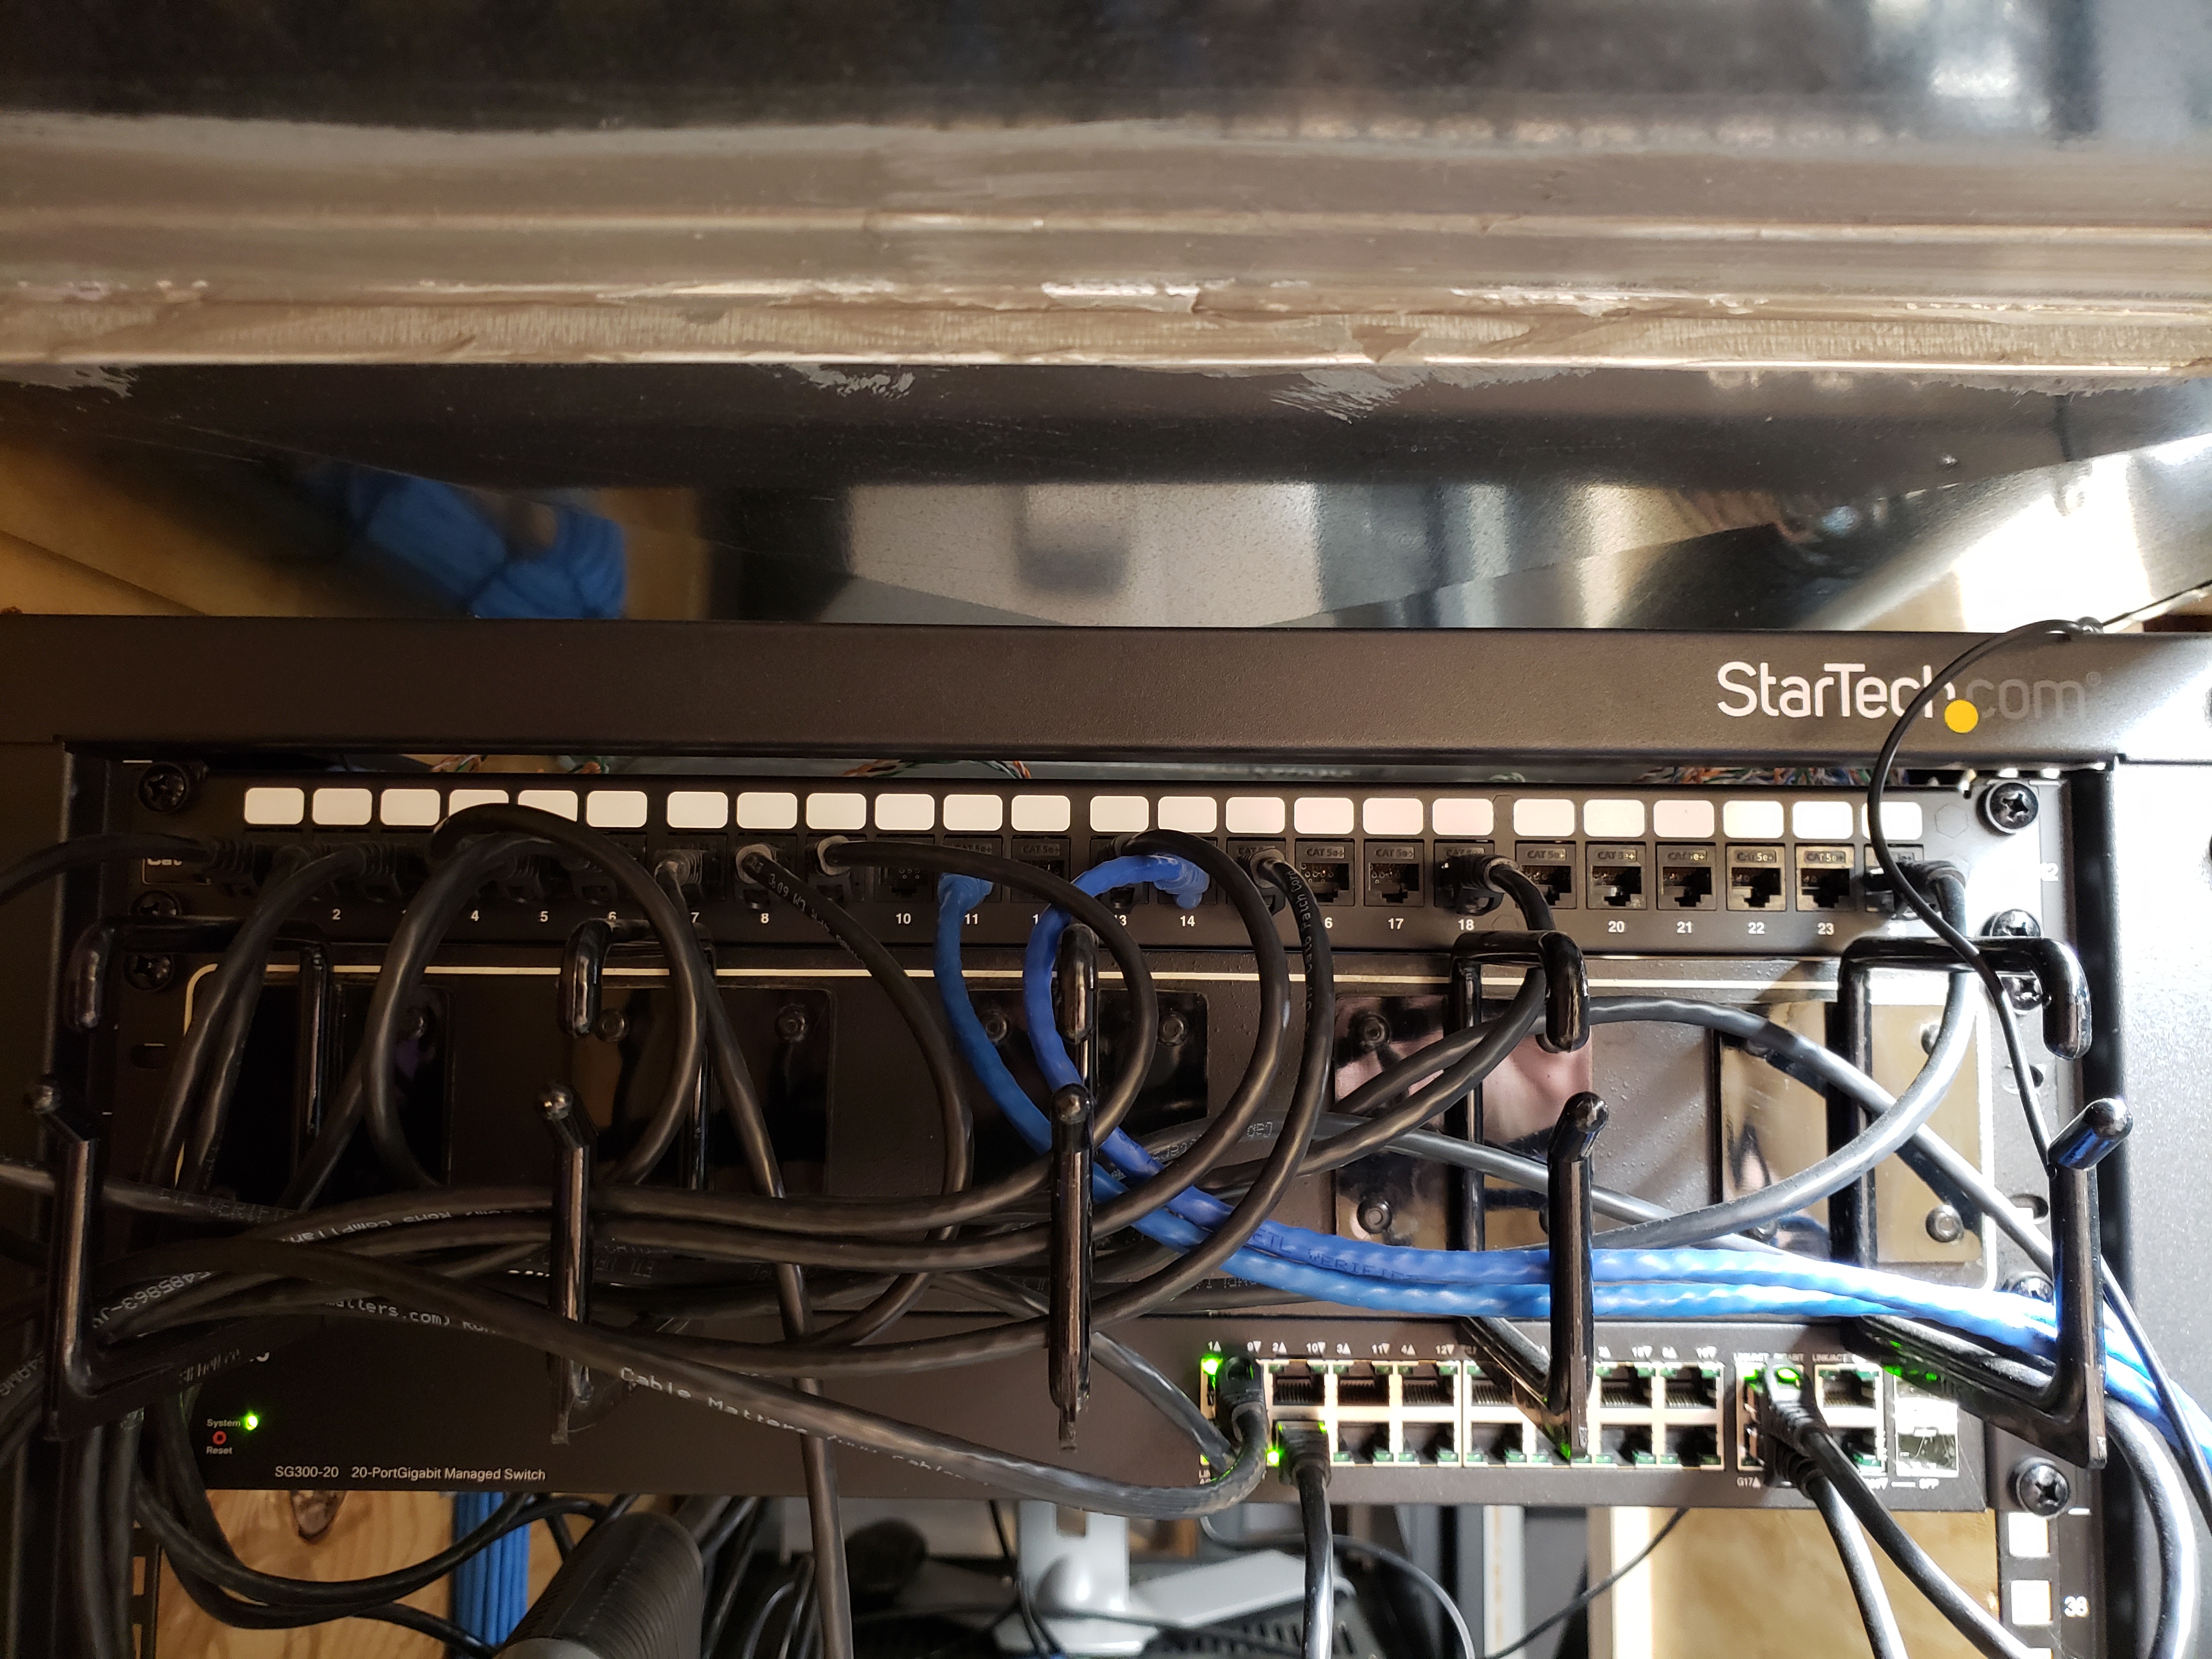
CAT 6 Patch Panel
I made my own banana cables using banana plugs and 12AWG speaker wire and ran patch cables from the patch panel to the controller. You can see the CAT 6 from the keypads in the upper left, the RCA patch cables that go from the controller to the amp and the banana cables coming from the banana plug patch panels.
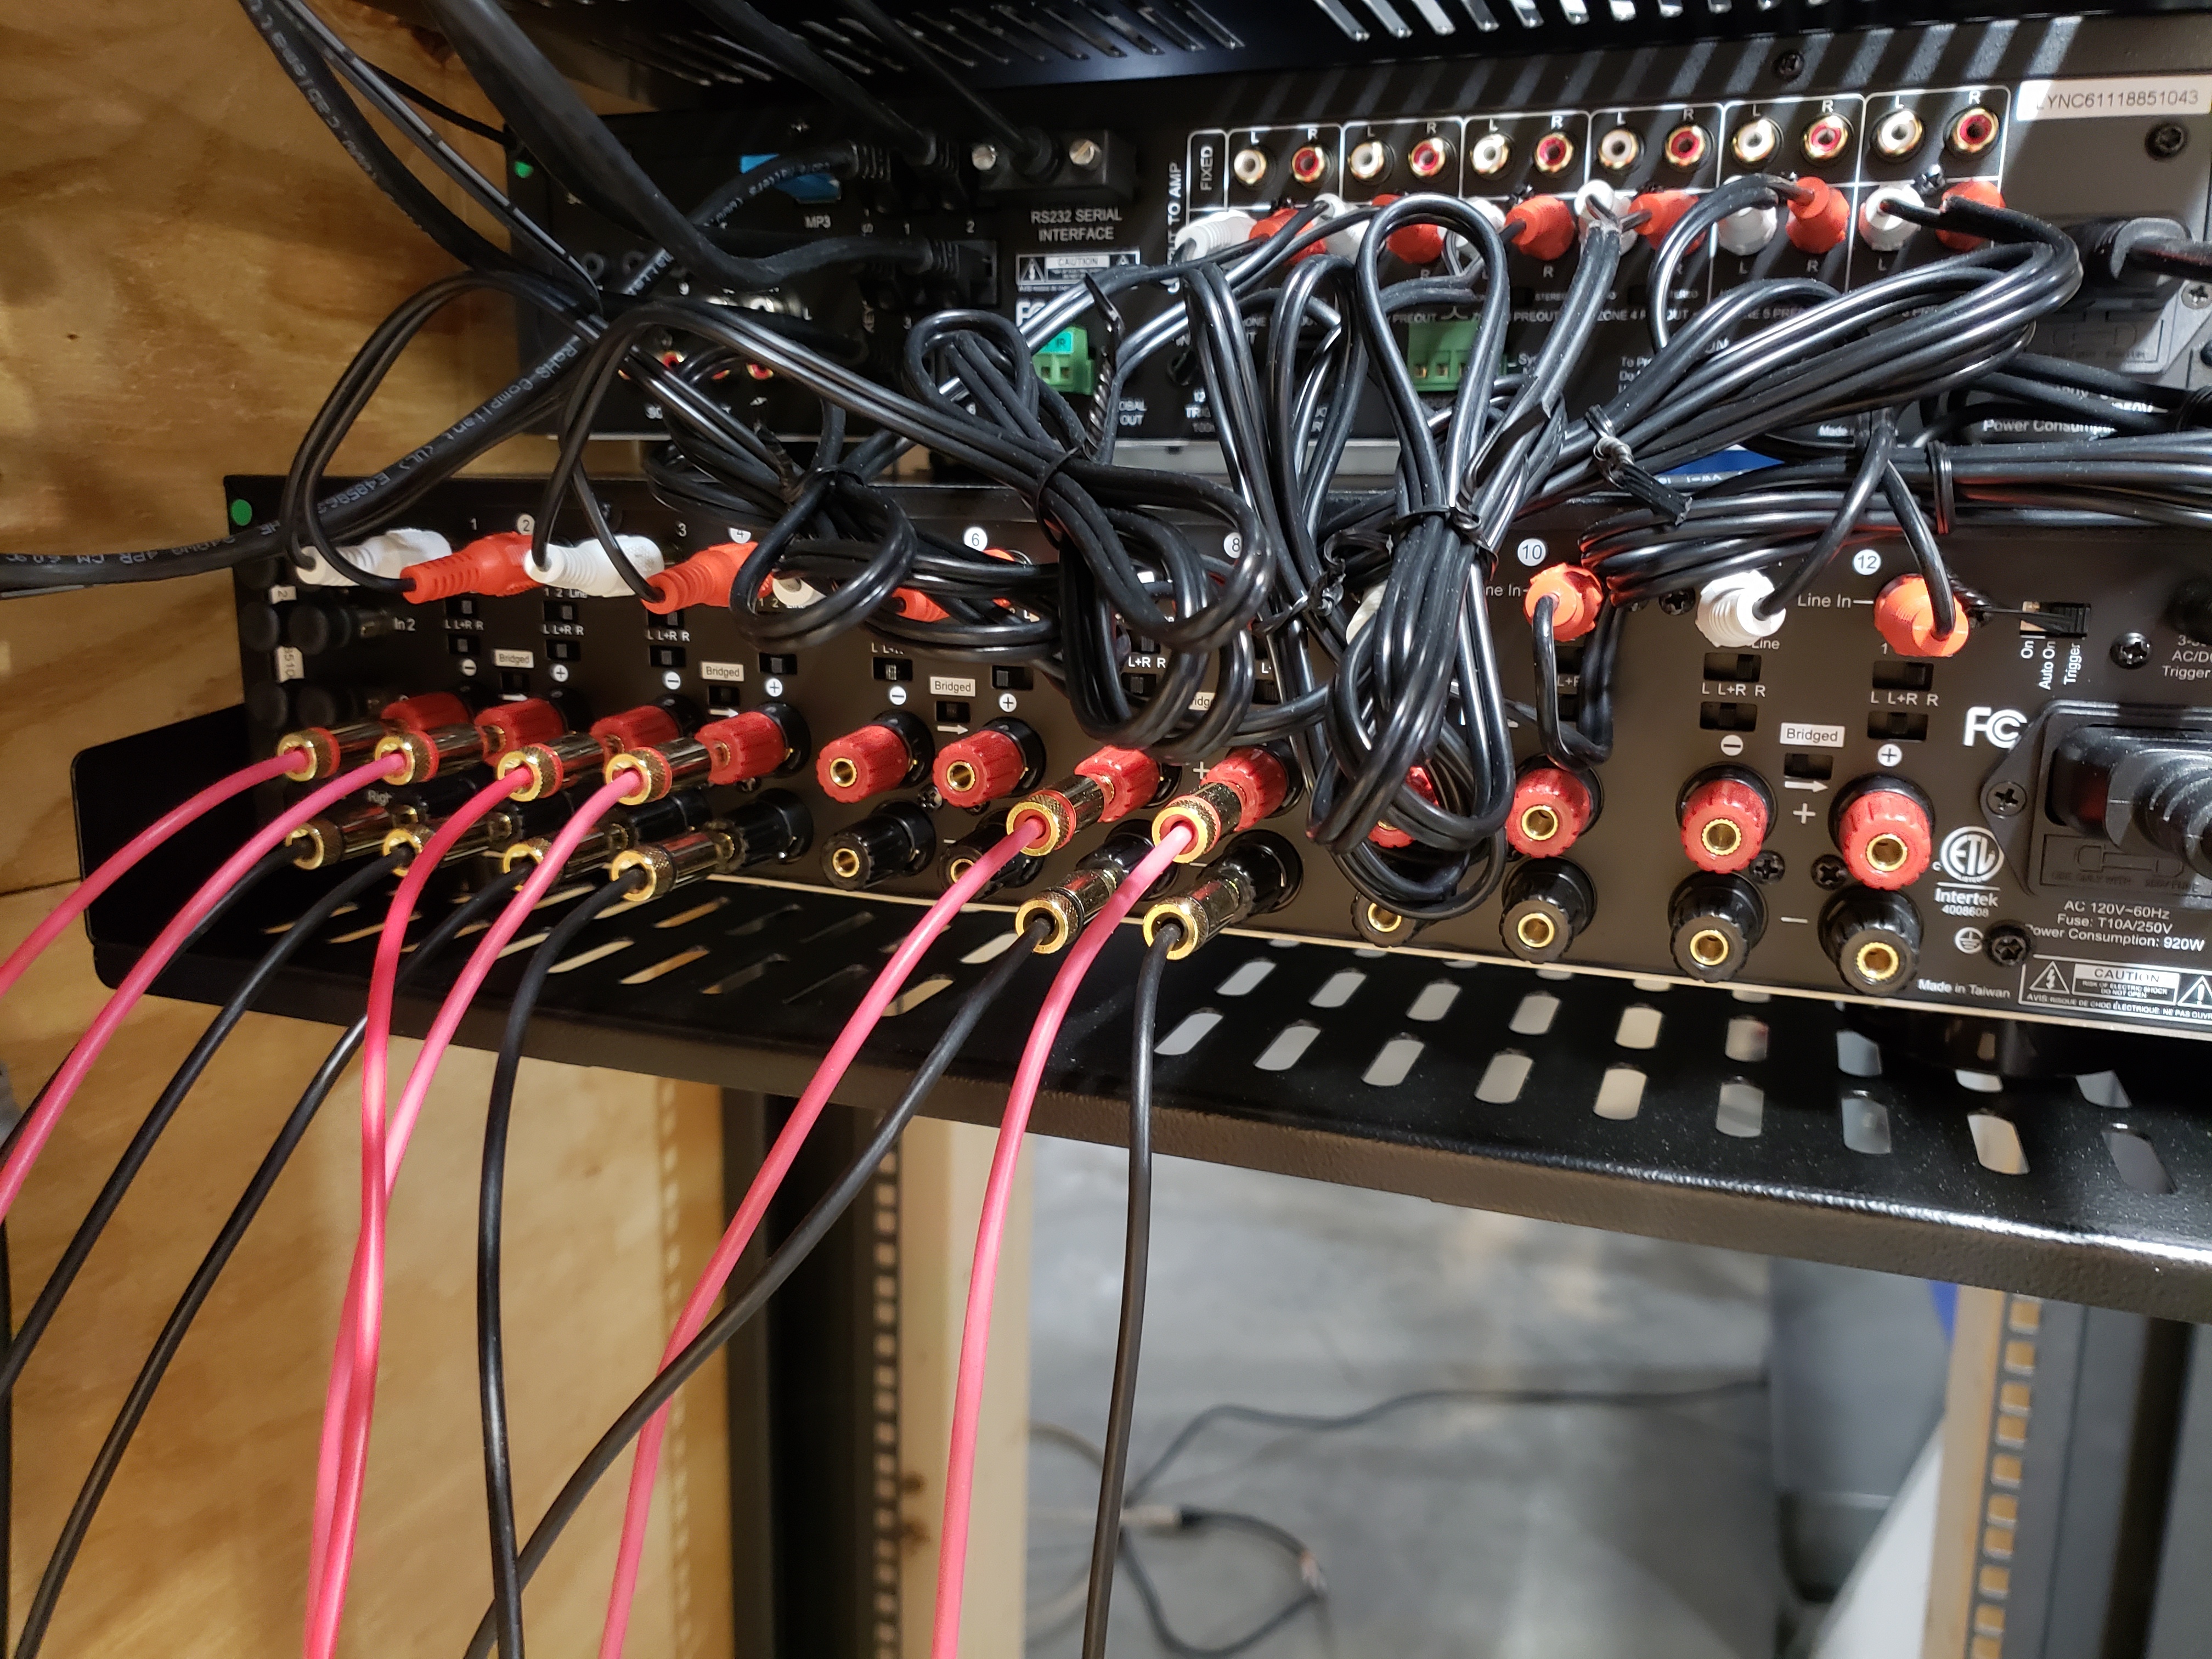
Lync 6 Controller Wiring
The keypads are installed by terminating the CAT 6 with an RG45 plug. The volume control, which I only needed because I wanted a sub zone off from my kitchen zone is wired with simple input output connectors.
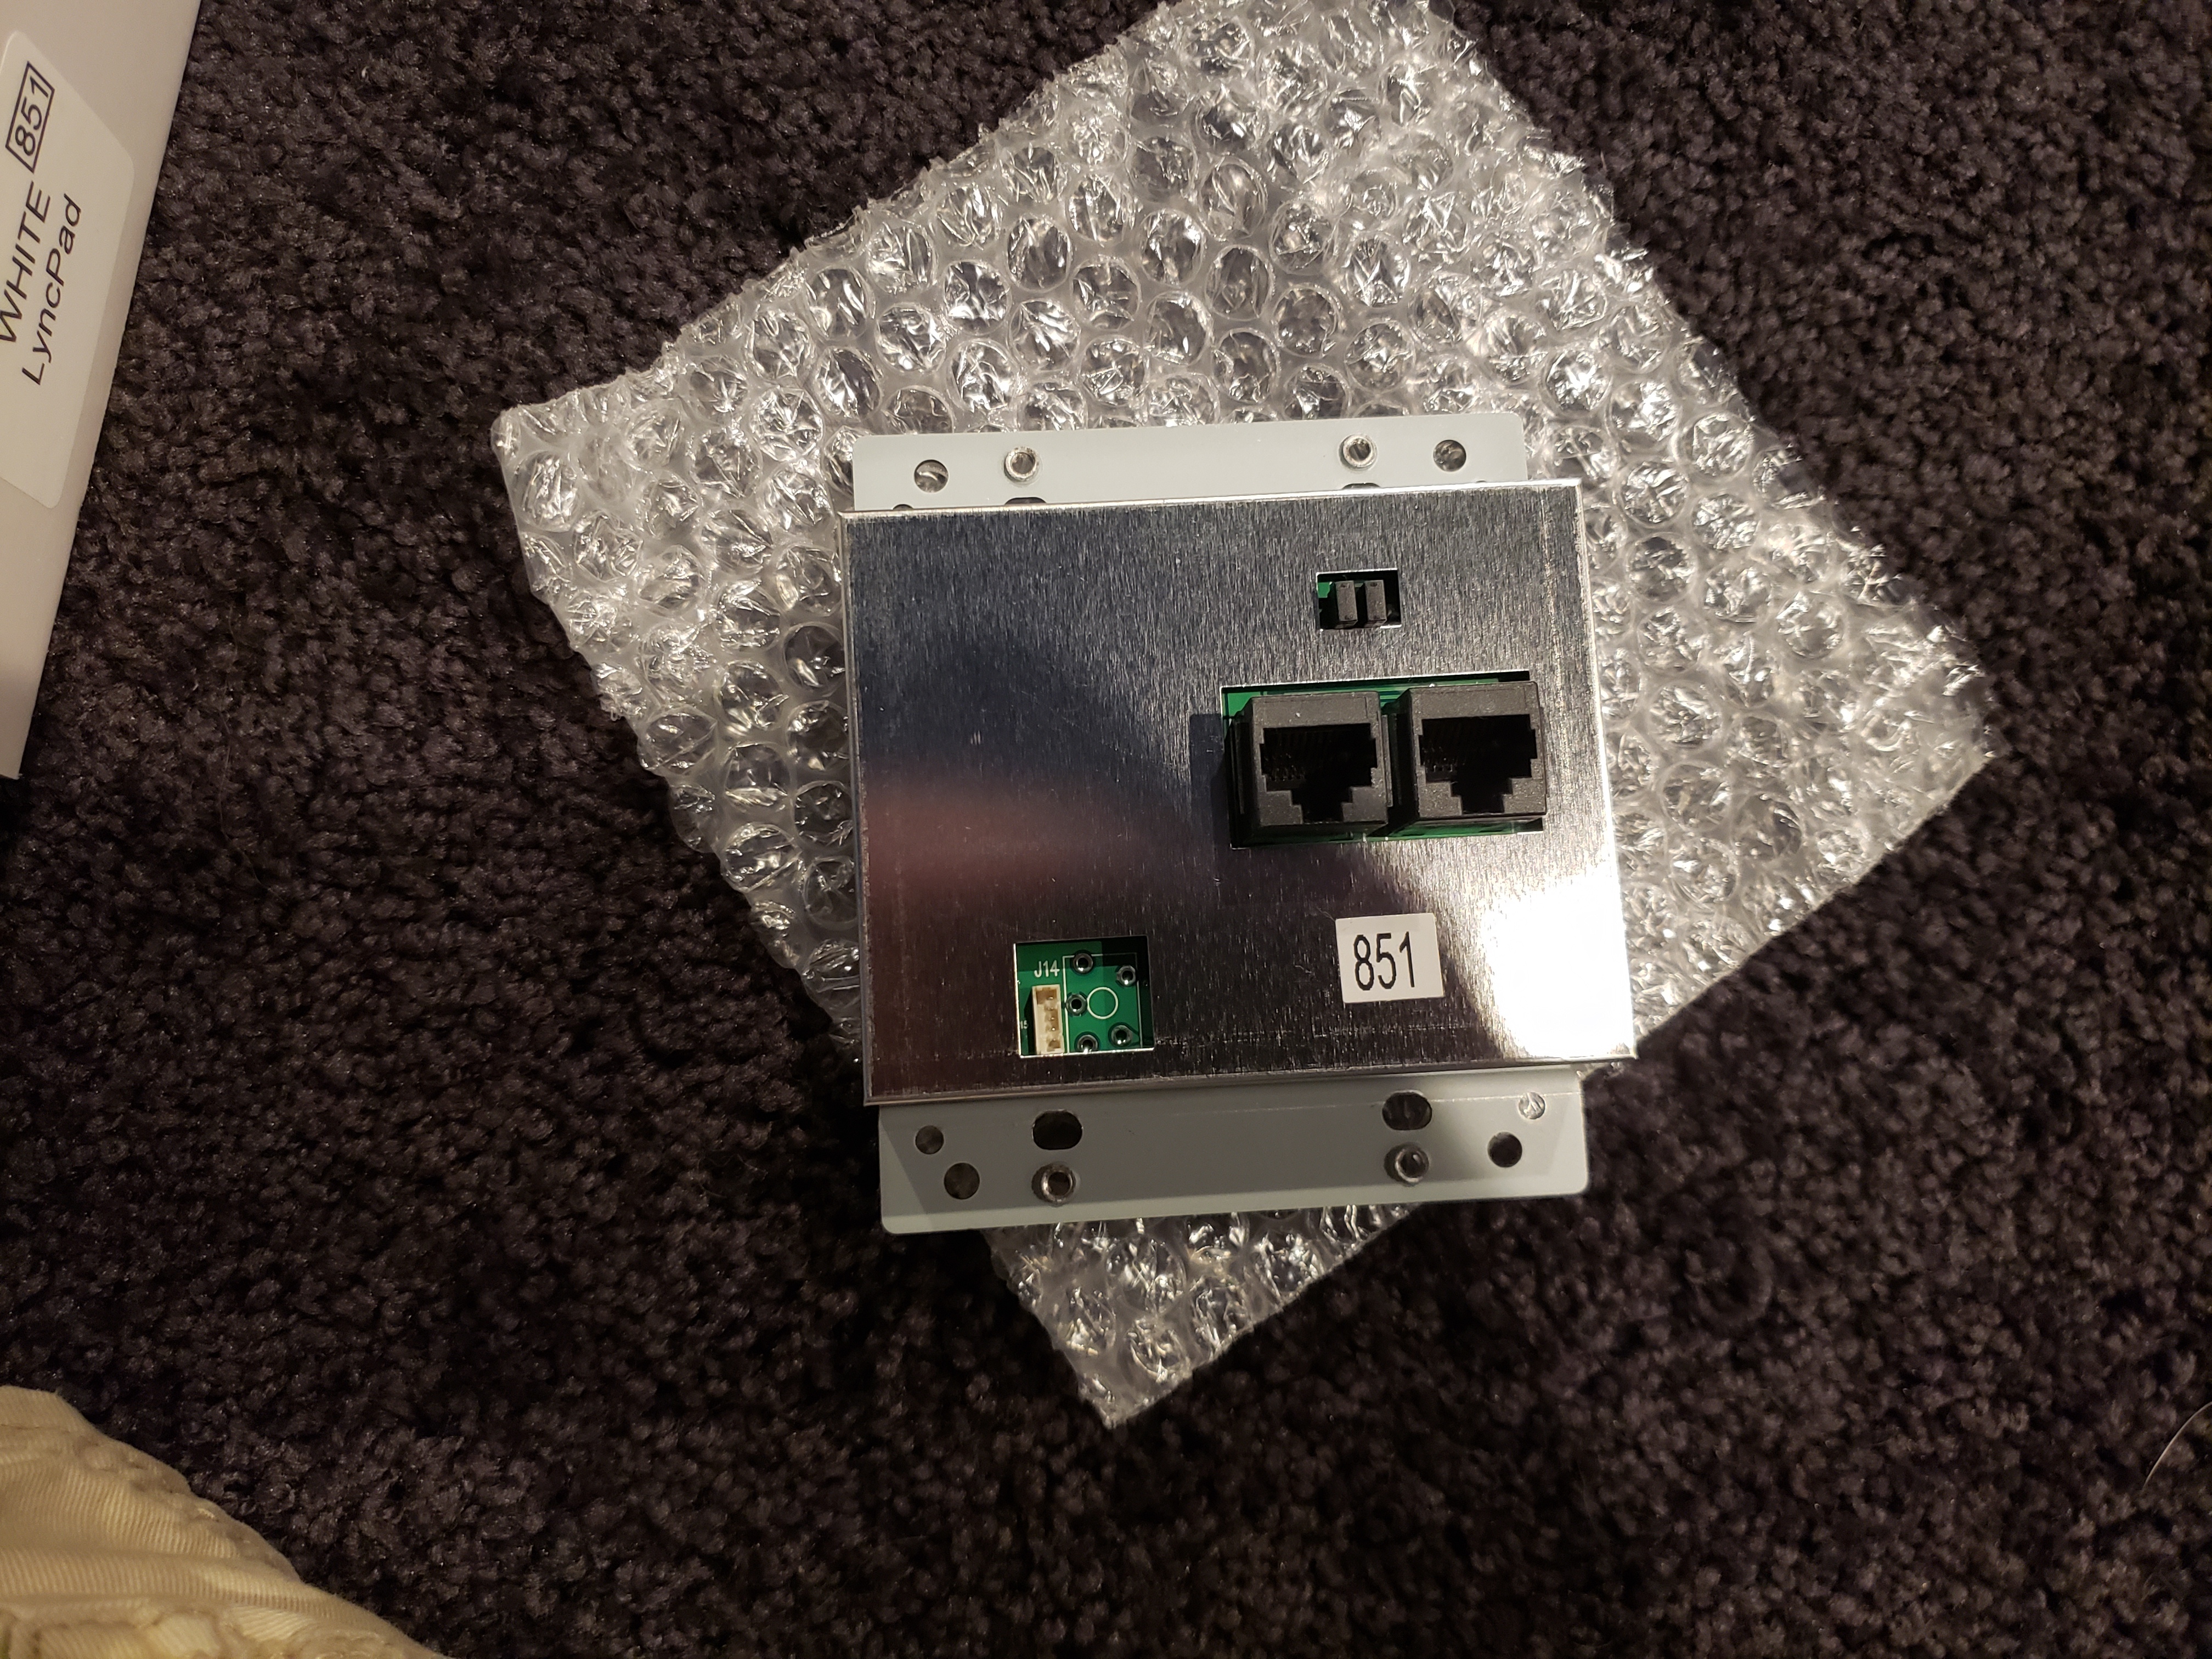
Keypad- Back
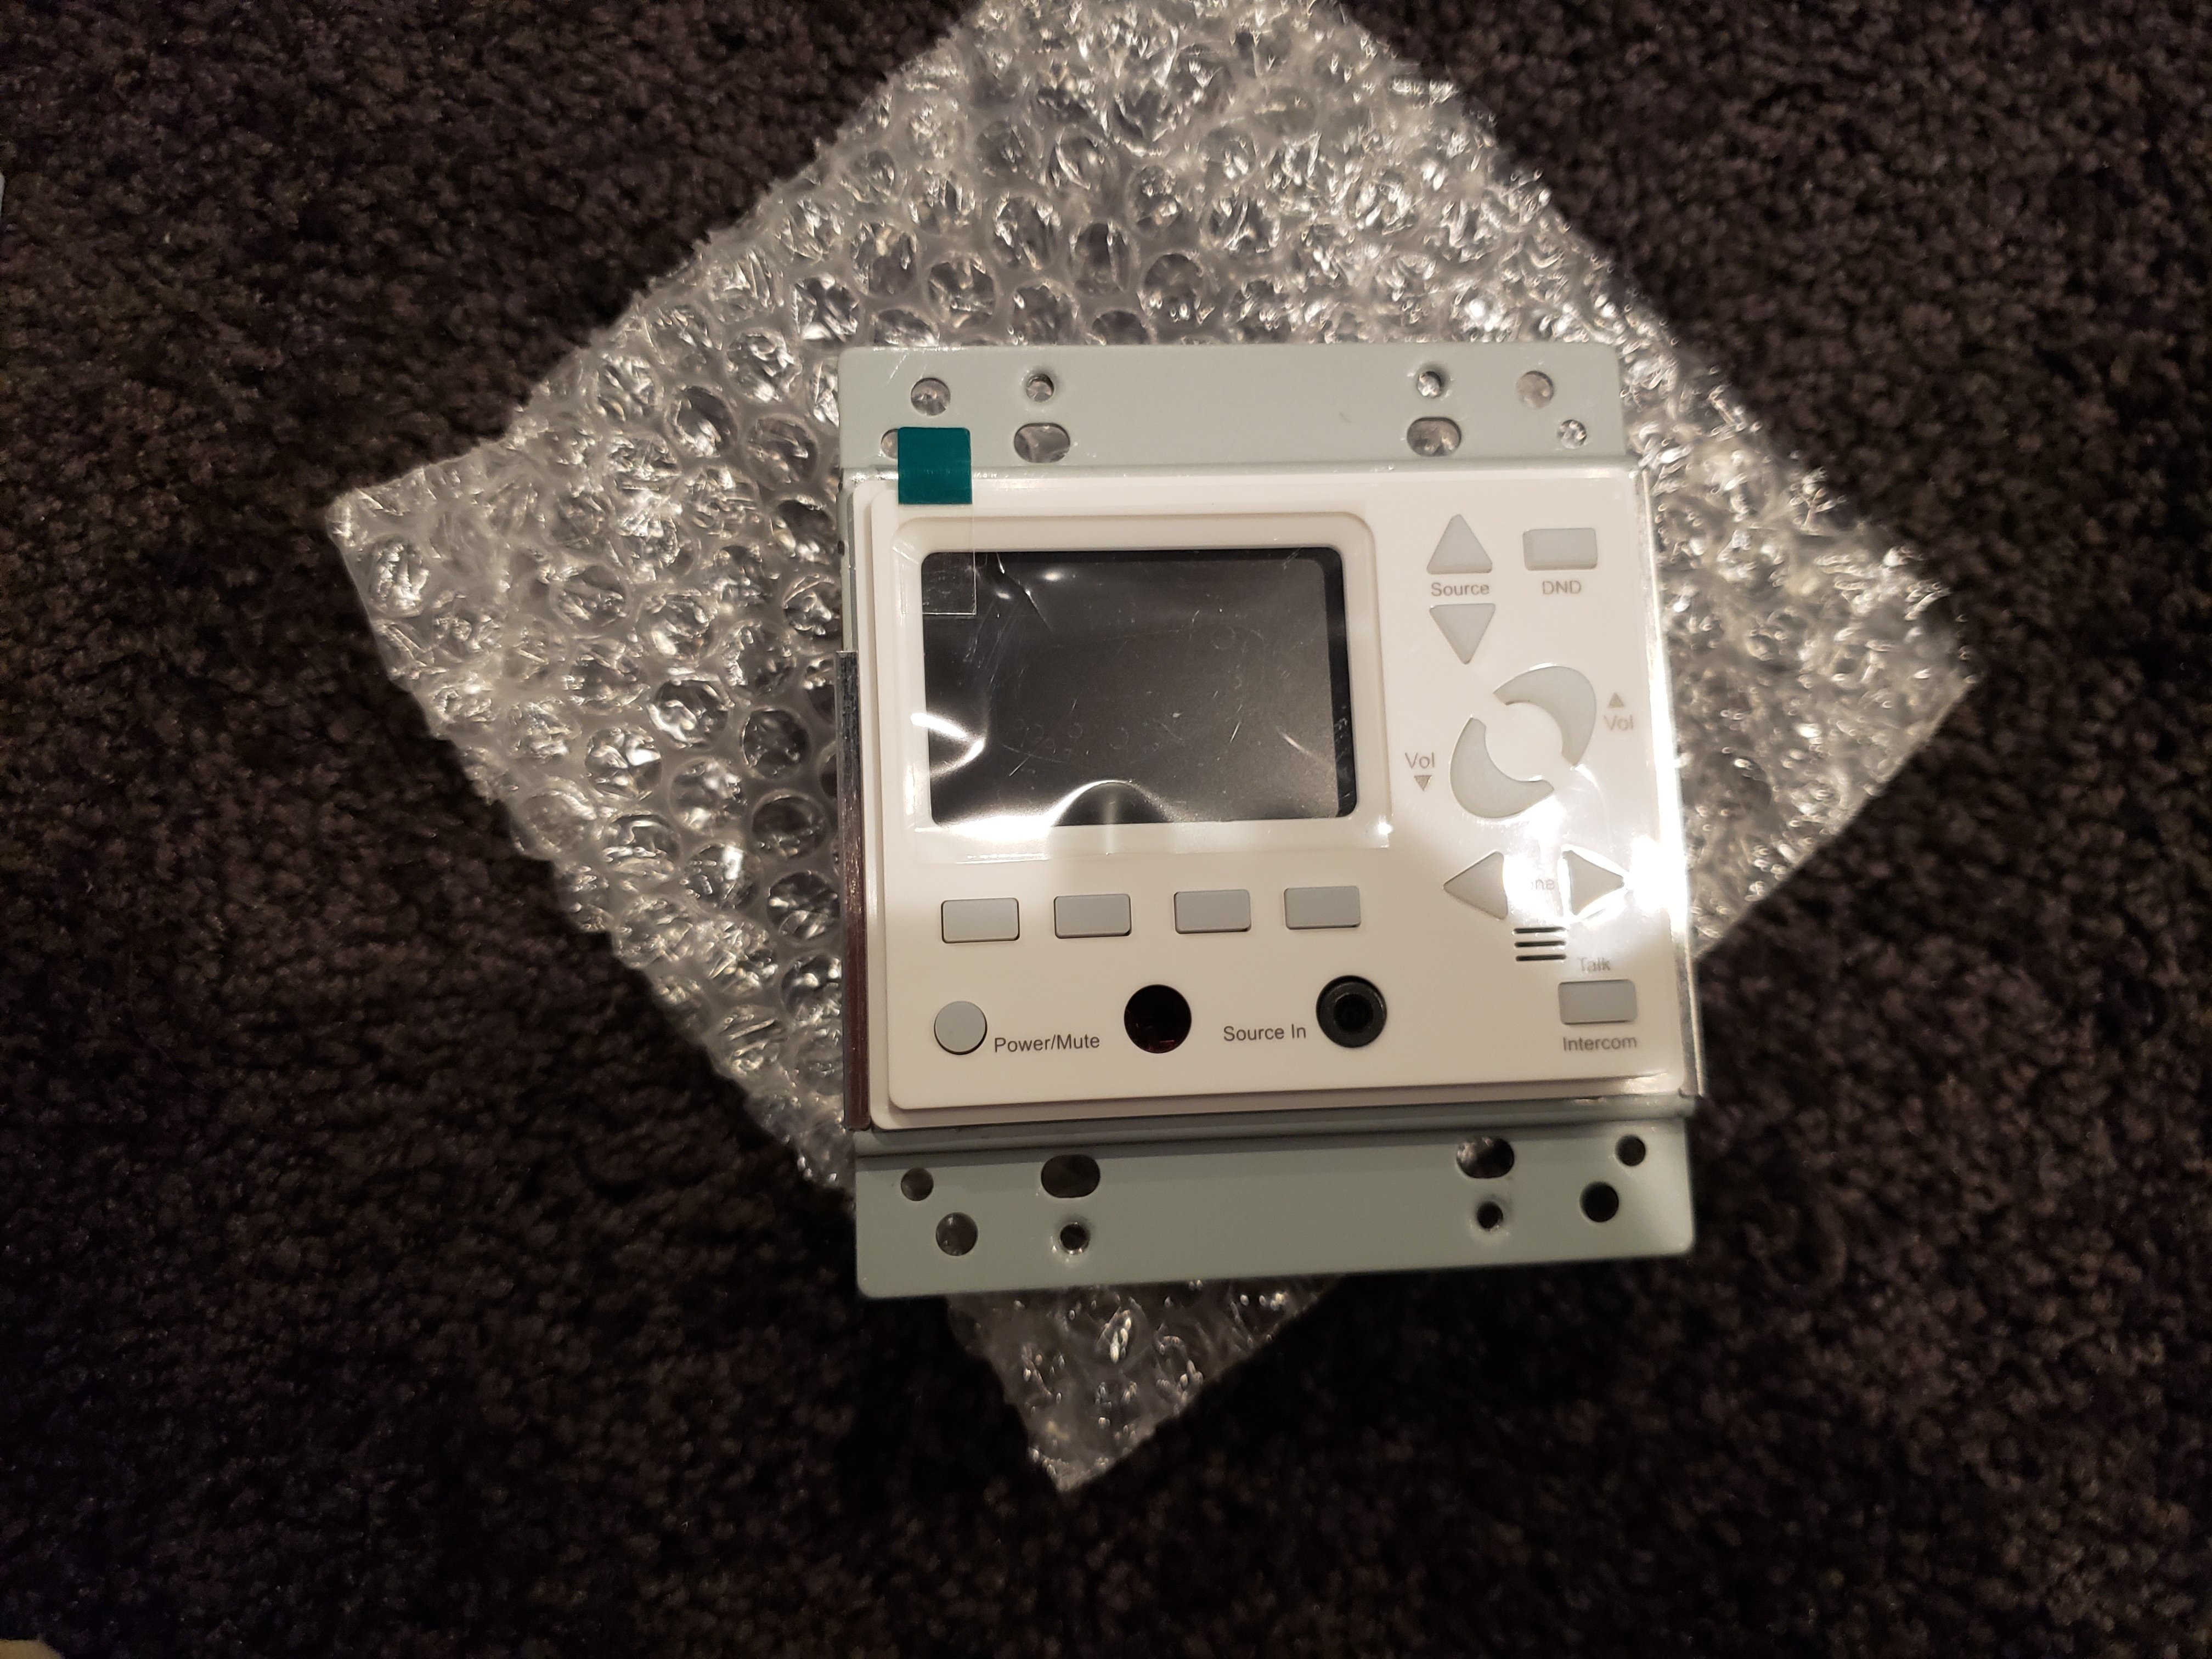
Keypad- Front
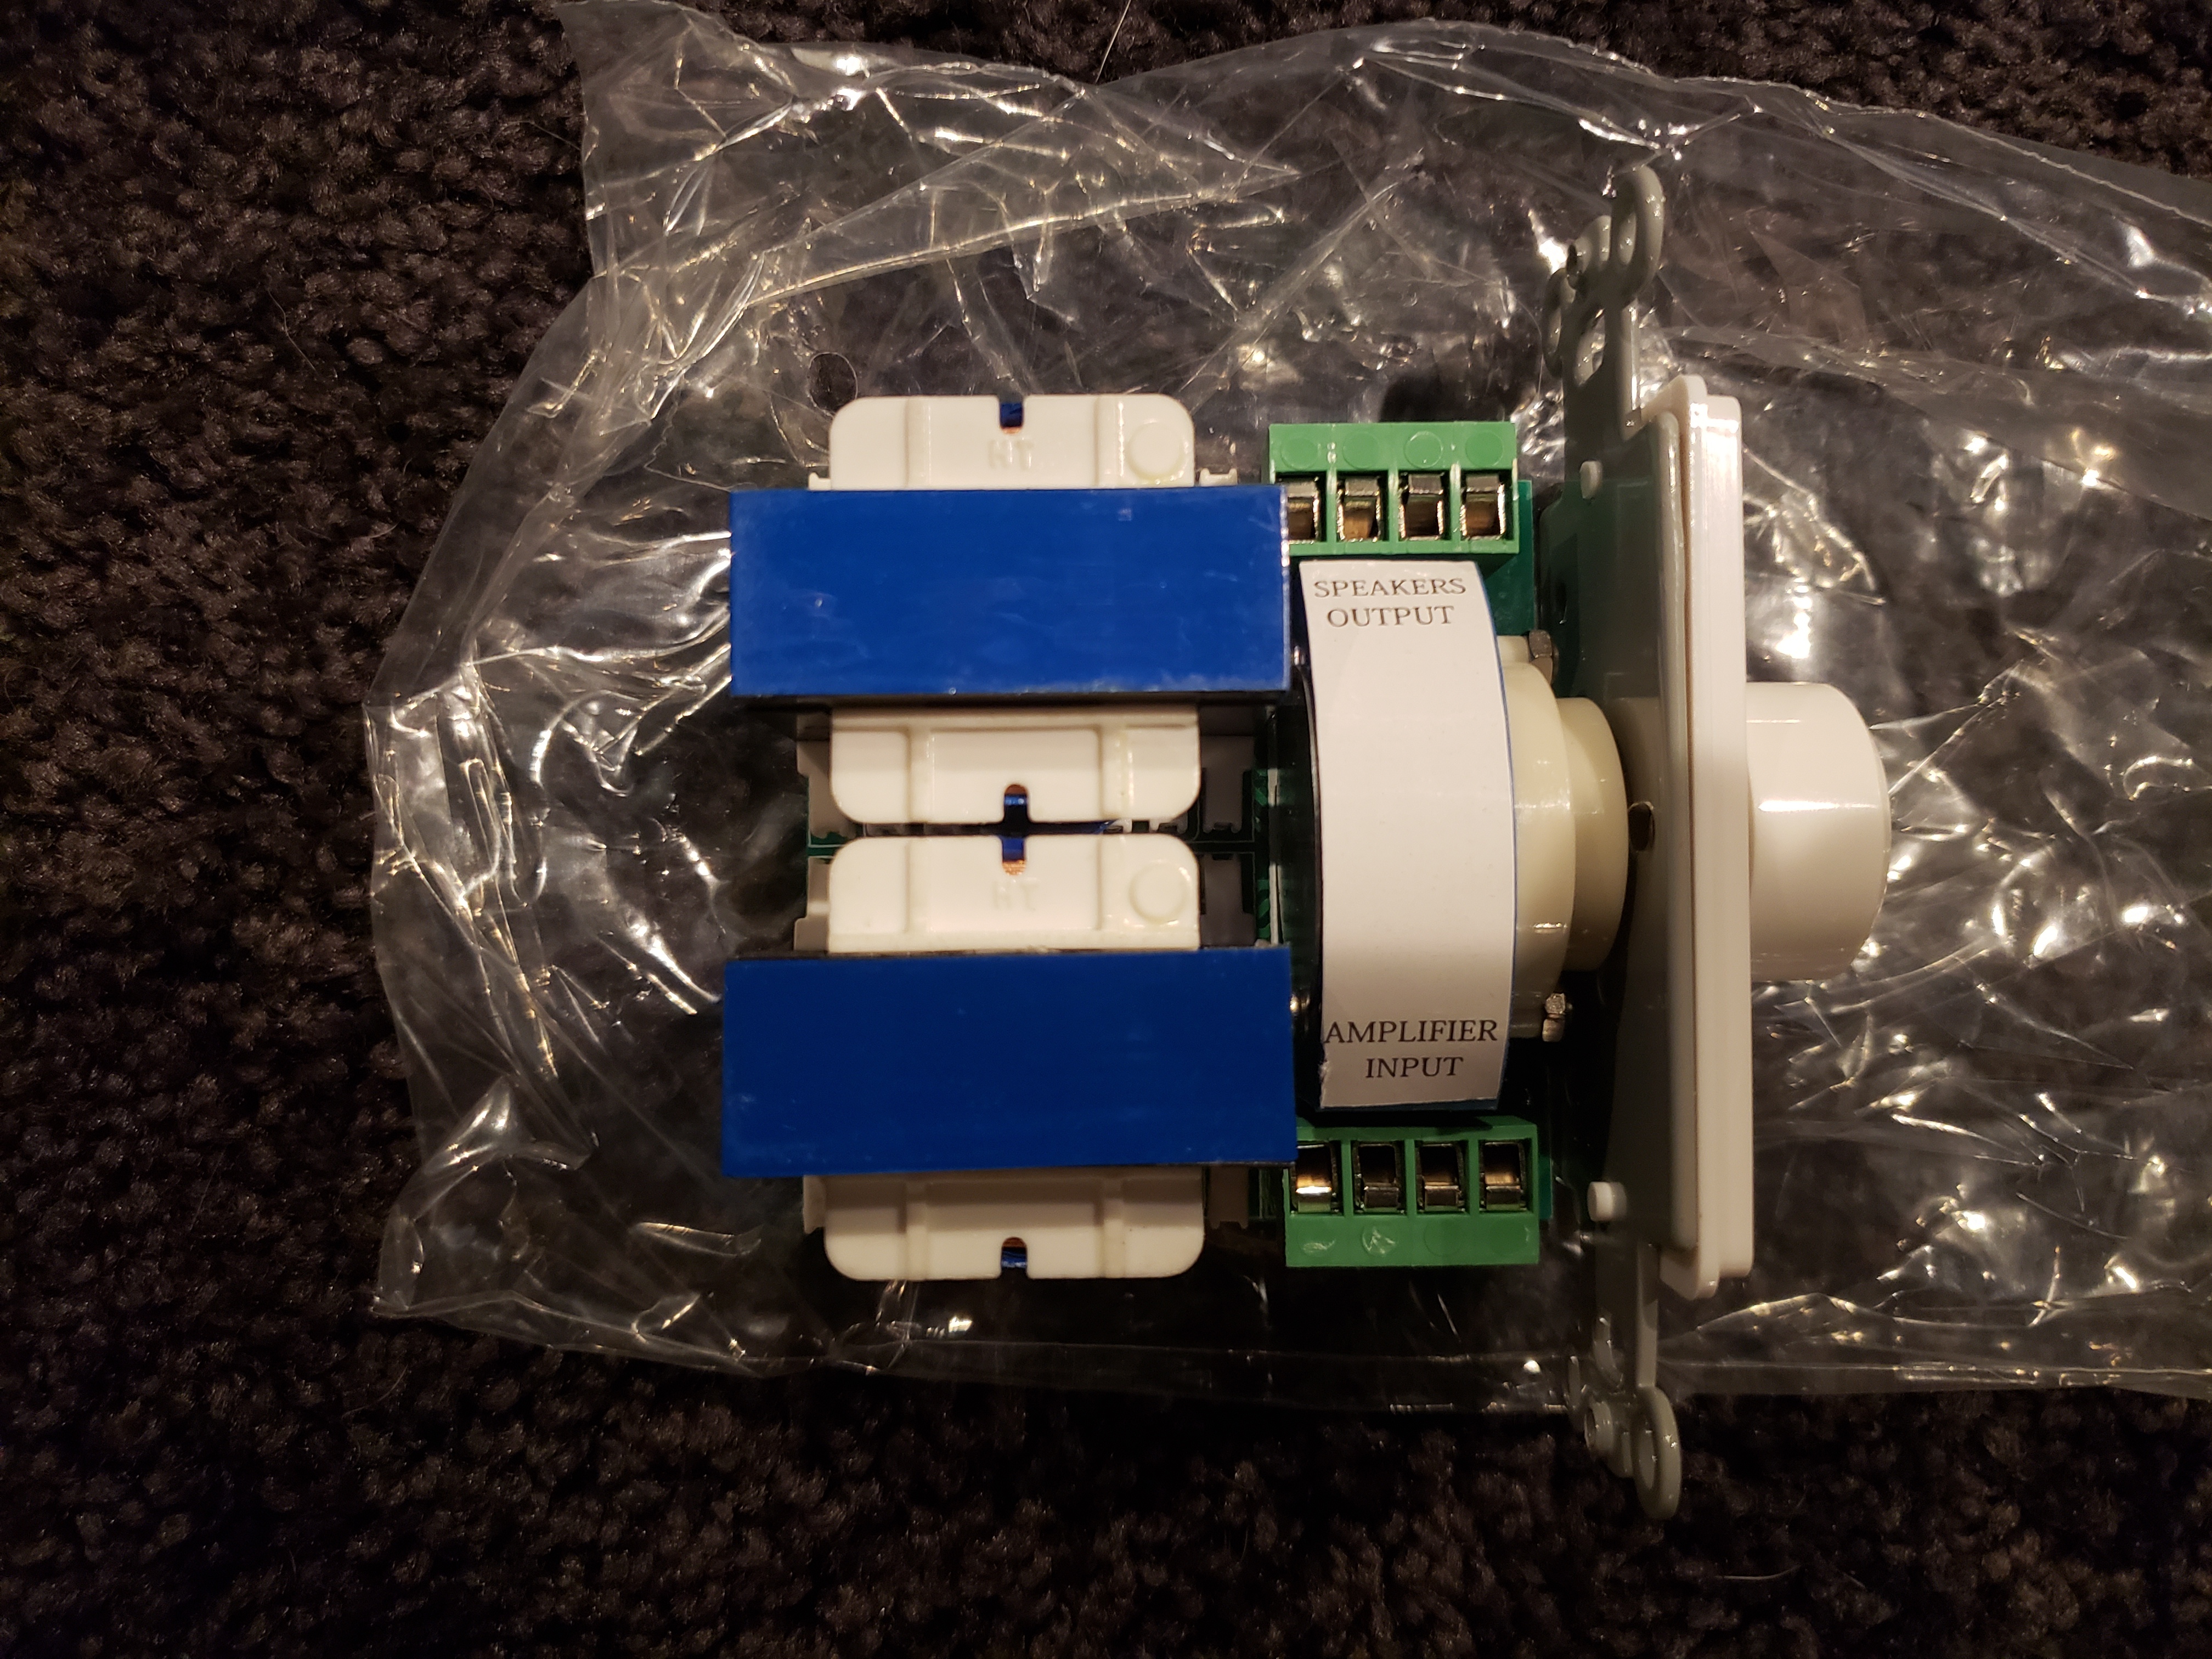
Volume Control
The input panels get plugged into the back of the keypads, so you'll need to be able to get a CAT 6 wire between them. I just cut in a low voltage ring next to the keypad. You can see the Bluetooth input panel next to the keypad in the picture below.
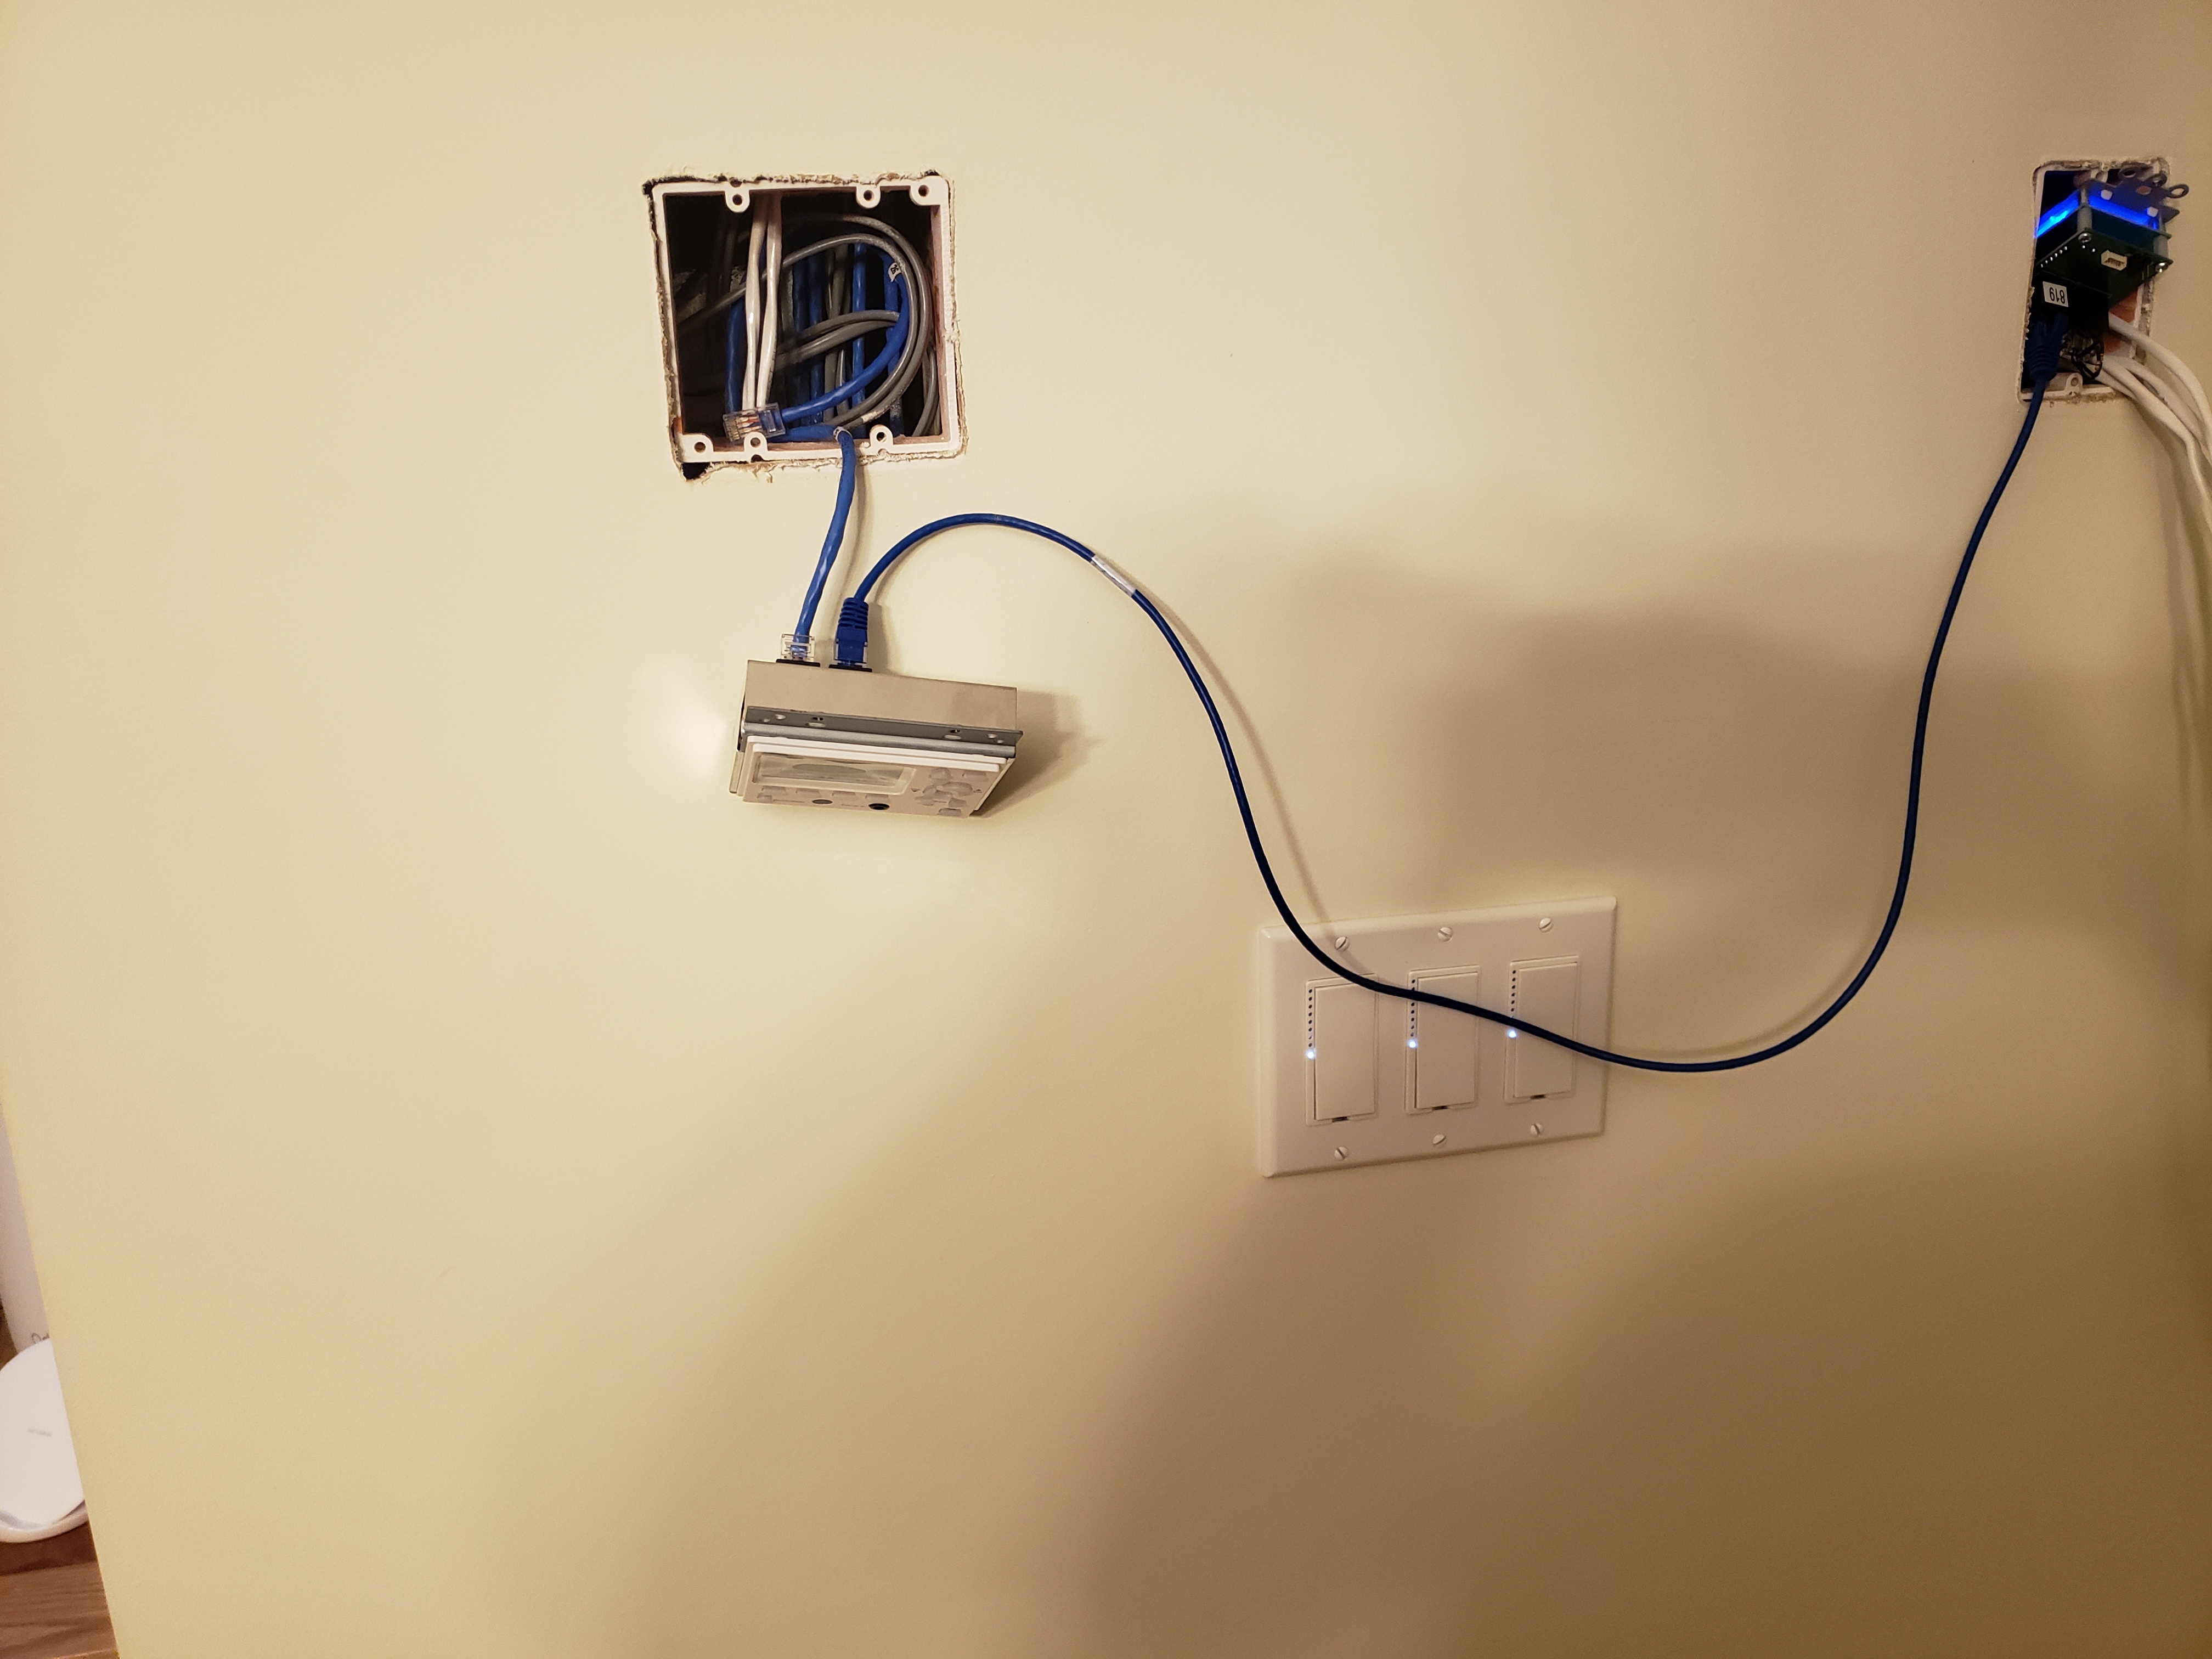
Testing
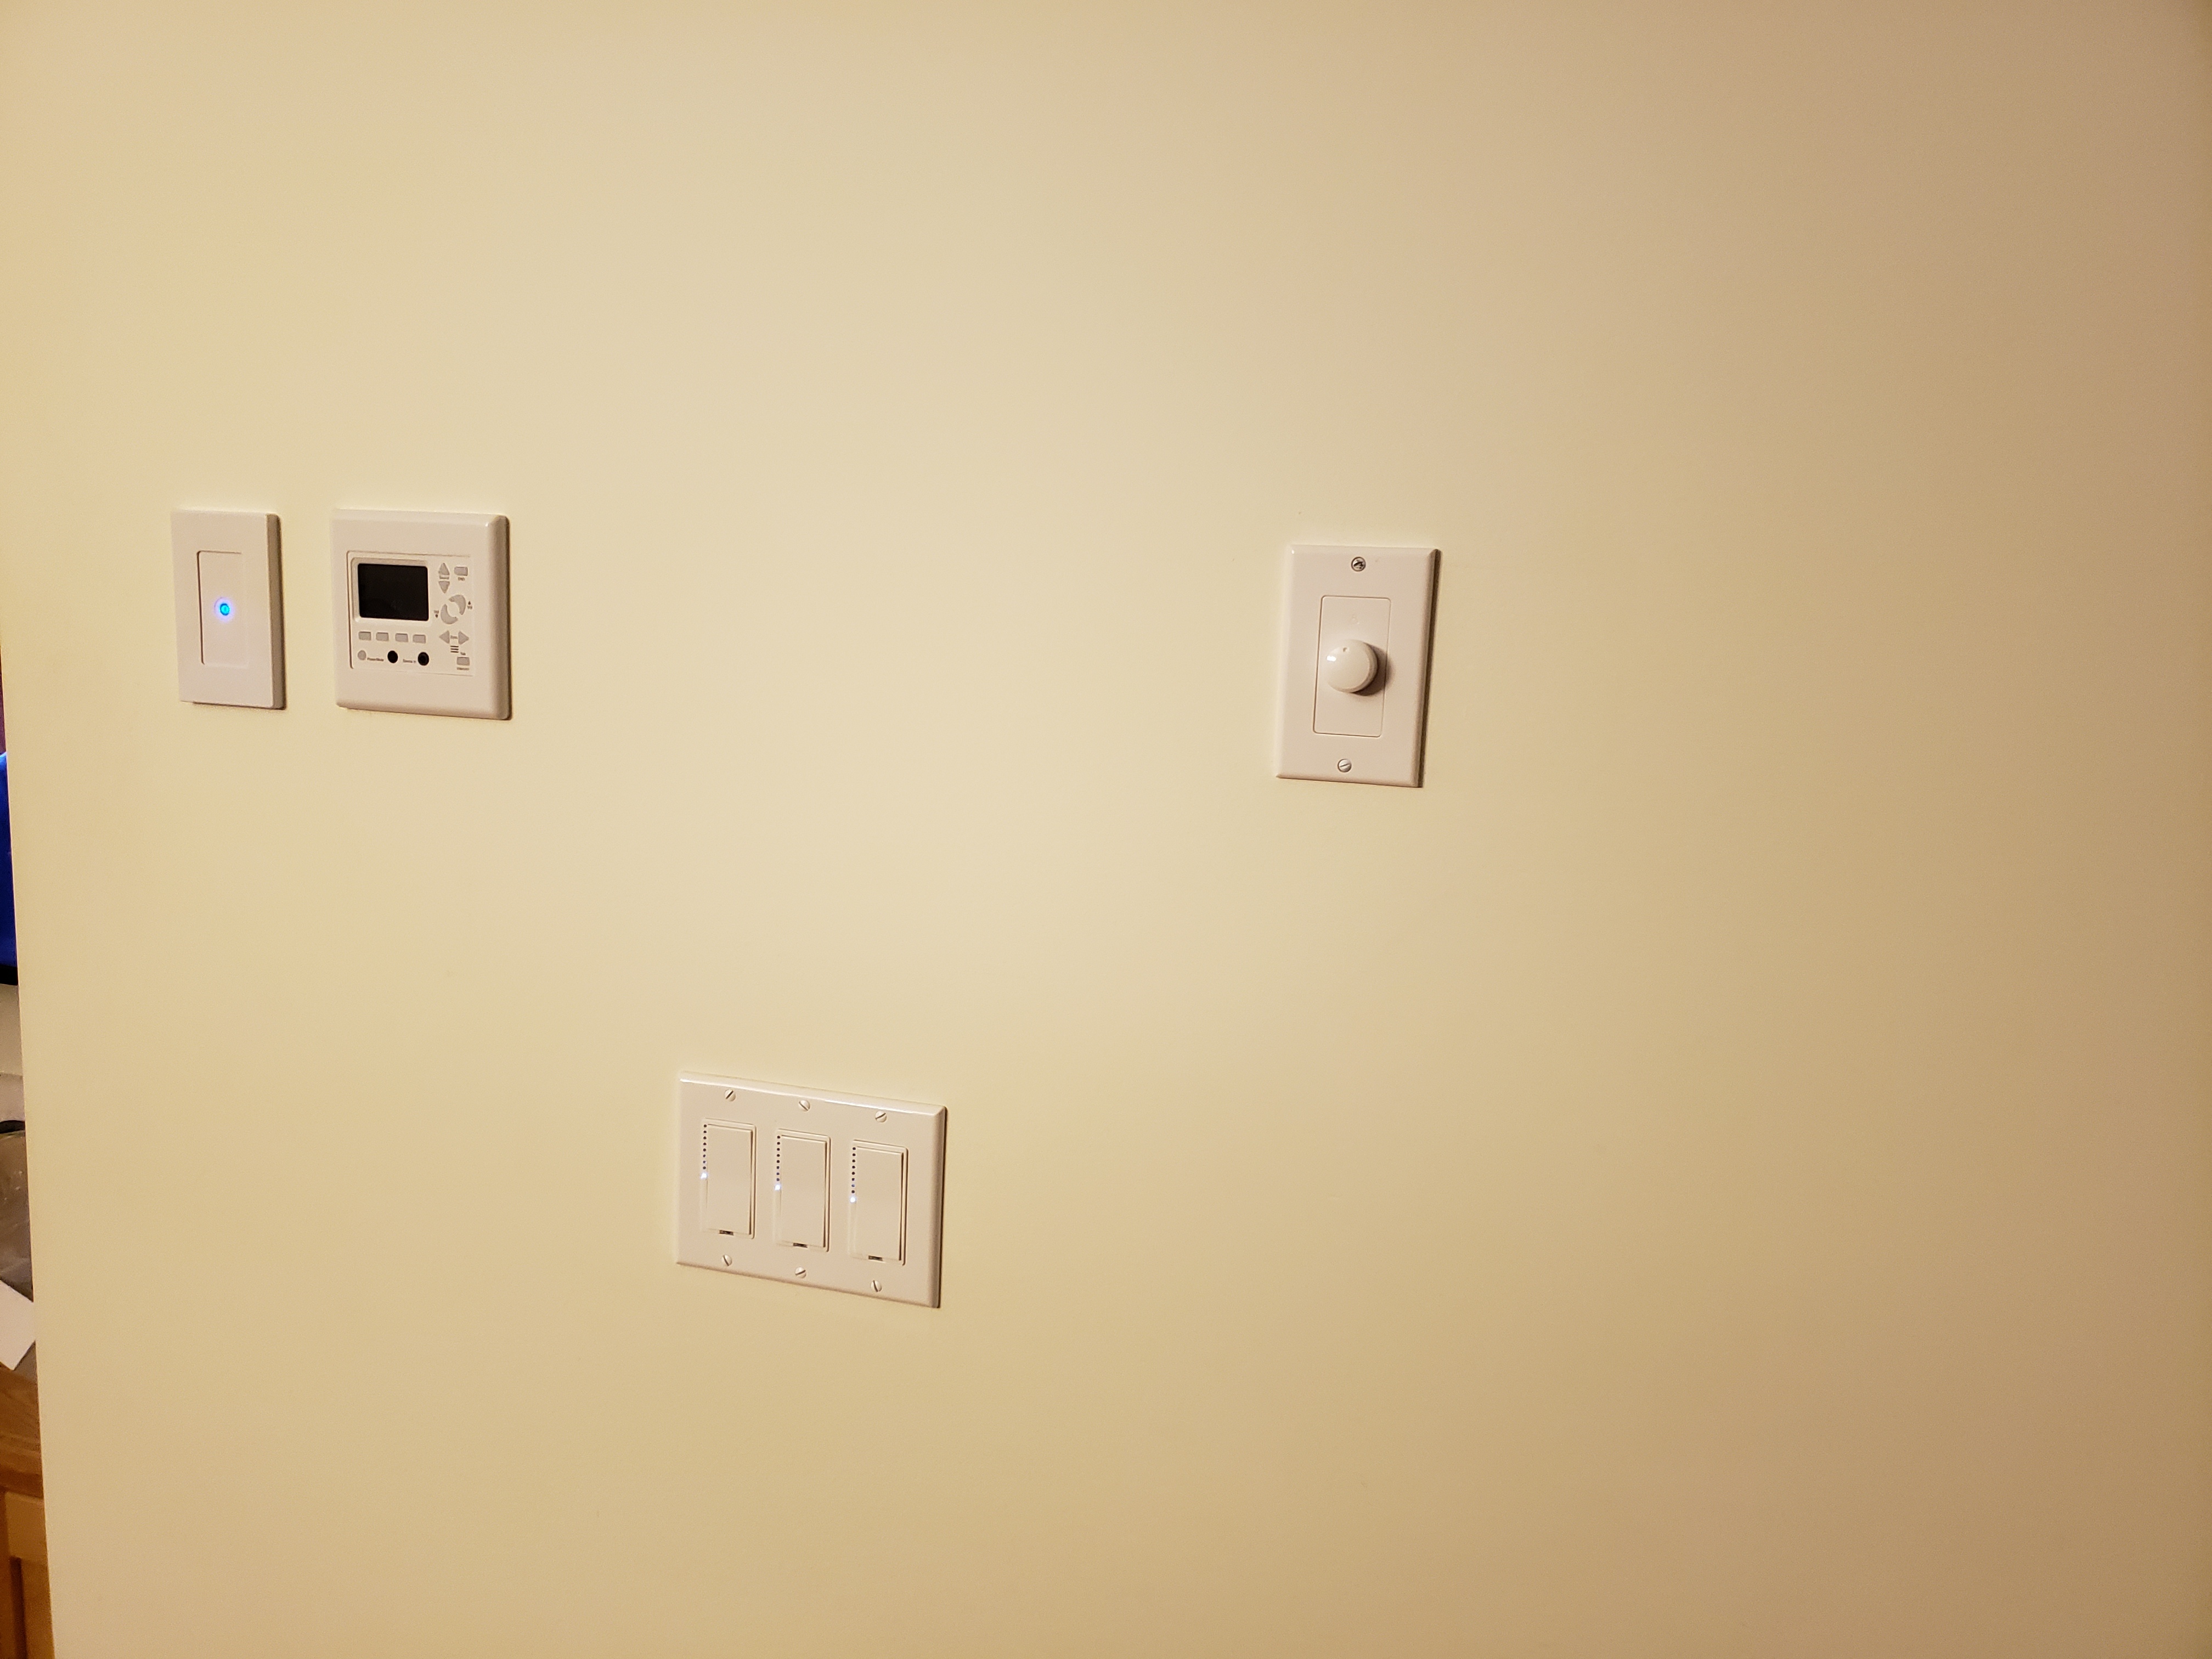
Keypad and Volume Control
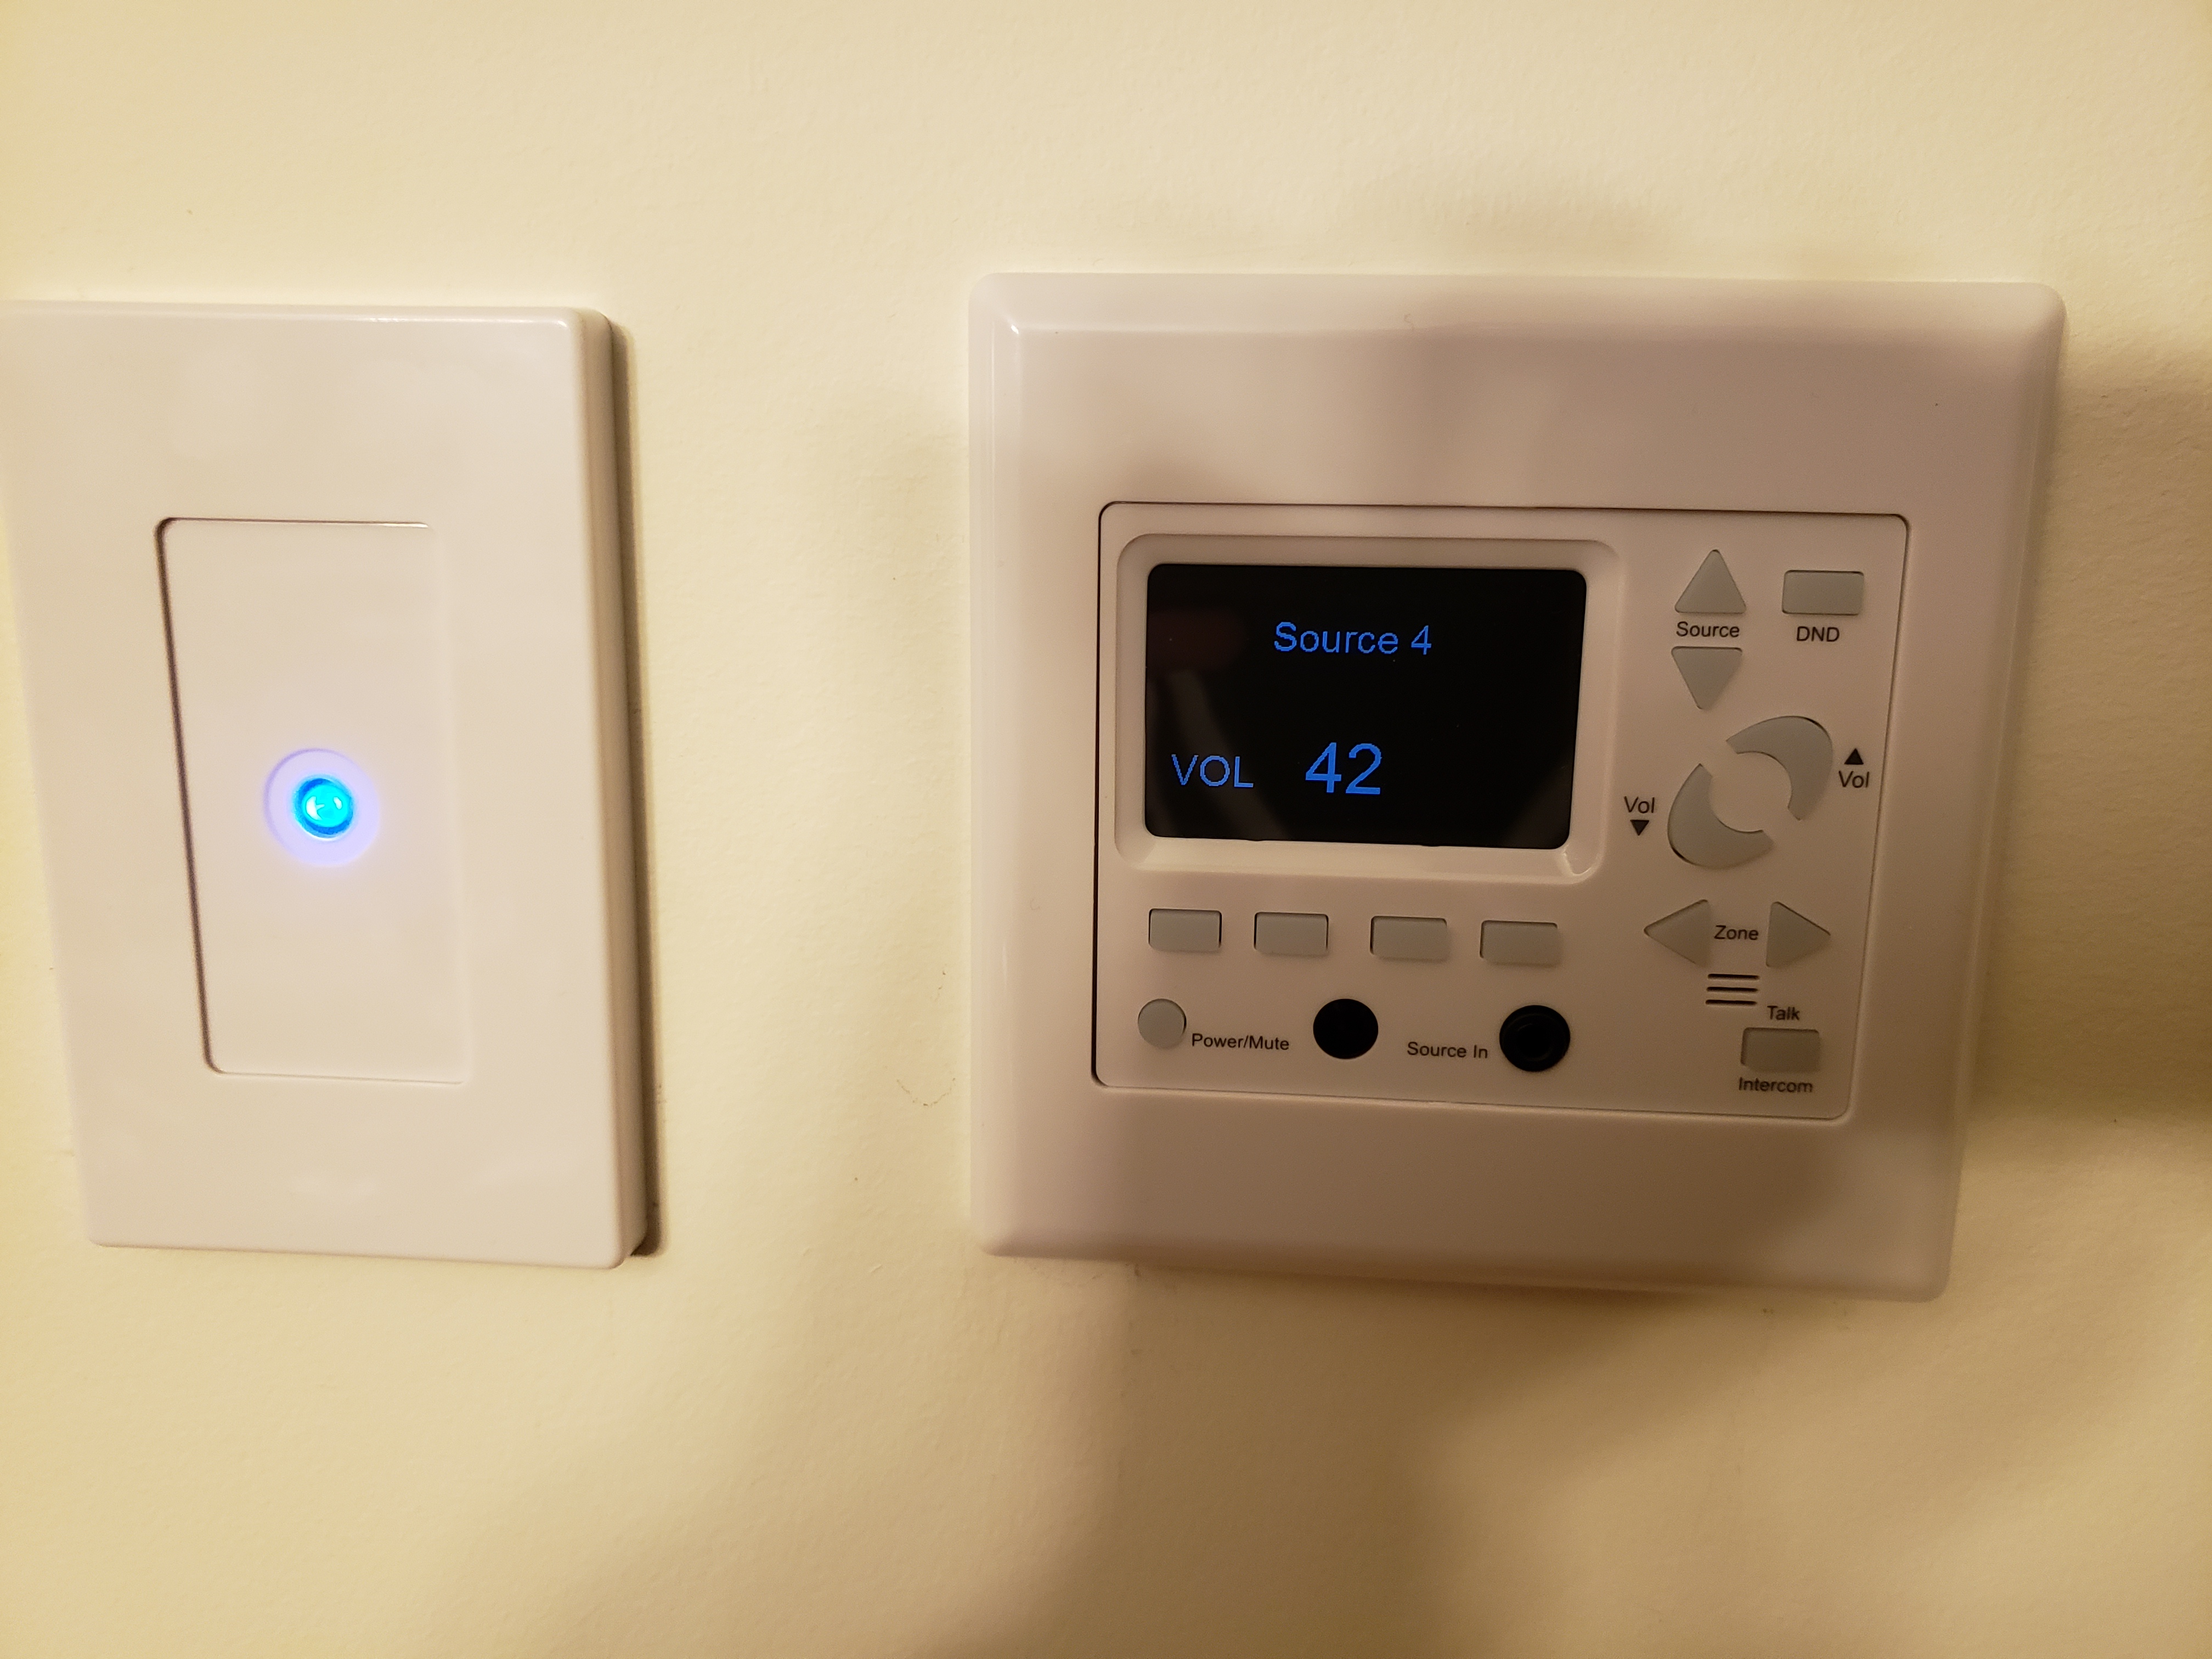
Keypad Closeup
I had cut outs in place for the ceiling speakers when we built our house. I did run into a small problem with this, since I had the cutouts sized for HTD's older HD speakers which had a 7-3/4" rough in size. Their new HDX speakers have an 8" rough in size. This normally wouldn't have been a big deal, but my builder decided to put 3/4" Advantec in openings to make sure the drywall hangers cut it out. If it weren't for that I would have be able to simply cut the hole bigger with a drywall saw. Instead it took a router and jigsaw, which created a big mess. The wall speakers weren't cut out ahead of time, so I cut those out using the provided templates. The speakers come with templates to cut out the drywall. I put insulation in the holes before installing the ceiling speakers.
HINT: Take pictures of your rough wiring. I makes a good reference later when you are trying to cut the speakers in. Here a picture of the master bedroom wall with the rough wiring. Notice the speaker wires coiled up the in wall.
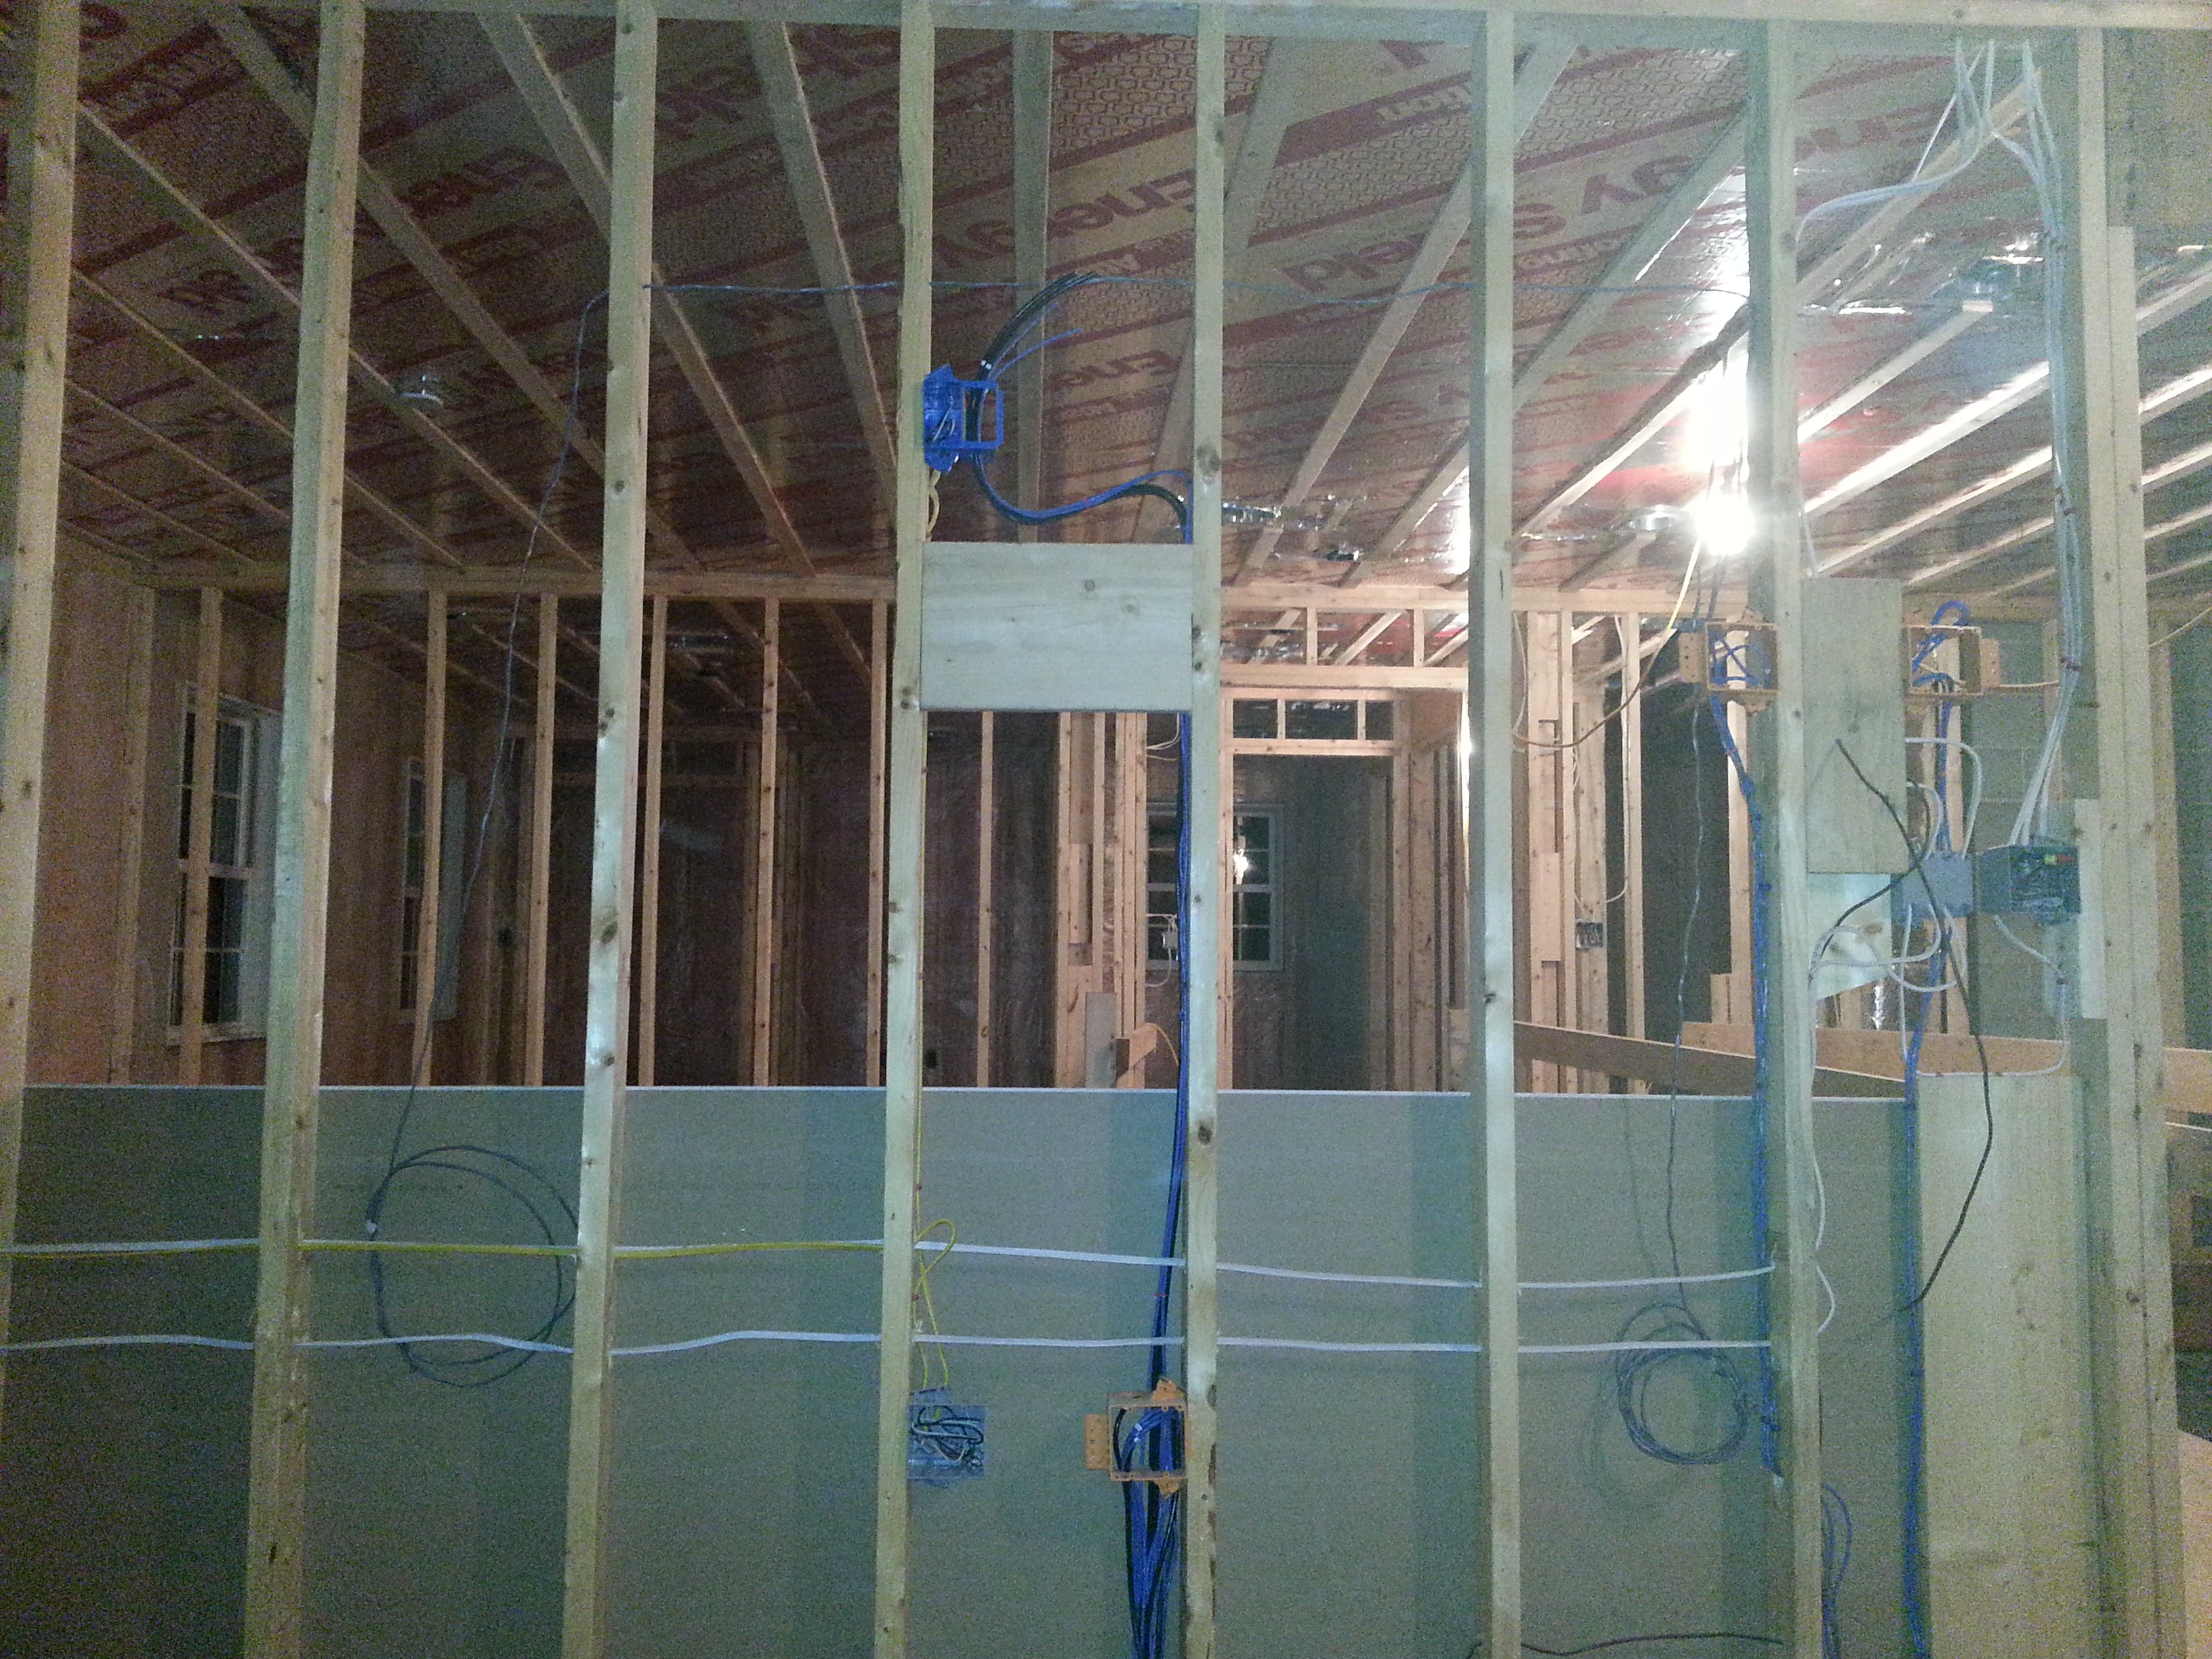
Master Bedroom Rough Wiring
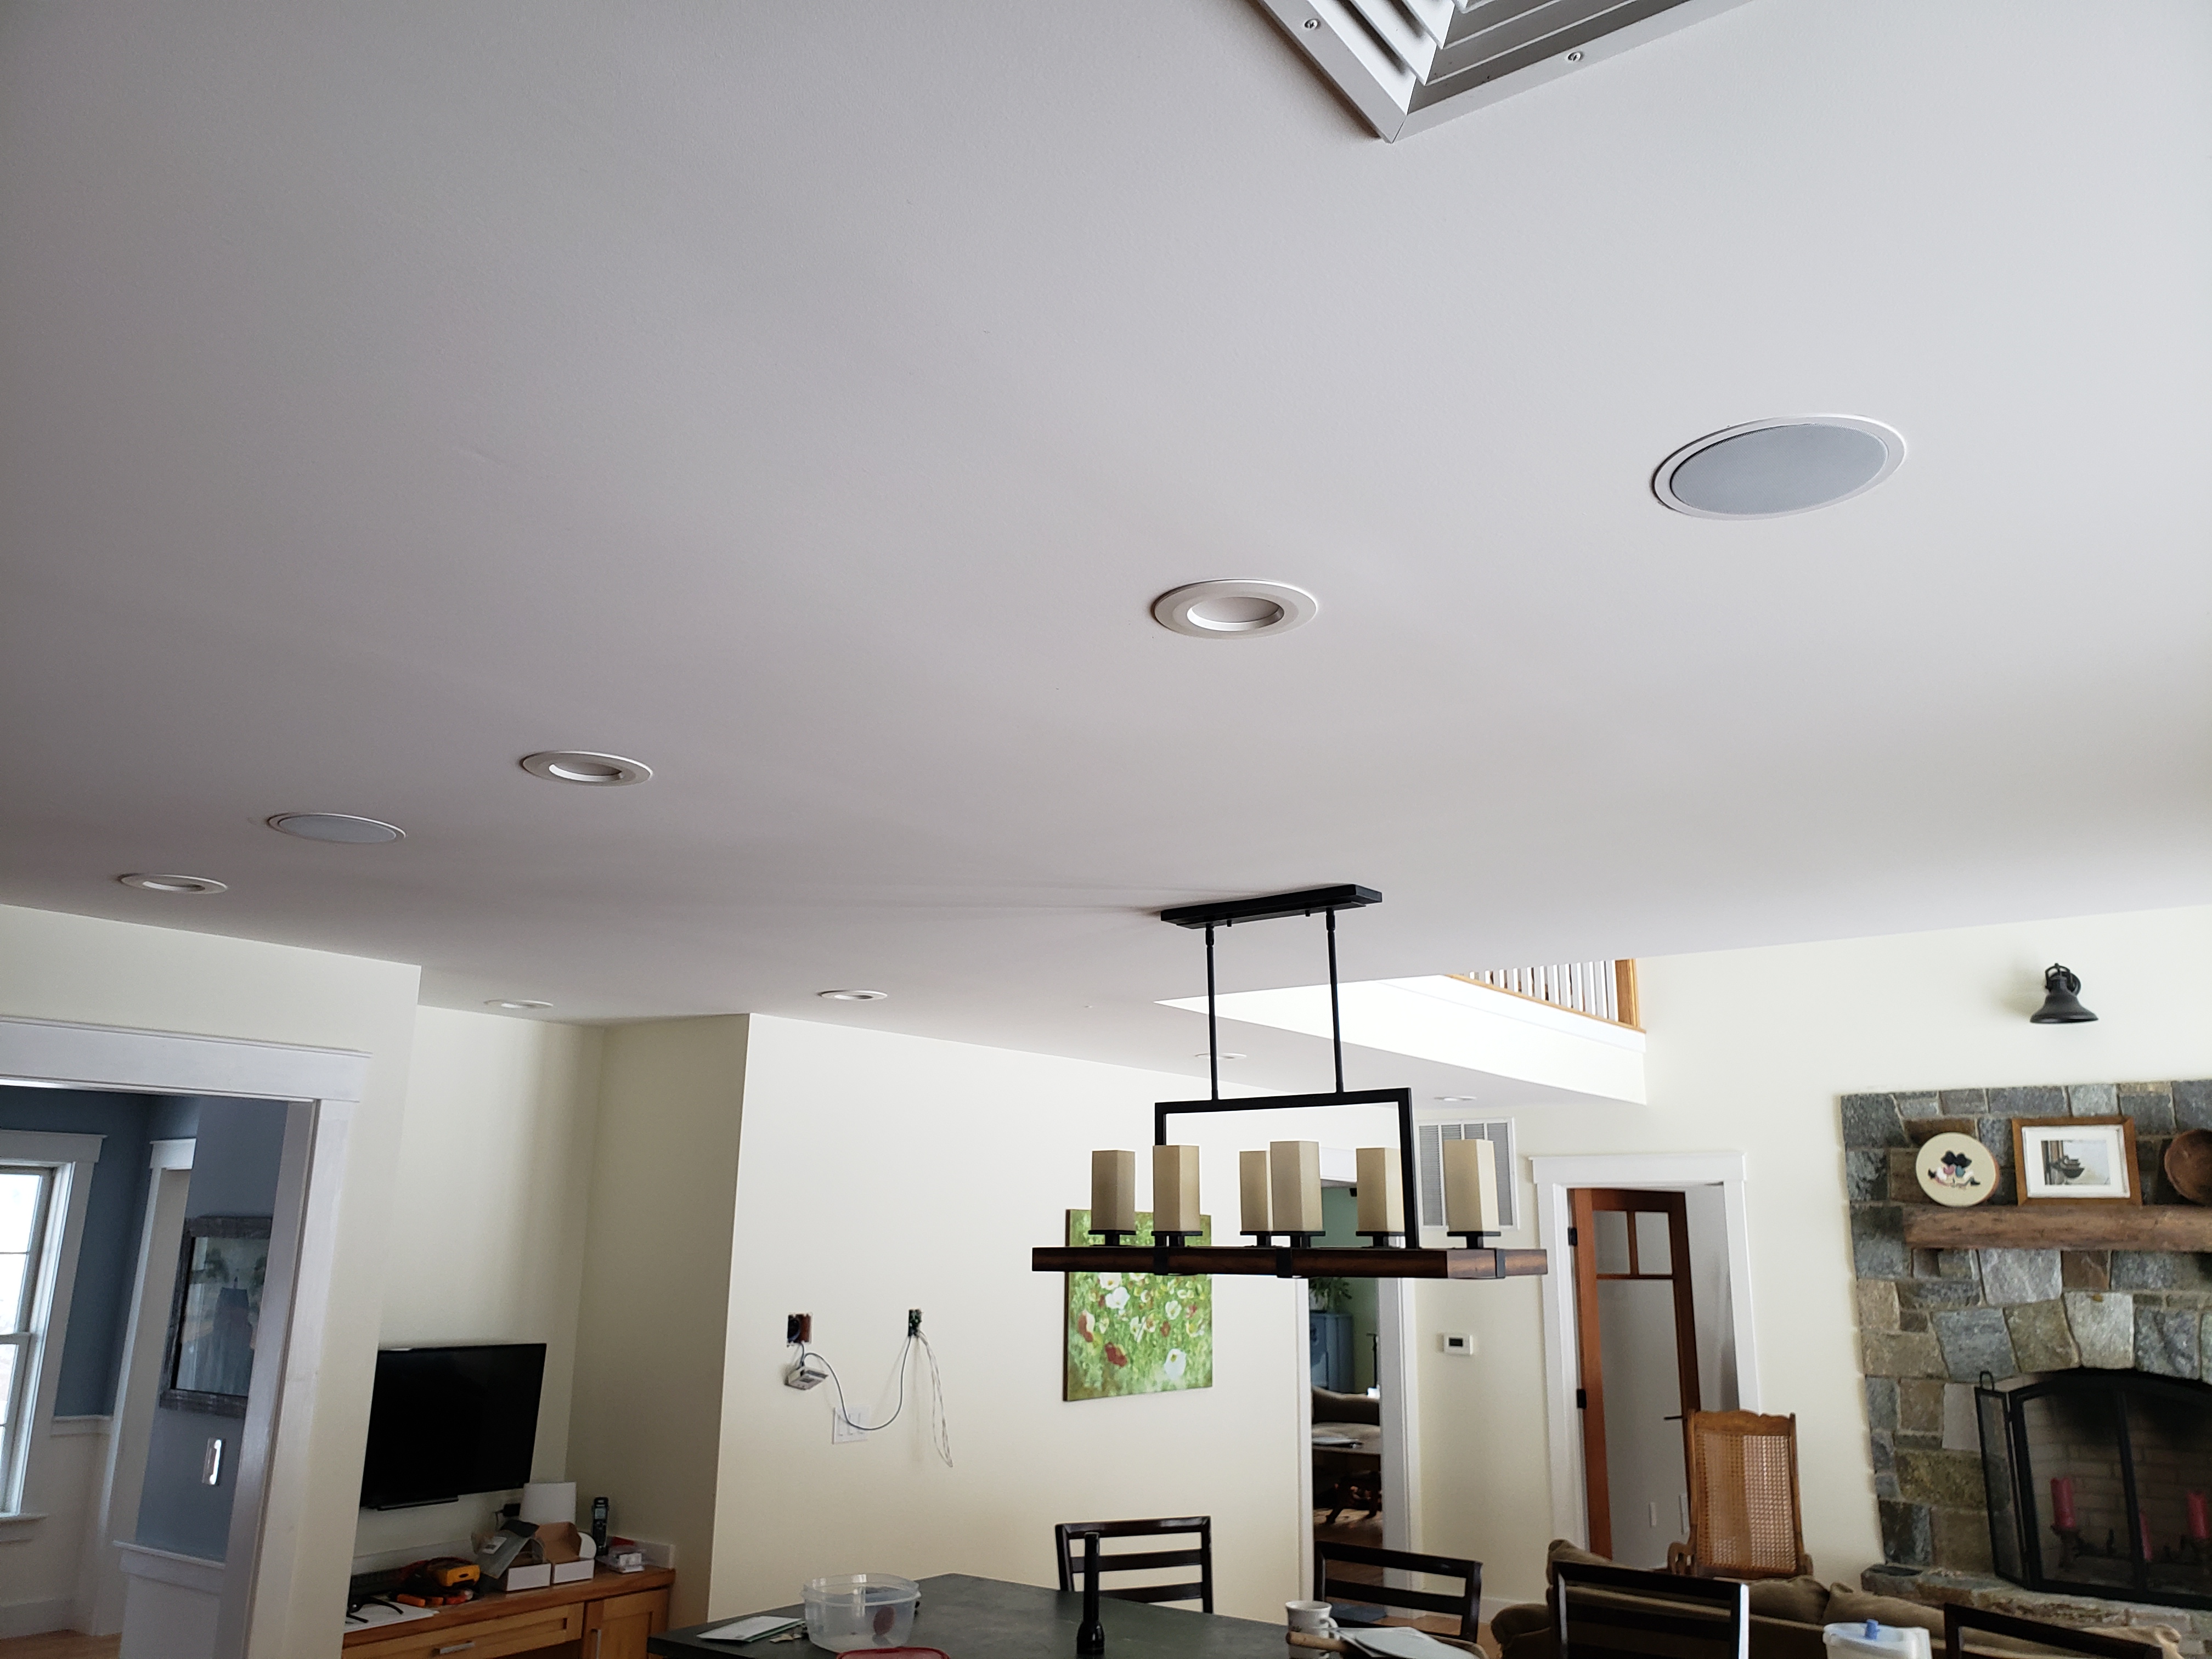
Kitchen Speakers
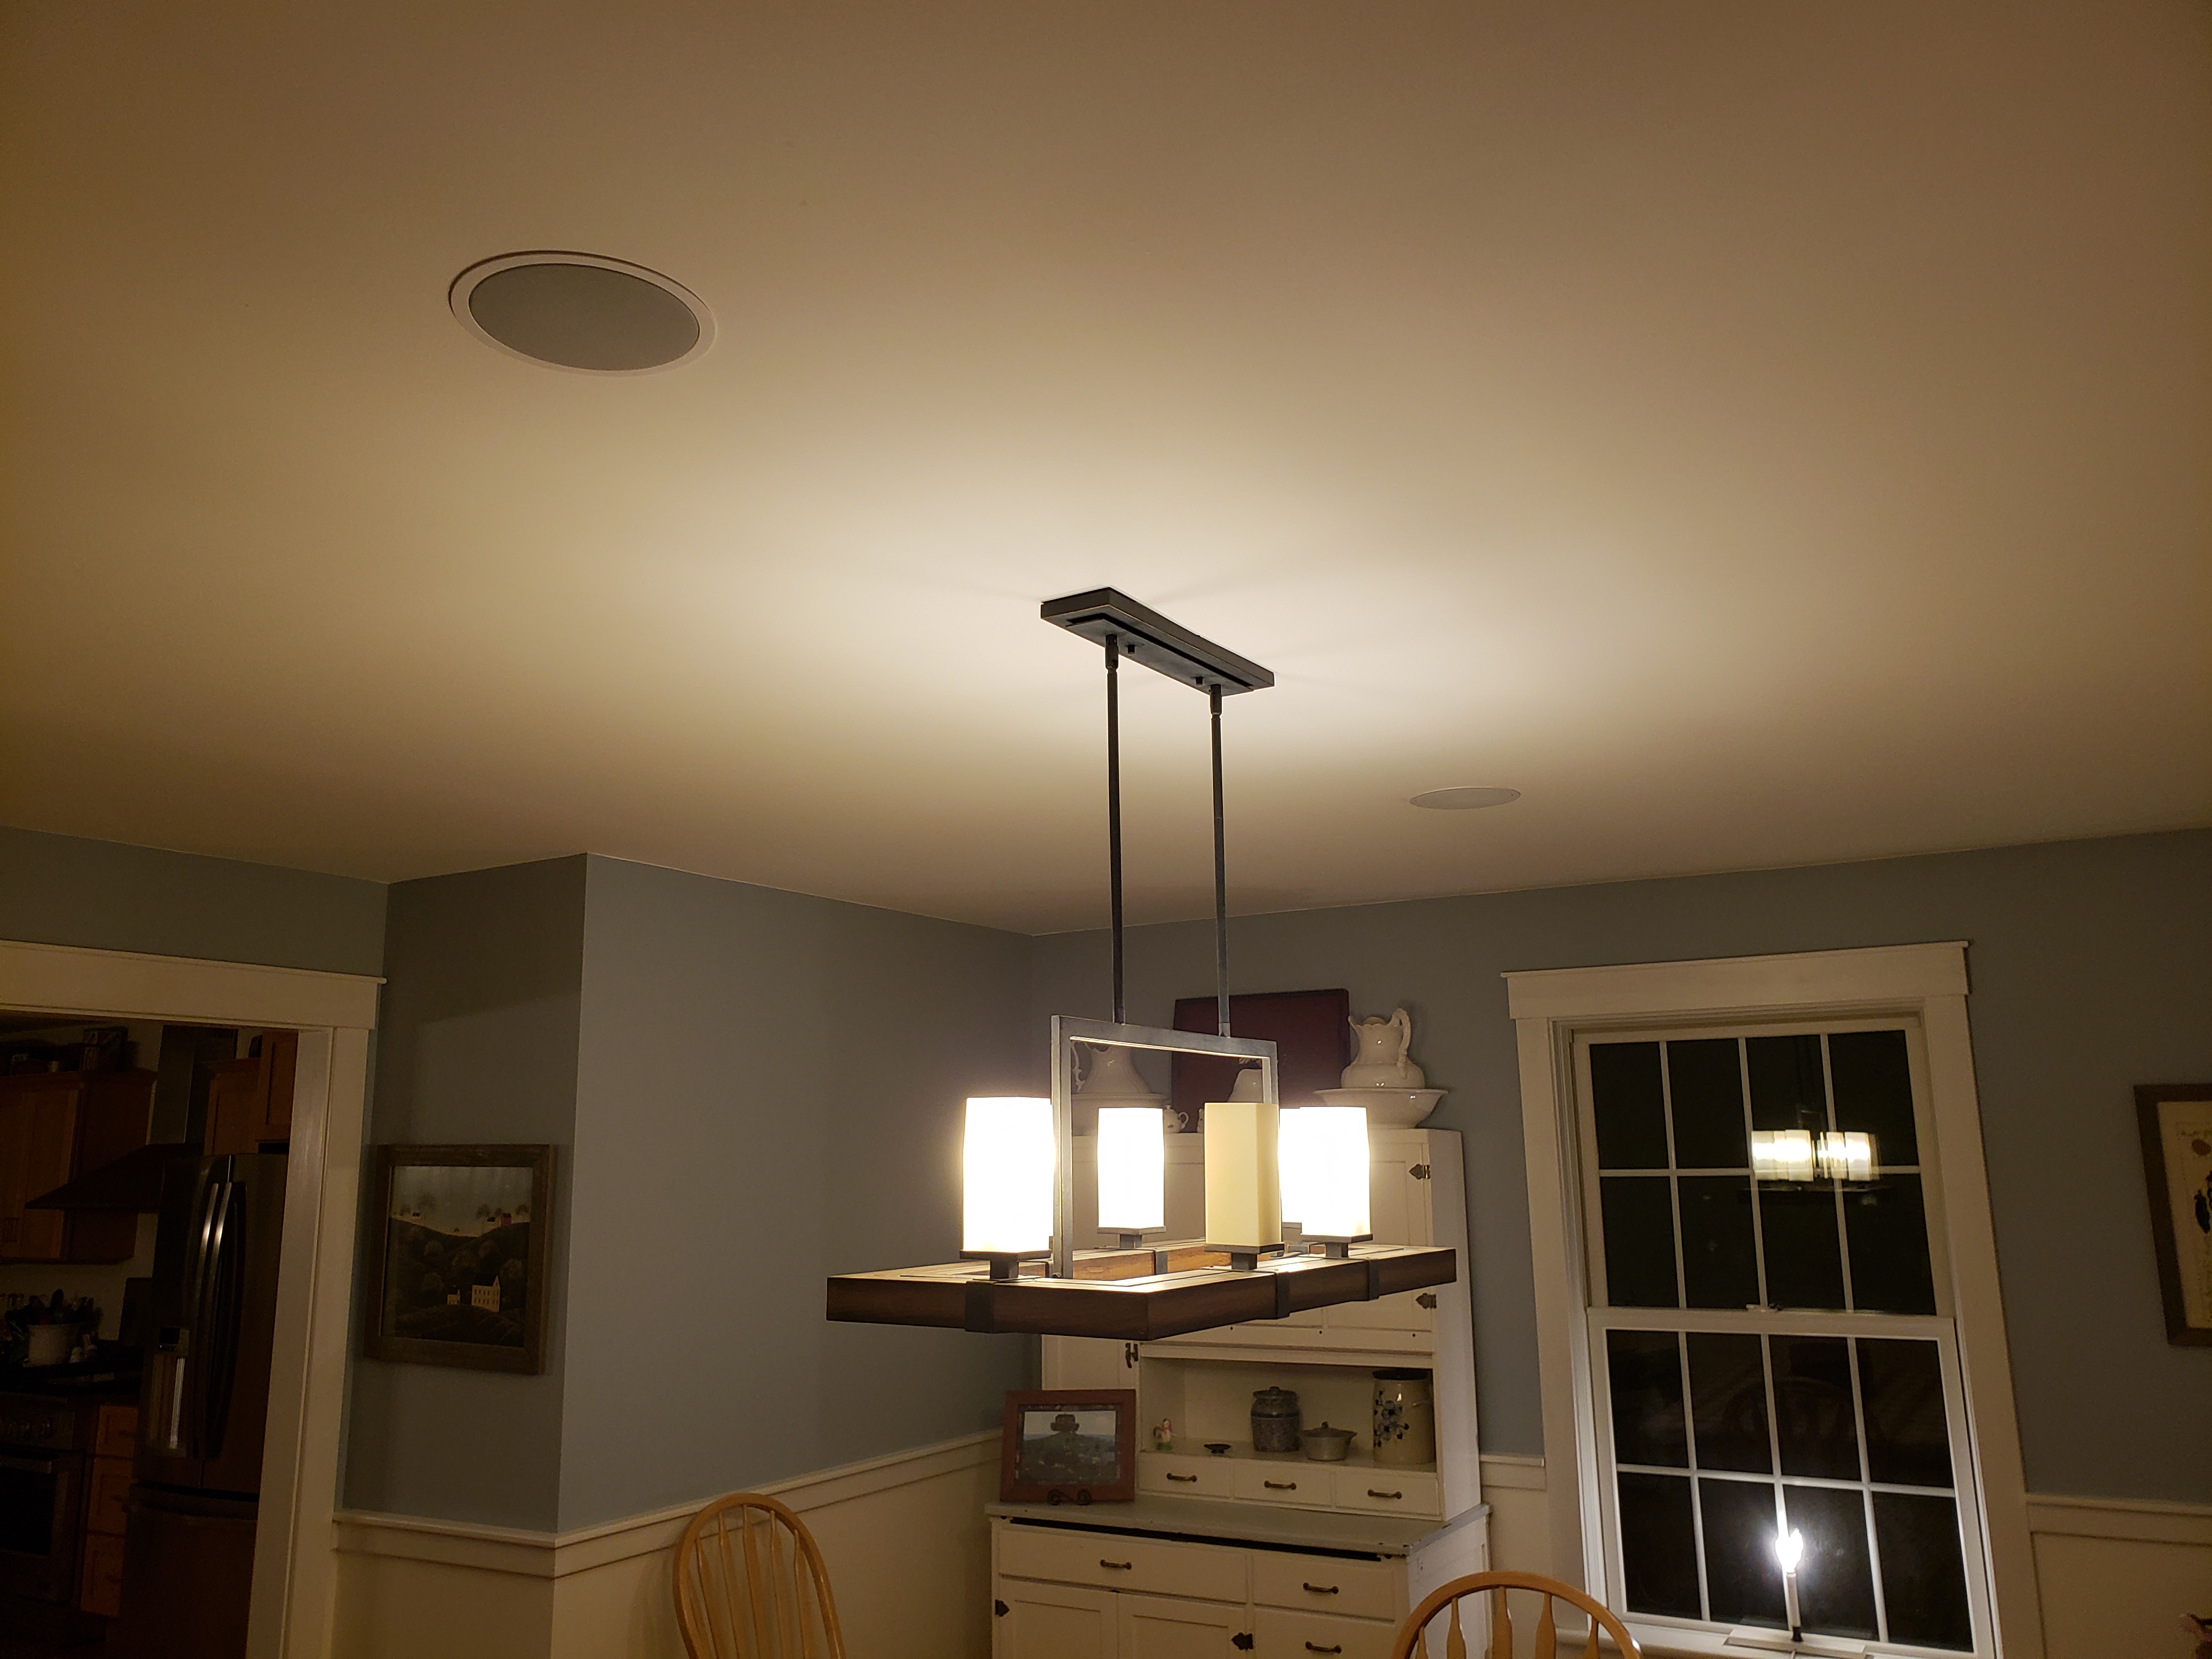
Dining Room Speakers
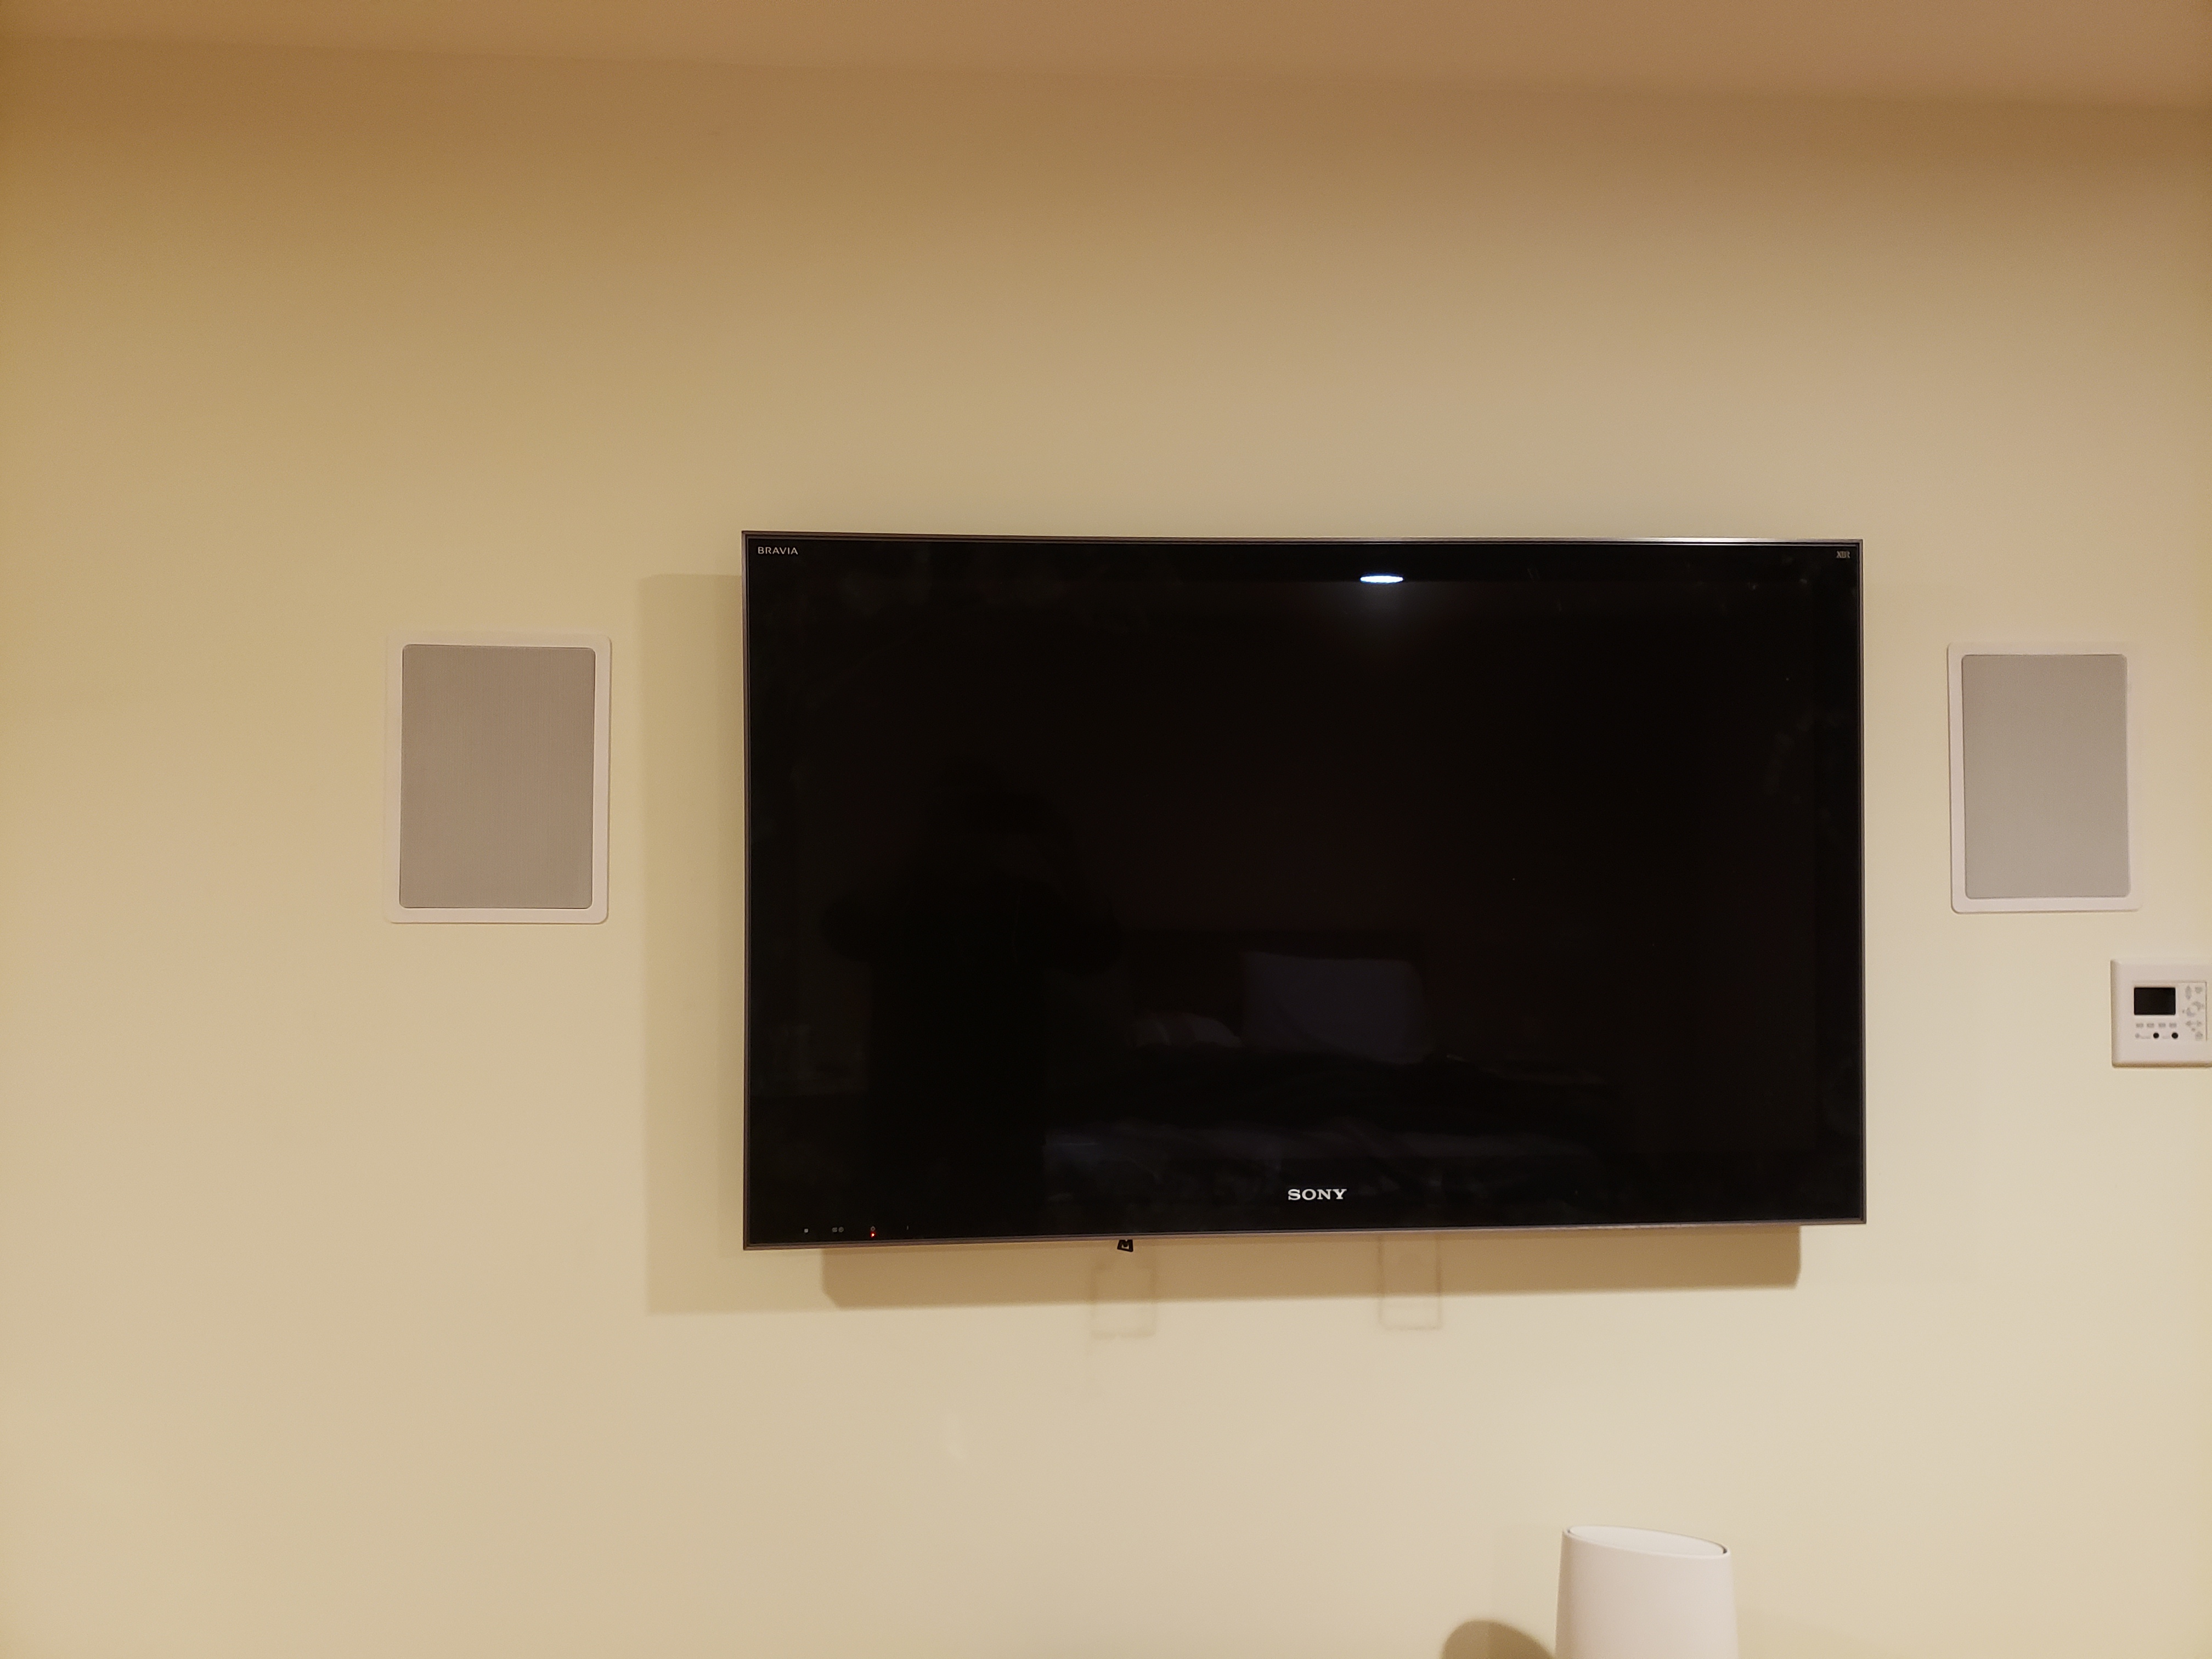
Master Bedroom Speakers
Setting up the Lync 6 System
There actually isn't much setup needed. The zones get determined by which port you plug the keypads into. There were manuals for most of the equipment included in a pocketed folder, but this brings me to one of my few complaints. Most of the setup for system is done via the an app. Either the HTD app or Vallet. The problem... there wasn't any documentation for the Ethernet to serial module or the apps included. It was easy enough to find it on Google Play and install it, but you can't customize anything in the HTD app without getting an unlock code. I found a quick install guide on their website that said that I should have gotten an unlock code when I purchased it. I didn't see any unlock code. I contacted Home Theater Direct via email to get the code.
Before installing the app you need to make sure that the Ethernet to serial adapter is plugged into the controller via the DB9 cable and into your home network via an Ethernet cable. In my case the HTD app found the Ethernet to serial adapter quickly and I was able to control all of the zones and sources with it.
Manual Folder
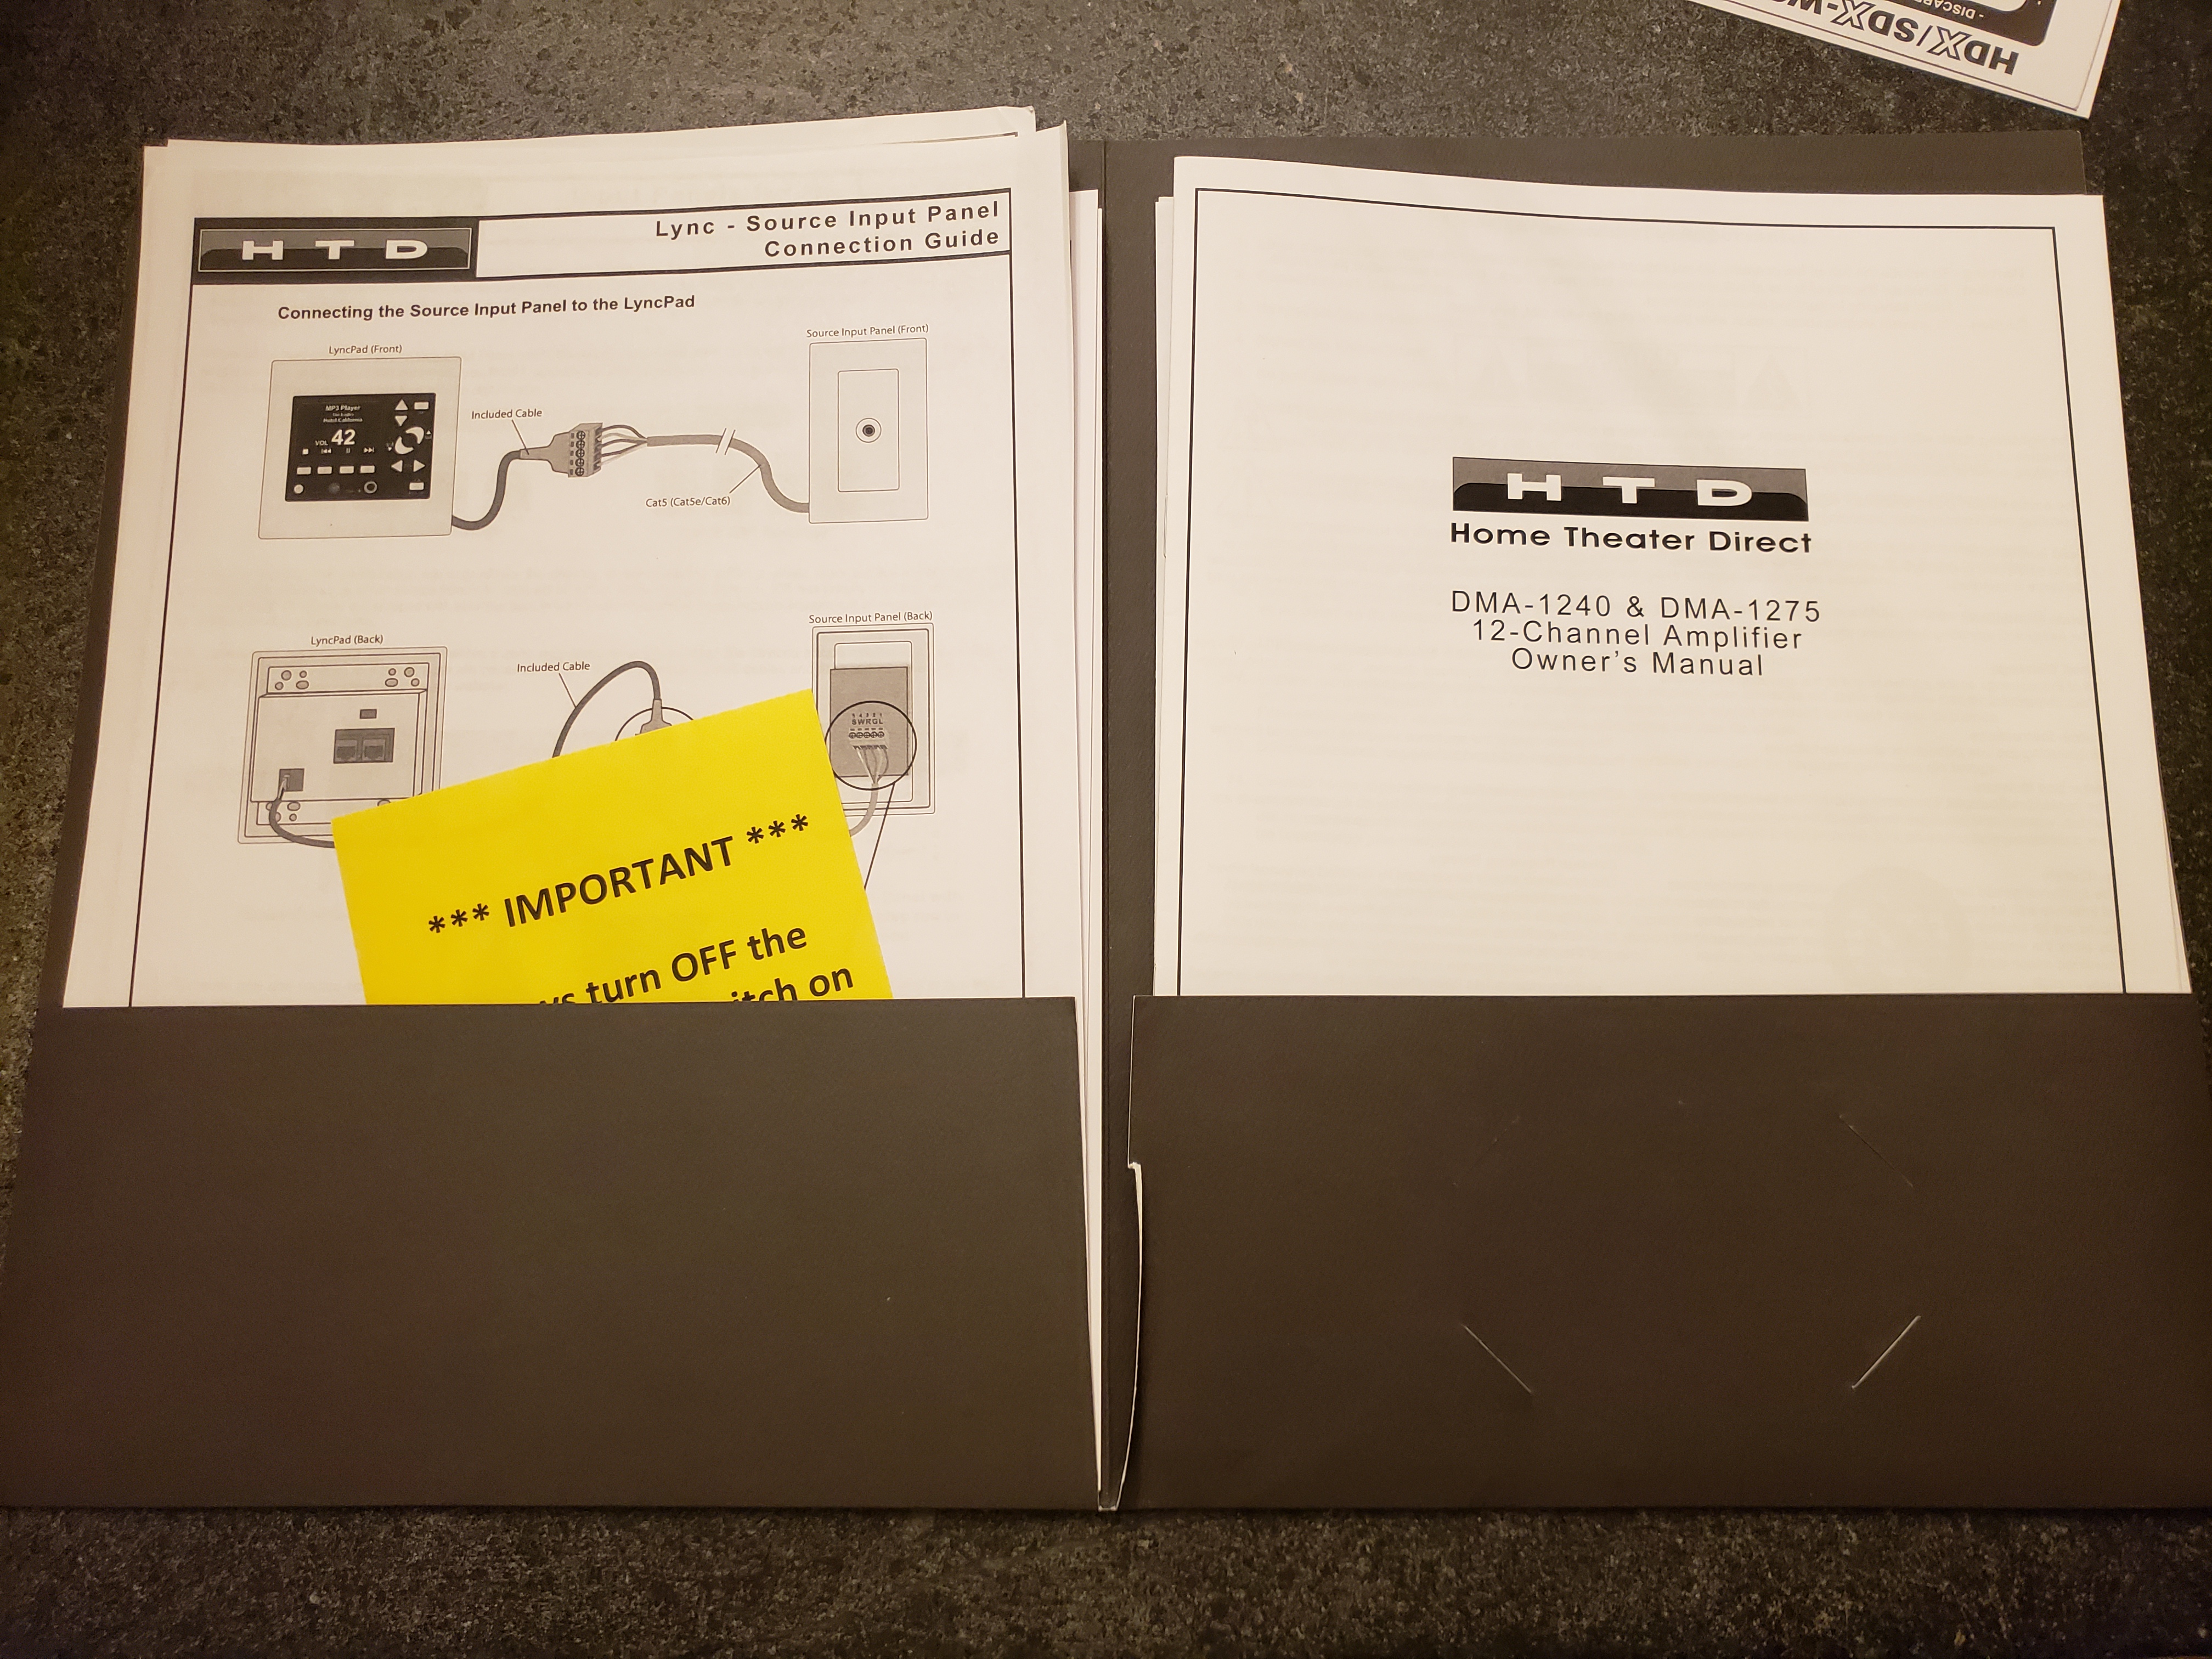
Manuals
Review
The Not So Good
I'll start with the few minor issues that I had. The first one I already mentioned above, the app and the fact that it comes locked by default. You can't customize any of the zone or source names until you can unlock the app. I had to contact HTD to get the unlock code.
Second minor issue is with the face plates. The input panel face plates don't match the face plates for the keypads. Since they will likely be right next to each other, it would have been nice to have matching face plates. The keypad plates are rounded and the input panel plates are square. You can see this in the picture above. Also, the keypad face plates are held on with magnets, so they come off pretty easily. You will need to be careful when dusting.
My final minor complaint is with the screw down banana connectors on the back of the amp. I have this same complaint with any of these style connectors, which is why I use the banana plugs. If you don't use the banana plugs, trying to get the wires under the screws is a real pain in the butt because of how close they are to each other. It's simple enough to use the banana plugs but you need to remember to purchase those separately.
The Good
Just about everything else.
Their support. It is pretty responsive. I contacted them a few different times via email and got a response back pretty quickly.
Very easy install and setup. Everything just worked. I know it isn't a complicated system, but it is nice to have things just work, without a lot of configuration. The Bluetooth connection paired easily with my phone, the standard input worked great to connect a TV as an input.
The controller. The ability to have both local and central inputs is very nice. I have a mini tuner installed on one of the inputs set to the local radio station that we listen to and I have a USB stick loaded with background music installed in the MP3 USB port in the back of the controller. This is perfect for background music loops that you can select as a source whenever you want relaxing background music.
The speakers. The build quality is pretty nice. The magnets were heavy for 6.5" speakers and tabs that pop out to hold the speakers against the drywall were beefy. The sound quality from the speakers is pretty good. I installed two pairs of the ceiling speakers and one pair of the wall speakers. I haven't installed the others yet, because they are going outside and it is still cold here in New England. When I first tried the ceiling speakers, they sounded tinny, with little bass. They have +3db and -3db switches for both bass and treble. I boosted the bass by 3db, which made them sound better to me. As I mentioned, I did put insulation into the holes before installing the speakers.
Conclusion
I would recommend Home Theater Direct as a company and I would recommend the Lync 6 system to anyone looking to install a wired whole house audio system. Overall, I think this is a great system for the price. All in, I paid around $2700 for five pairs of speakers, two input panels, a volume control, and the controller and 120 watt amp. Installation and setup was pretty easy. It will be much more difficult if you haven't pre-wired and need to get the wires to the keypads and speakers. As I said, I had pre-wired my house while we were building it.
I didn't get into the details of the app, as I just got the unlock code. I'll perhaps do that later as a followup to this post.
As always, if you have any questions, please feel to leave them in the comments below and I will do my best to respond to them.

