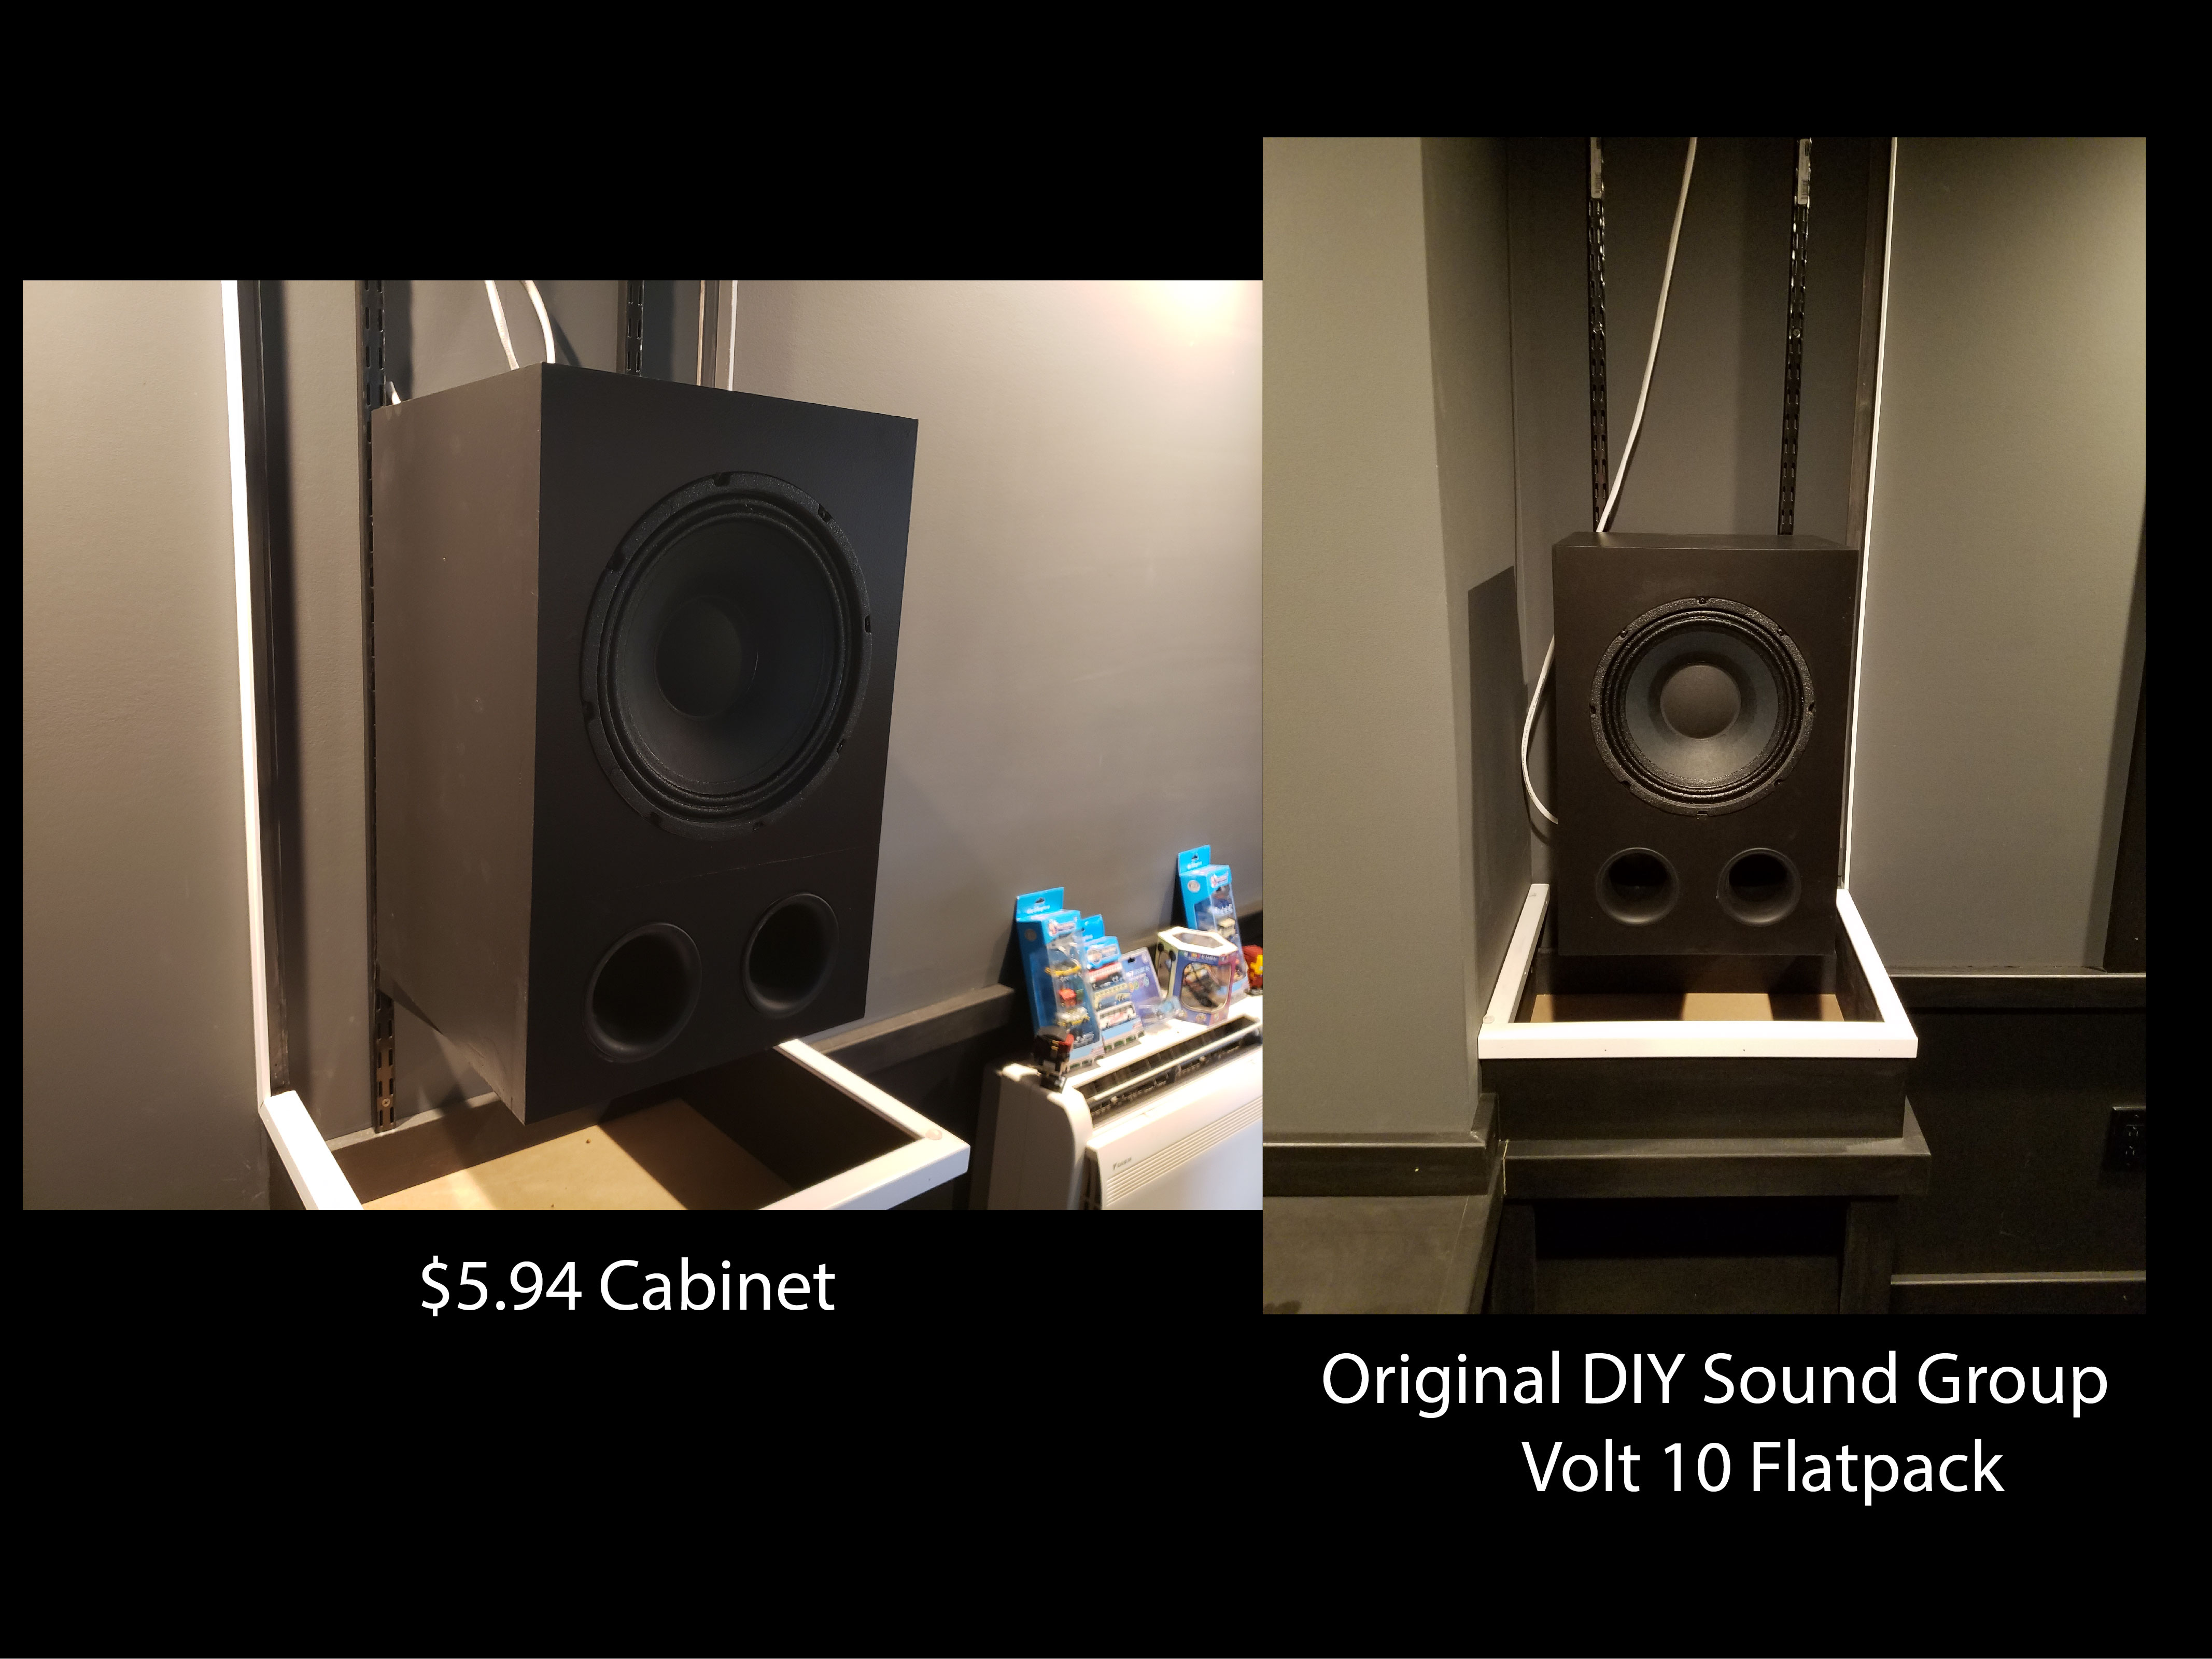
Want to know how to build a low cost speaker cabinet?
In this post I'll show you how I built these approximately 1 cubic ft. speaker cabinets for around $6 in wood. But first a little back story...
I've been using DIY Sound Group Volt 10 coaxial speakers for the surround speakers in my home theater, but since I needed 8 of them I didn't purchase them all at once. When I went to purchase my next batch, they had stopped producing the ported 10" cabinets, so I had to build my own.
Below is a short walkthrough of how I did that for very little money.
Speaker Cabinet Materials
The MDF
I found that I could get these Home Depot MDF shelves very inexpensively compared to purchasing sheets of MDF and they were much easier to work with. It worked out that I could build one cabinet with two shelves. When I purchased them, they were only $2.97 each, so that is $5.94 for the MDF. If you include the ports and the connectors it's about $15 total. The price will vary over time and by location, but it's still a very inexpensive way to build a cabinet.
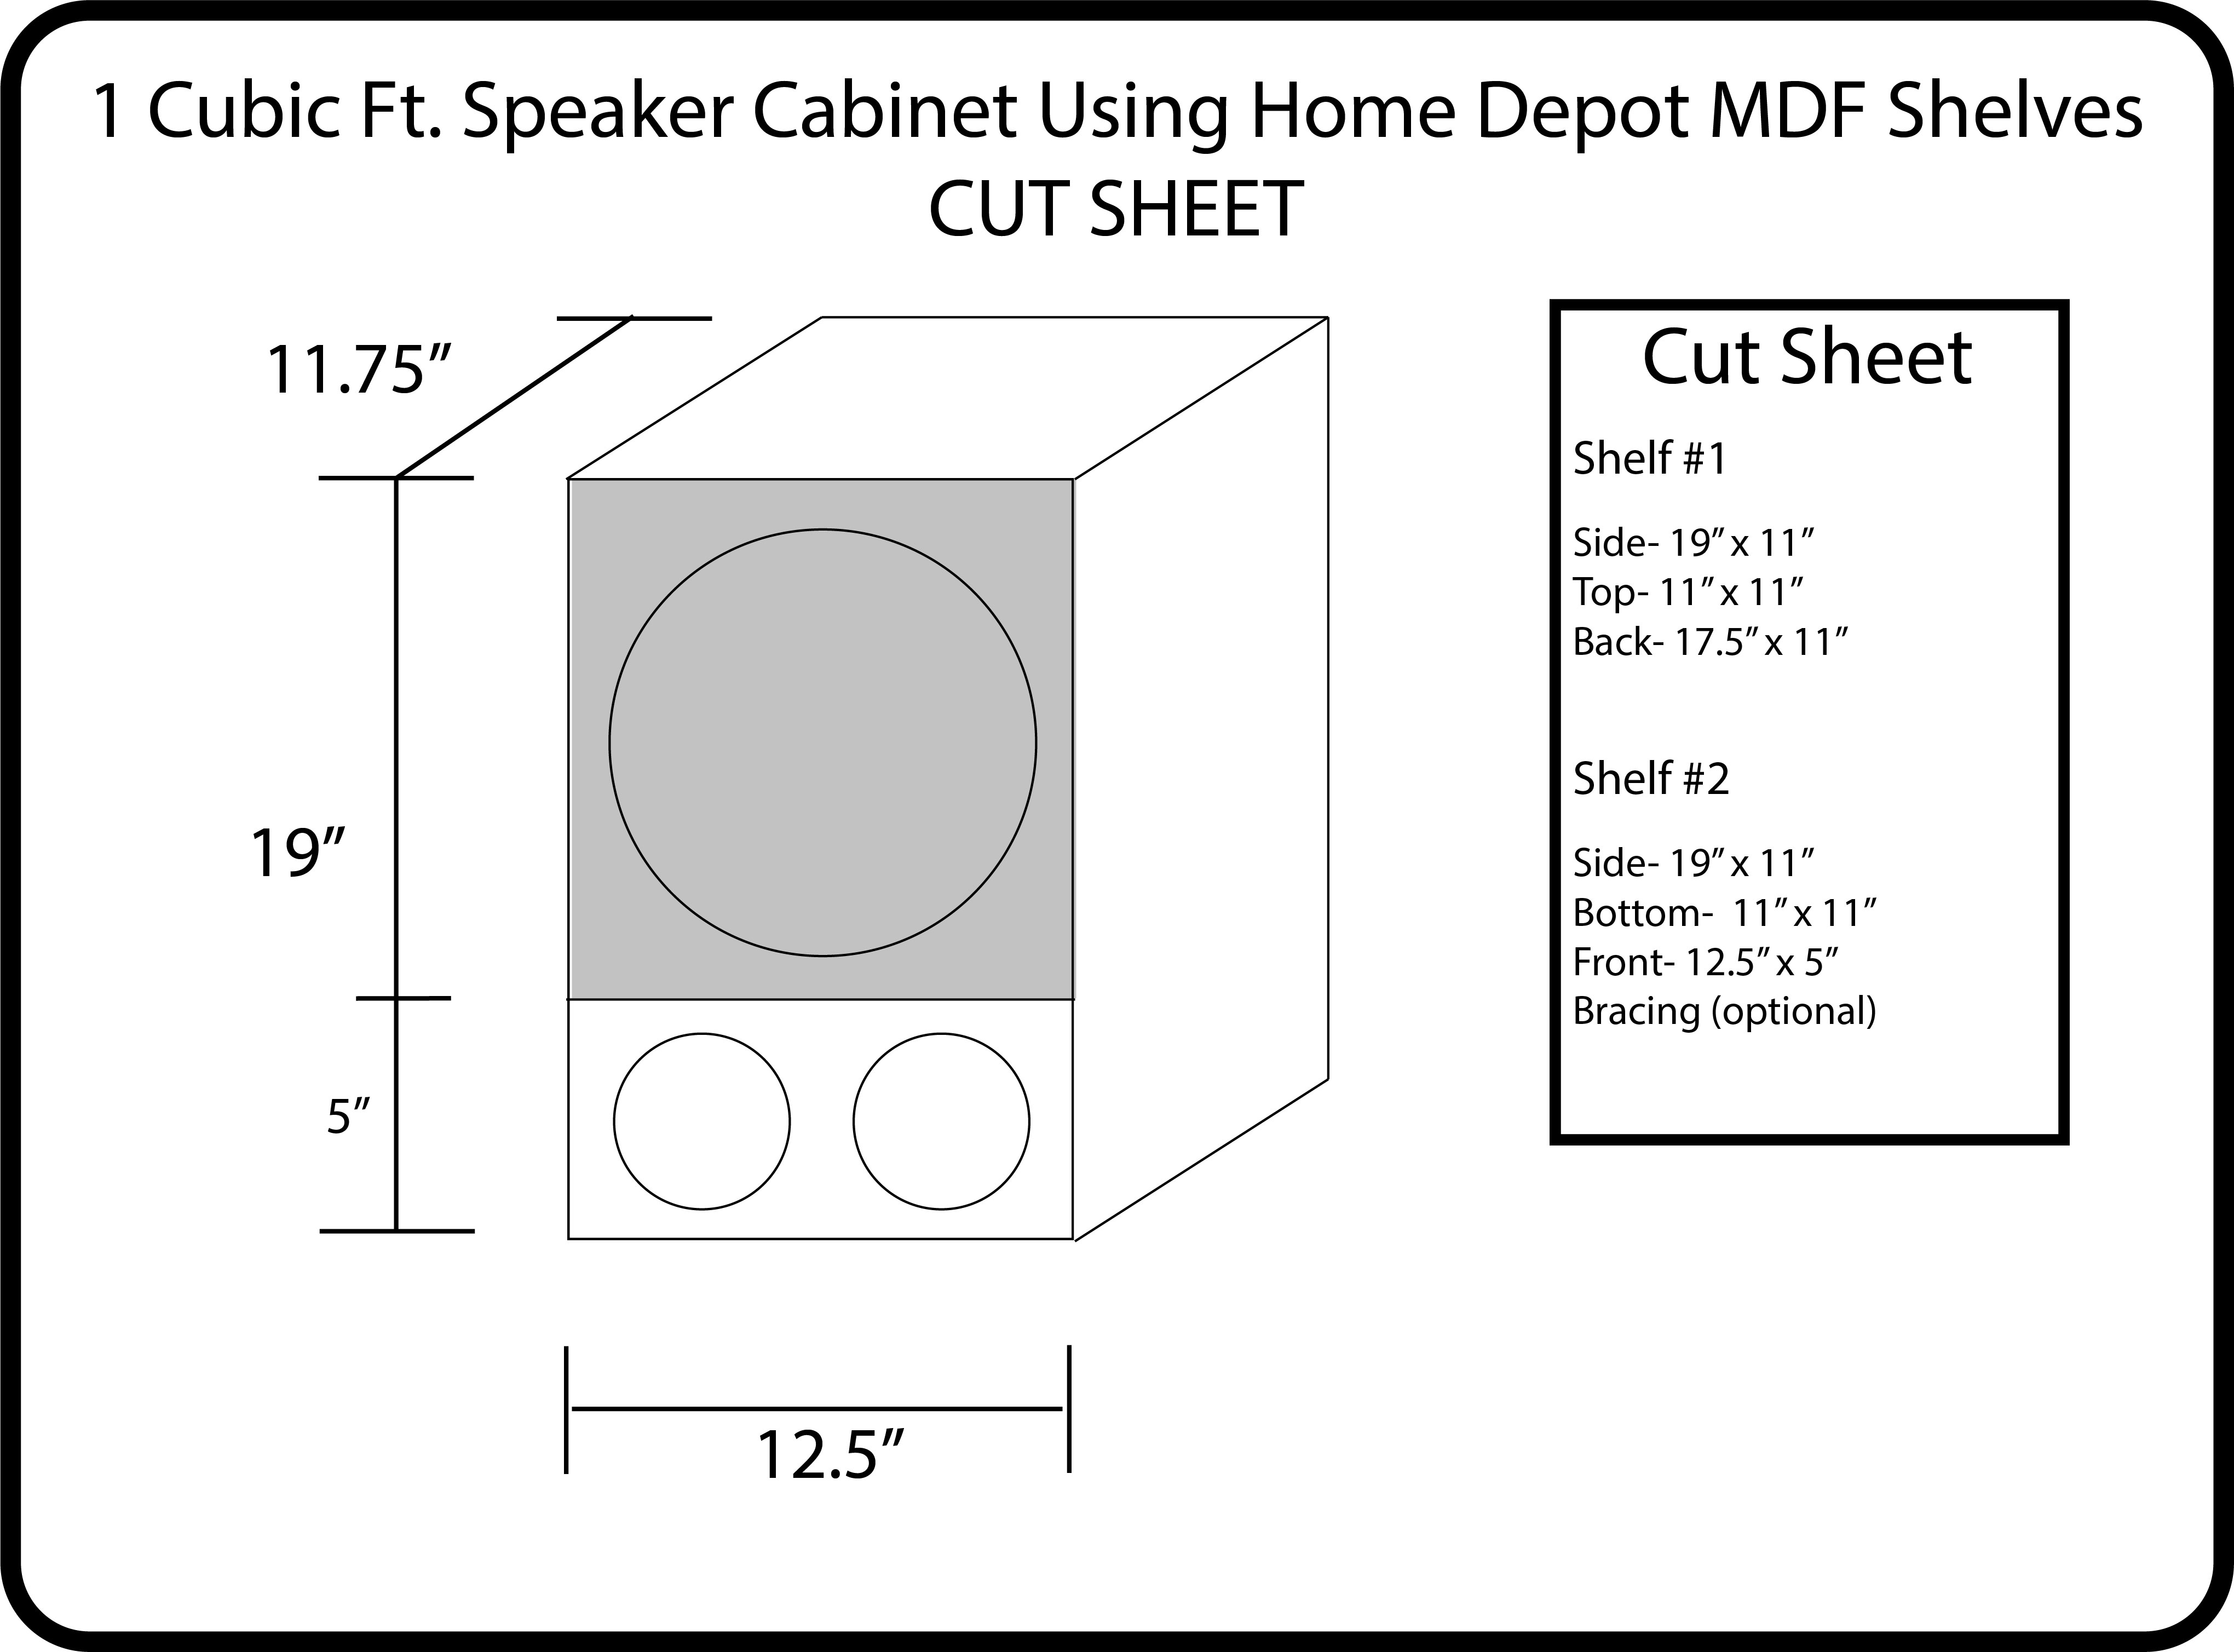
The shelves should be 11.25", so the first thing you want to do is to rip them down to 11". Be sure that you do that by cutting off the rounded over edge if the shelf has one. It seems that they have some that are rounded and some that are not.
The Cut Sheet for a 1 cuft Speaker
Note that the Volt 10's come with a 14" x 14" speaker baffle (at least they used to), so I didn't need that part of the front.
Volt 10 Cabinets
Assembling the Speaker Cabinet
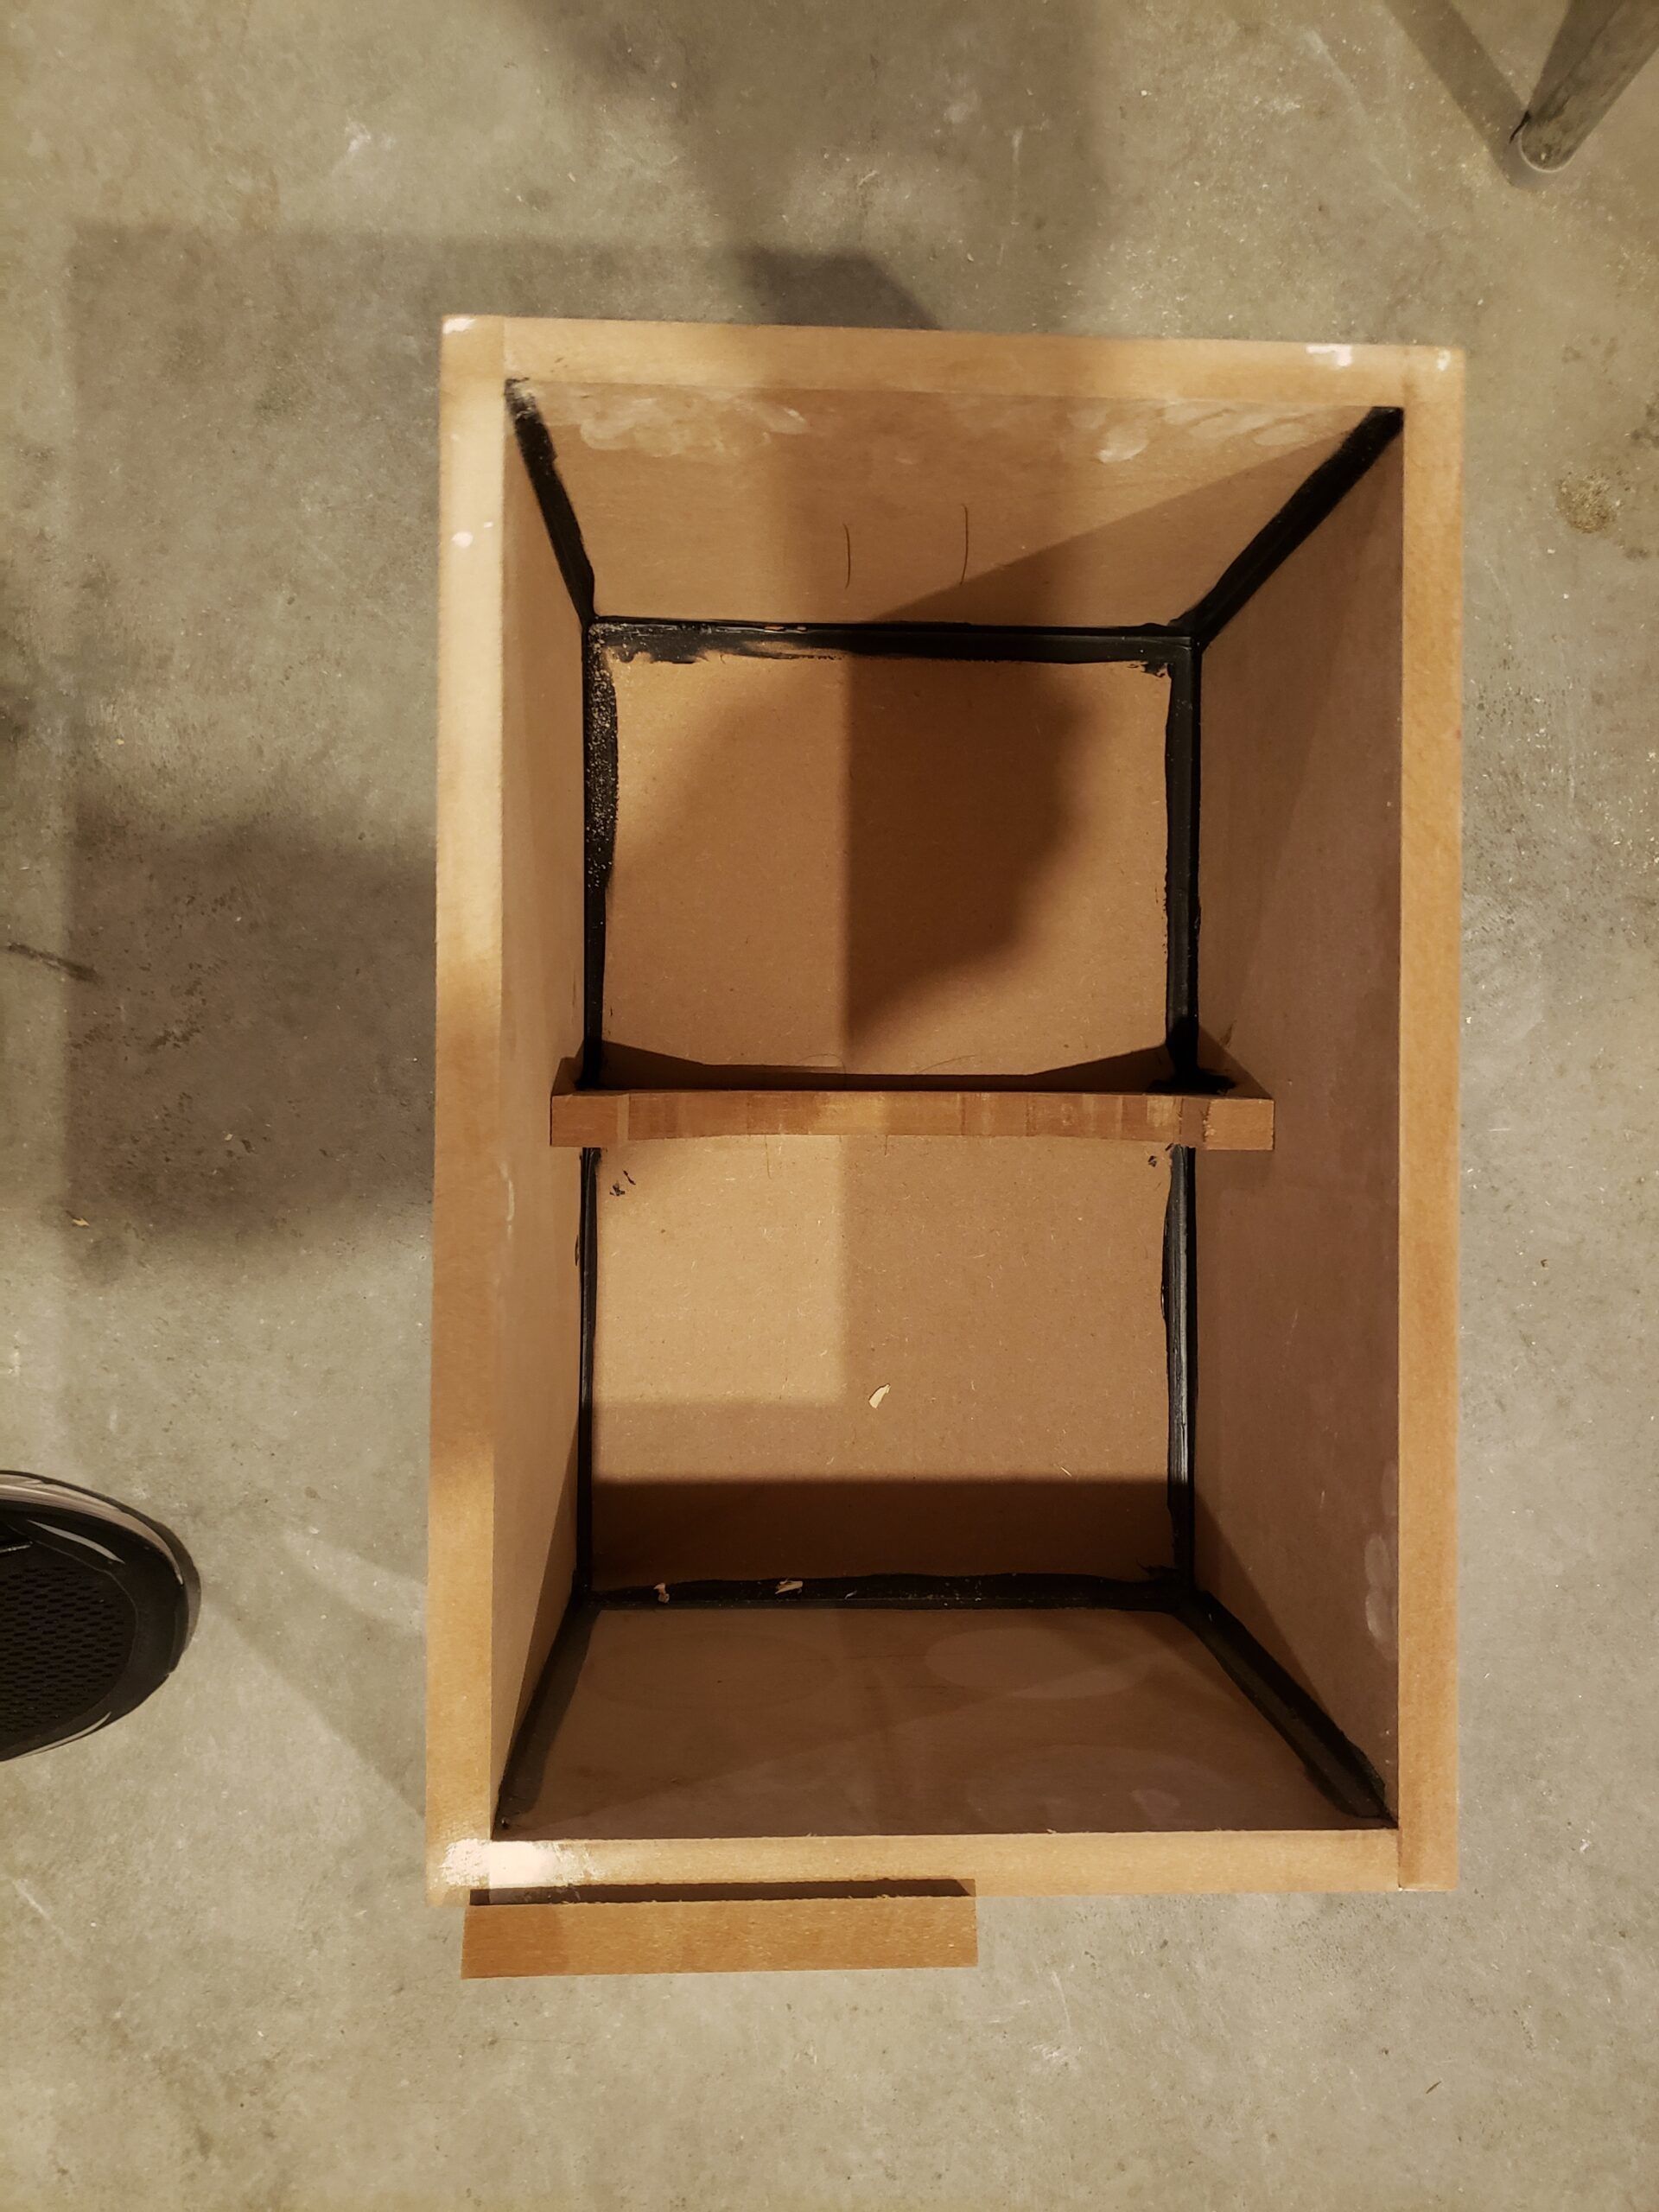
Assembling the cabinets is pretty basic. You need to glue and clamp the pieces as indicated on the cut sheet above and the picture below. Hold off on the front for now. I use a nail gun to help hold the pieces together while the glue dries. If you don't have a nail gun, you can use finish nails or just the glue will work as well. Just be sure you clamp them well and let the glue dry before removing the clamps.
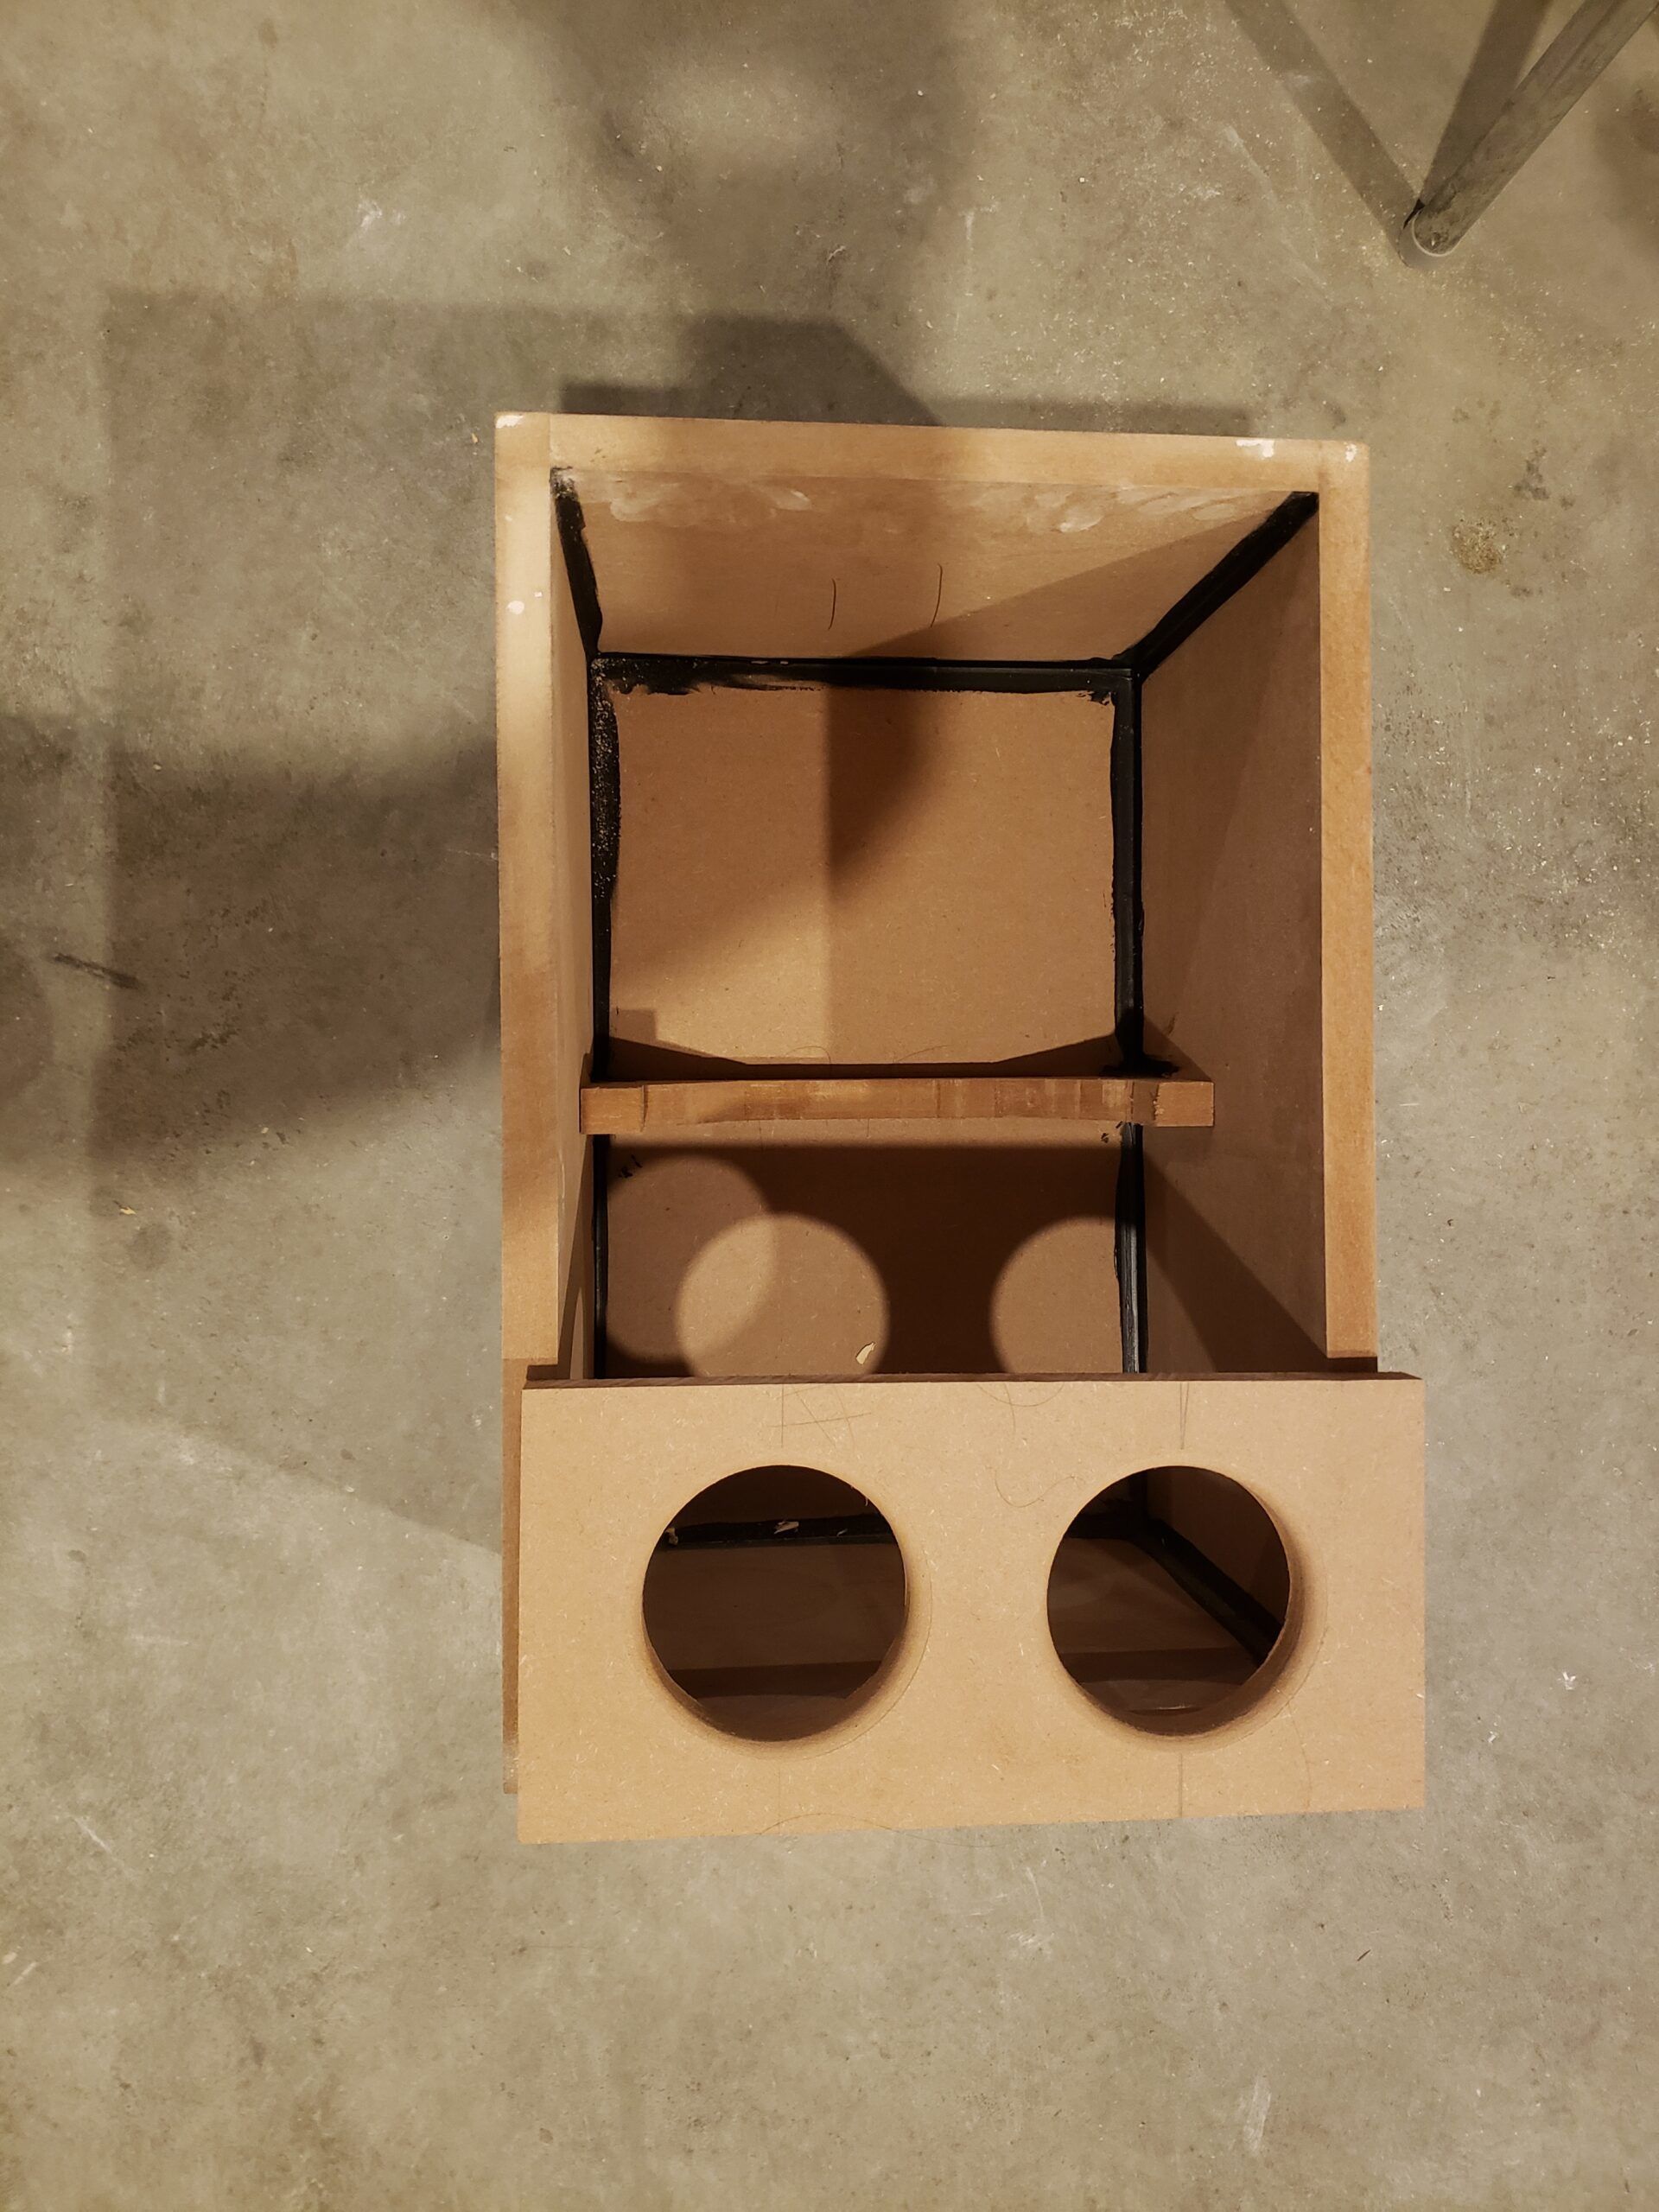
Use a 3-3/4" hole saw to drill two holes in the 5" piece. They should be 3-1/2" in from the ends and centered vertically.
I like to caulk the inside of the cabinets to make sure they are sealed completely.
If you are building a Volt 10, then you will need to cut 3/4" off from two of the sides from the speaker baffle that is included with the kit so that it is 12-1/2" wide.
Assembled Cabinet
As you can see I used some of the extra wood from shelf #2 to create a brace. Be sure that this isn't going to interfere with the speaker.
Ports
You don't have to use ports. It really depends on what your driver is and what response you are looking for. I had started with ported cabinets and I wanted them to all be the same. For any of you building Volt 10's, these are the ports that DIY Sound Group uses.
Cabinet with Port
Again, this is variable depending on your situation but for me I cut the ports down to 5". They should compression fit into the hole you drilled. Don't do that until after you have painted the cabinets.
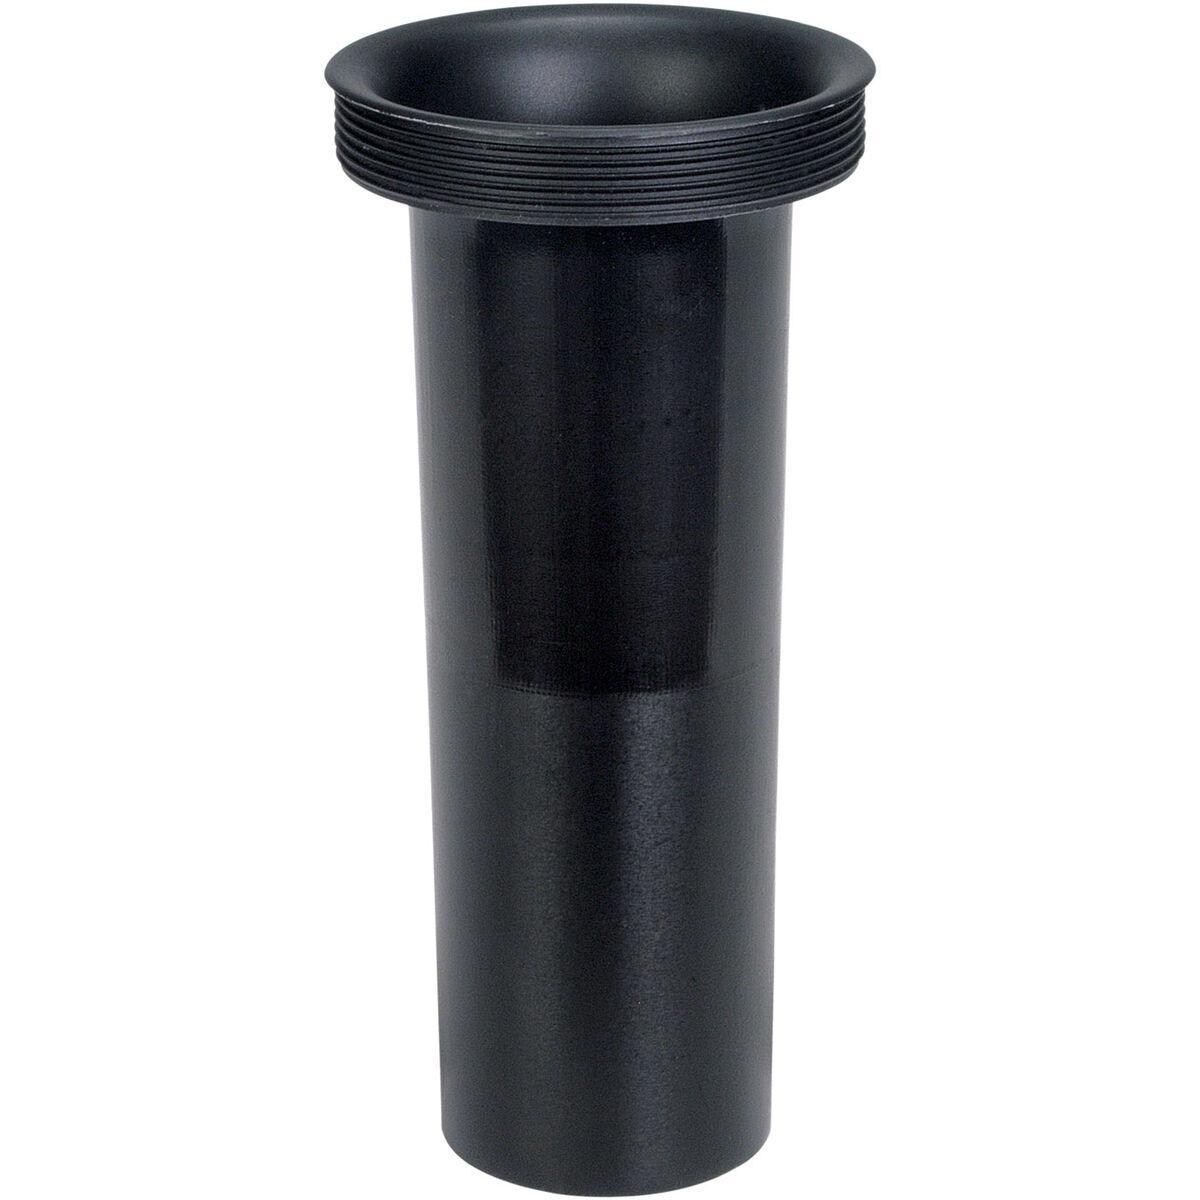
Port
Speakon Connectors
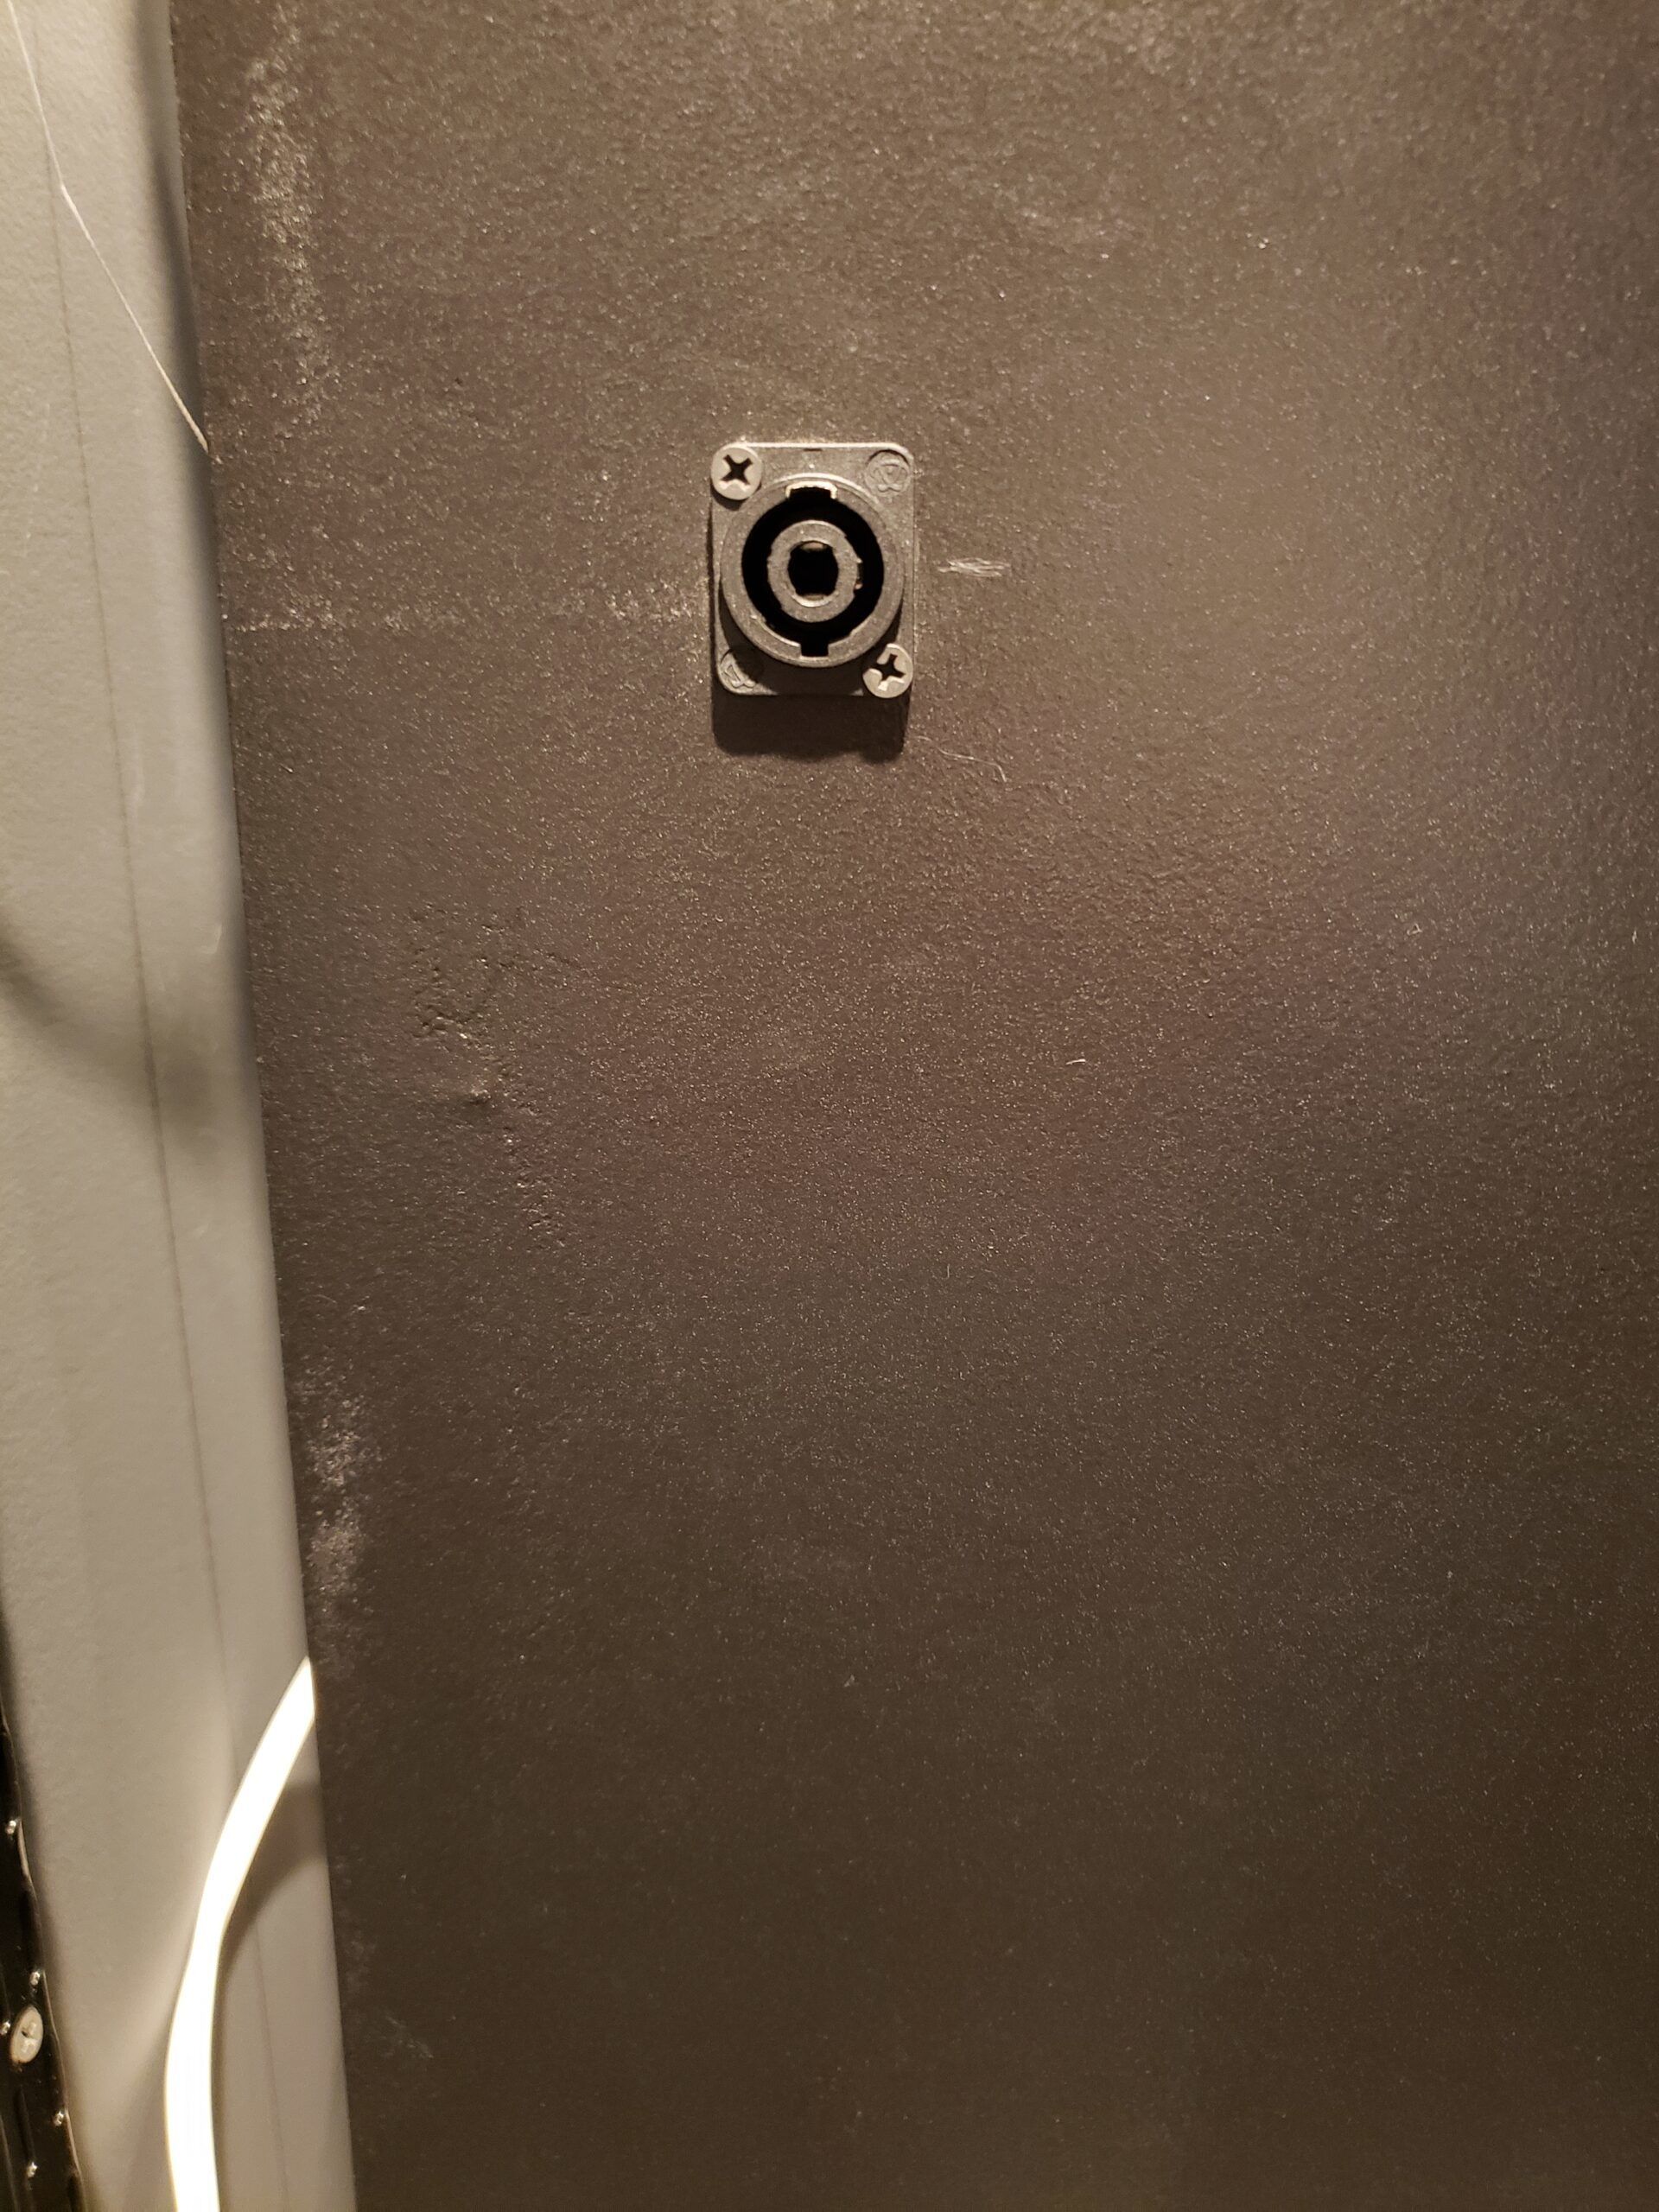
Speakon Connector
I like to use these Speakon connectors on my speakers. Drill a hole in the back of the cabinet and mount the connector. These connectors have 4 terminals (+1, -1, +2, -2), so be sure that you wire it using the same terminals you use on the matching cable Speakon connector. Use small spade connectors to run the wire from the connector to the speaker(s) or cross-over inside the cabinet.
Final Assembly
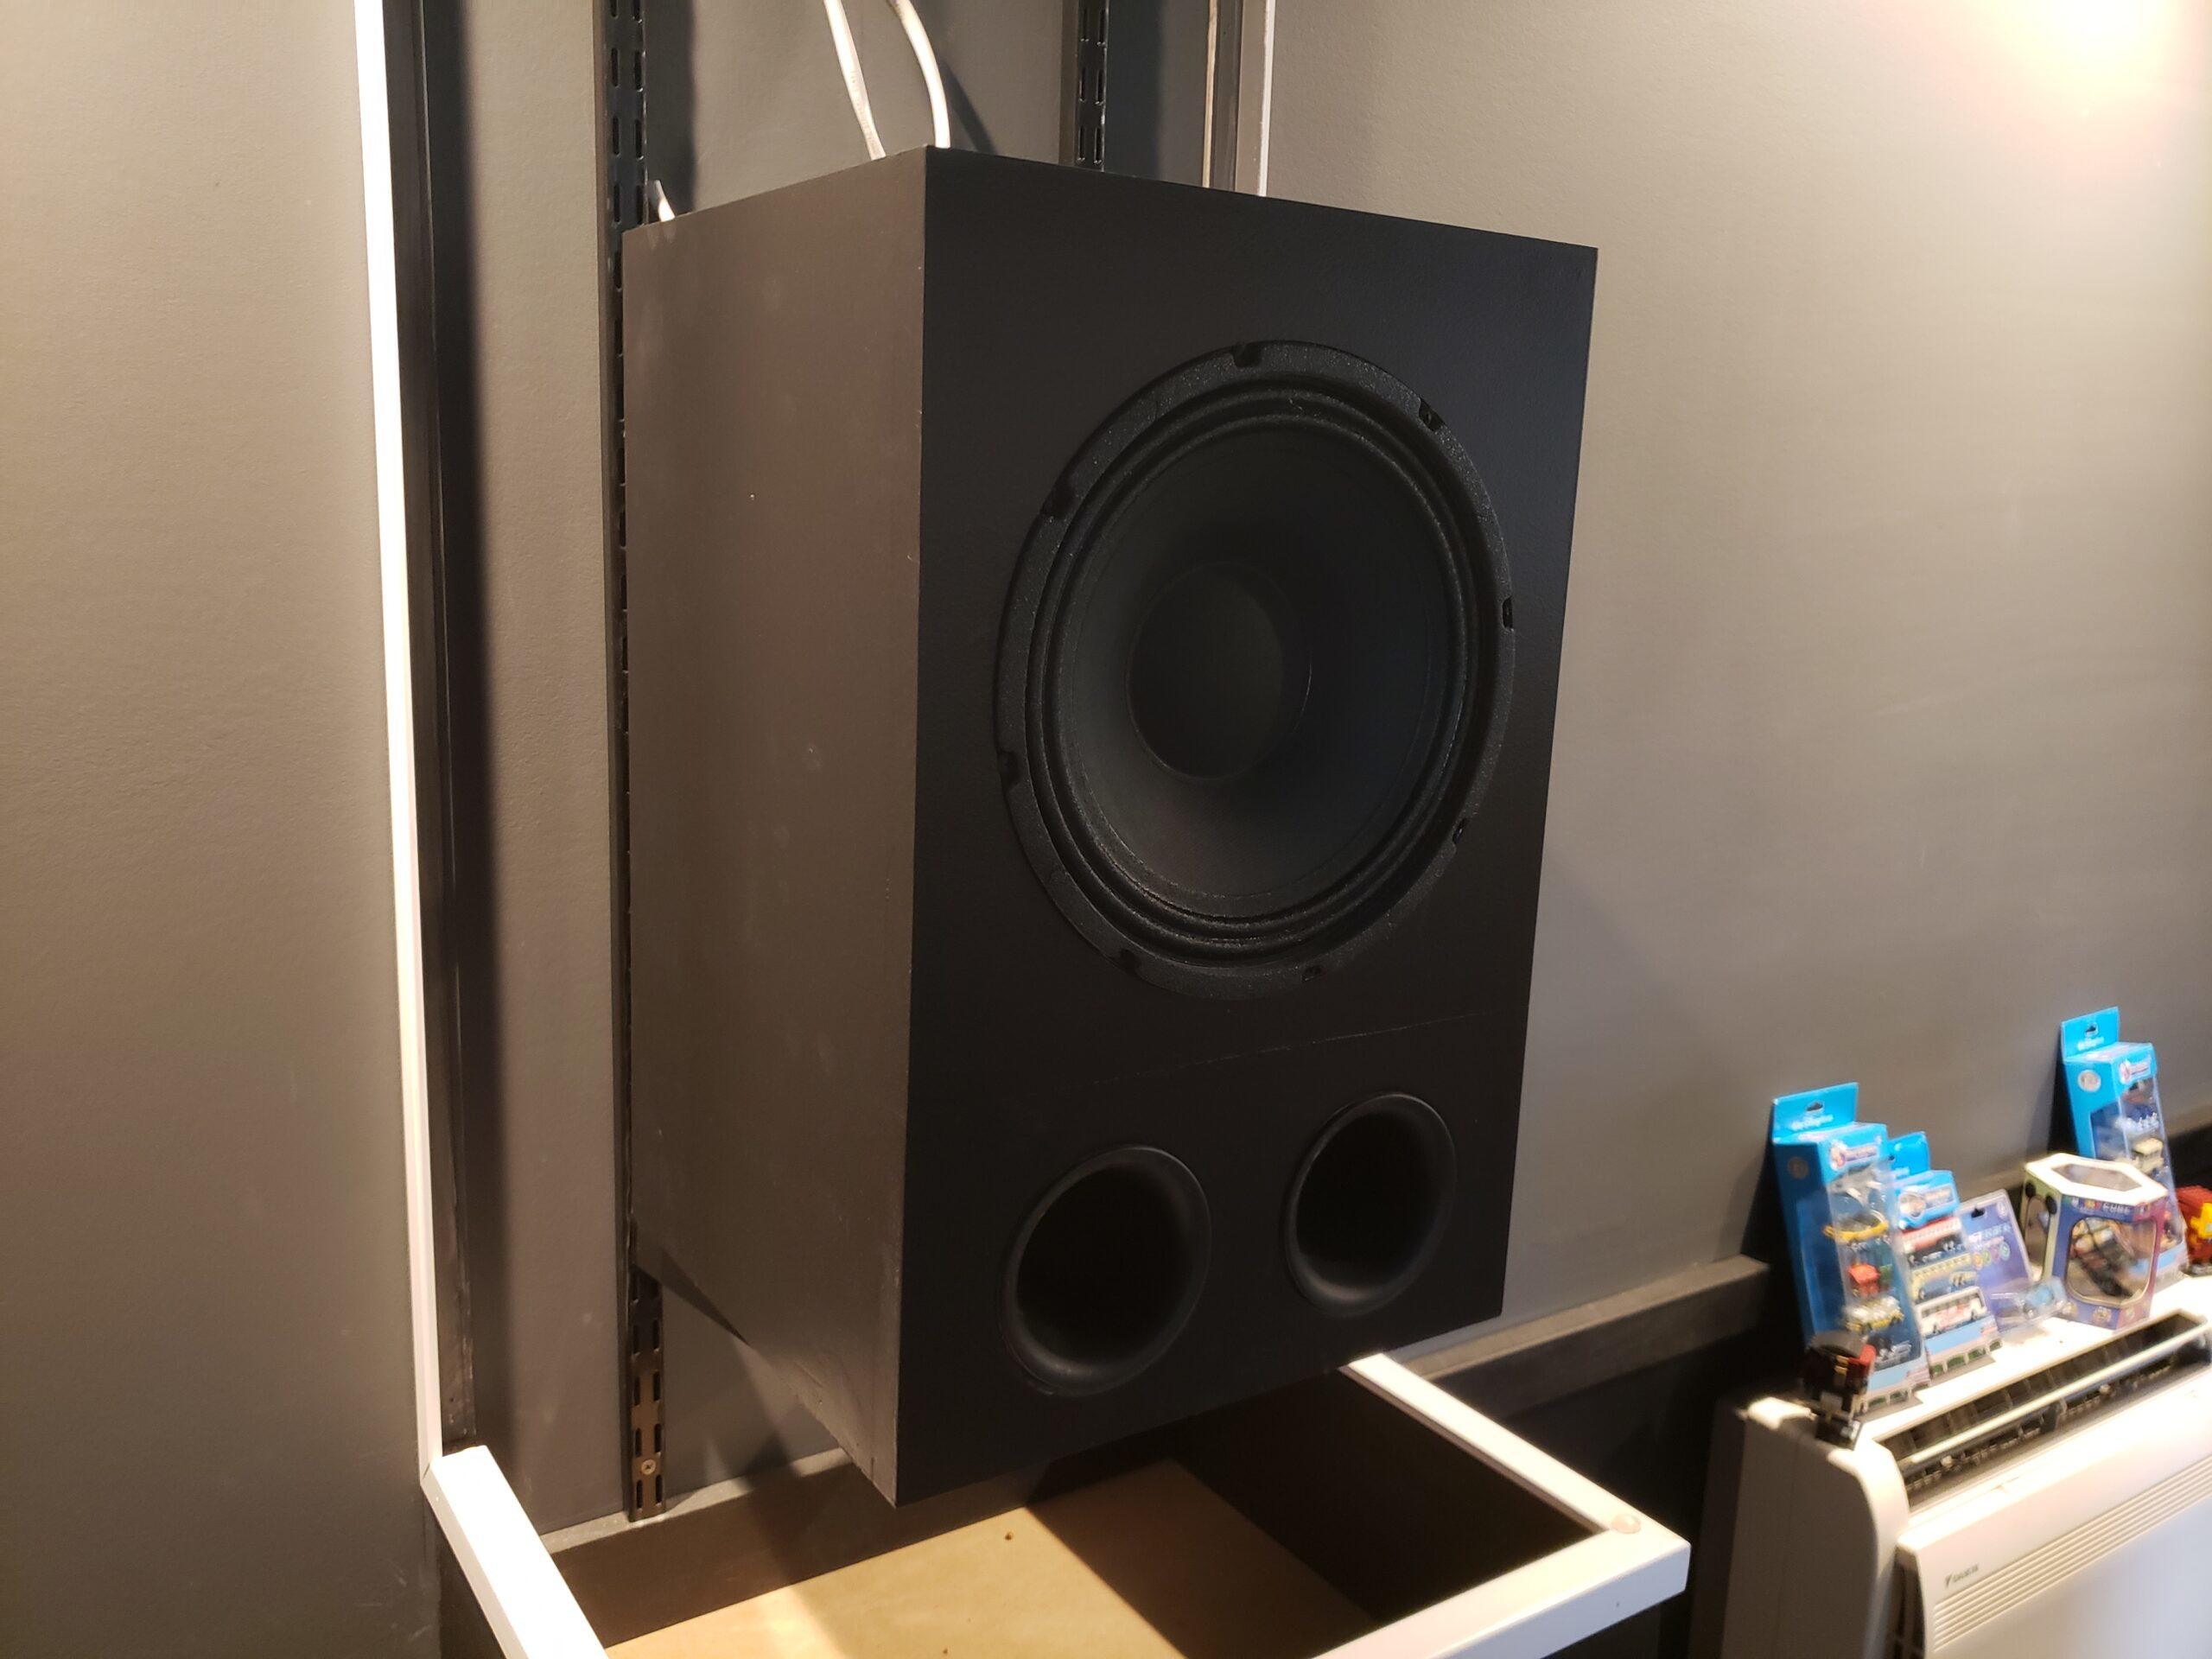
Assembled
To finish up the build:
Conclusion
These low cost speaker cabinets are great for DIY Sound Group Volt 10 speakers or any speaker that requires a roughly 1 cubic ft. cabinet. If you have any questions, please feel free to leave a comment either here or on my YouTube channel.

