Digital movie posters add a very unique and custom look to you home theater lobby or any room in your house. With a little bit of wood, an LCD TV and some free software, you can make your own digital movie poster and have free original move posters displaying in your home. This document will walk you through the process I used to create mine.
More...
Materials
Before we start, I want to let you know that there are many different ways to build these digital movie posters. The way I chose was to have the frame hold the TV instead of having the TV hold the frame. This saves you from having to purchase a portrait LCD TV mount. If you do it this way, make sure that you are using a newer, lighter weight TV, like the one in the link above.
Building The Frame
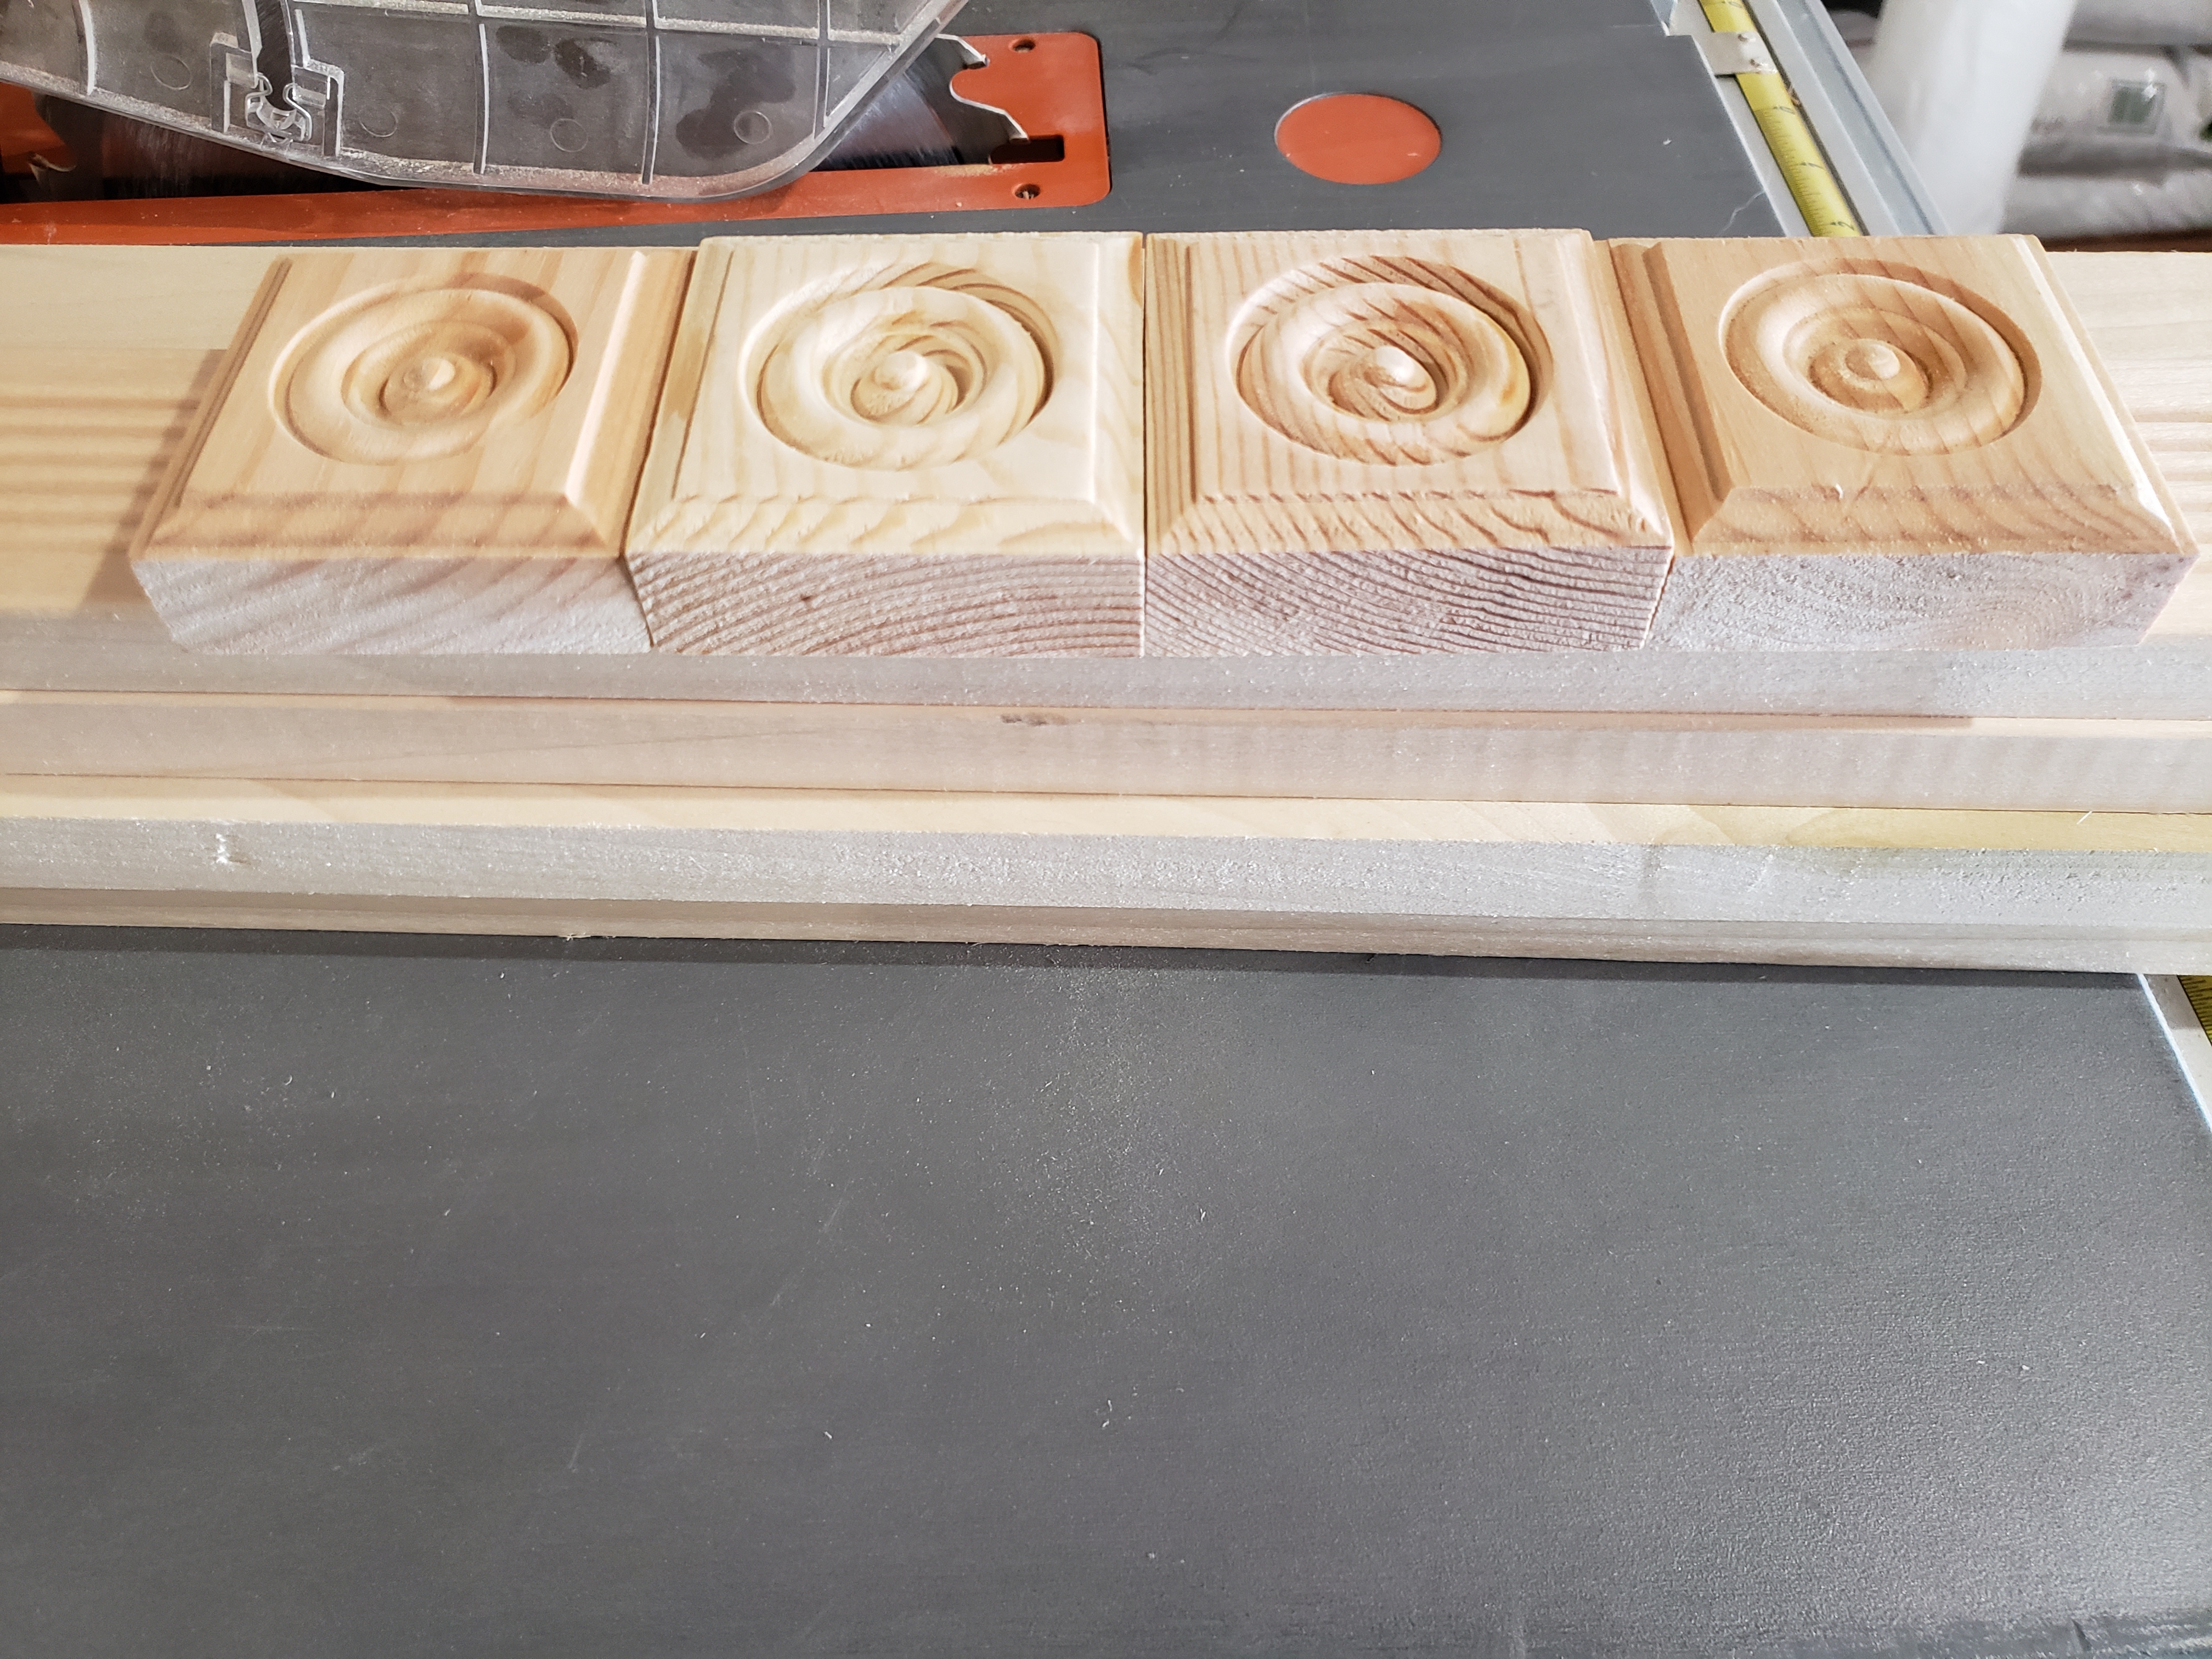
The Wood- Poplar and Pine
I used 1"x 6" poplar and some decorative trim I picked up at Home Depot. You need to make sure the poplar is wider than your TV is deep. The new LCD TV's are very slim, so 1" x 6" should be more than deep enough for most new TVs.
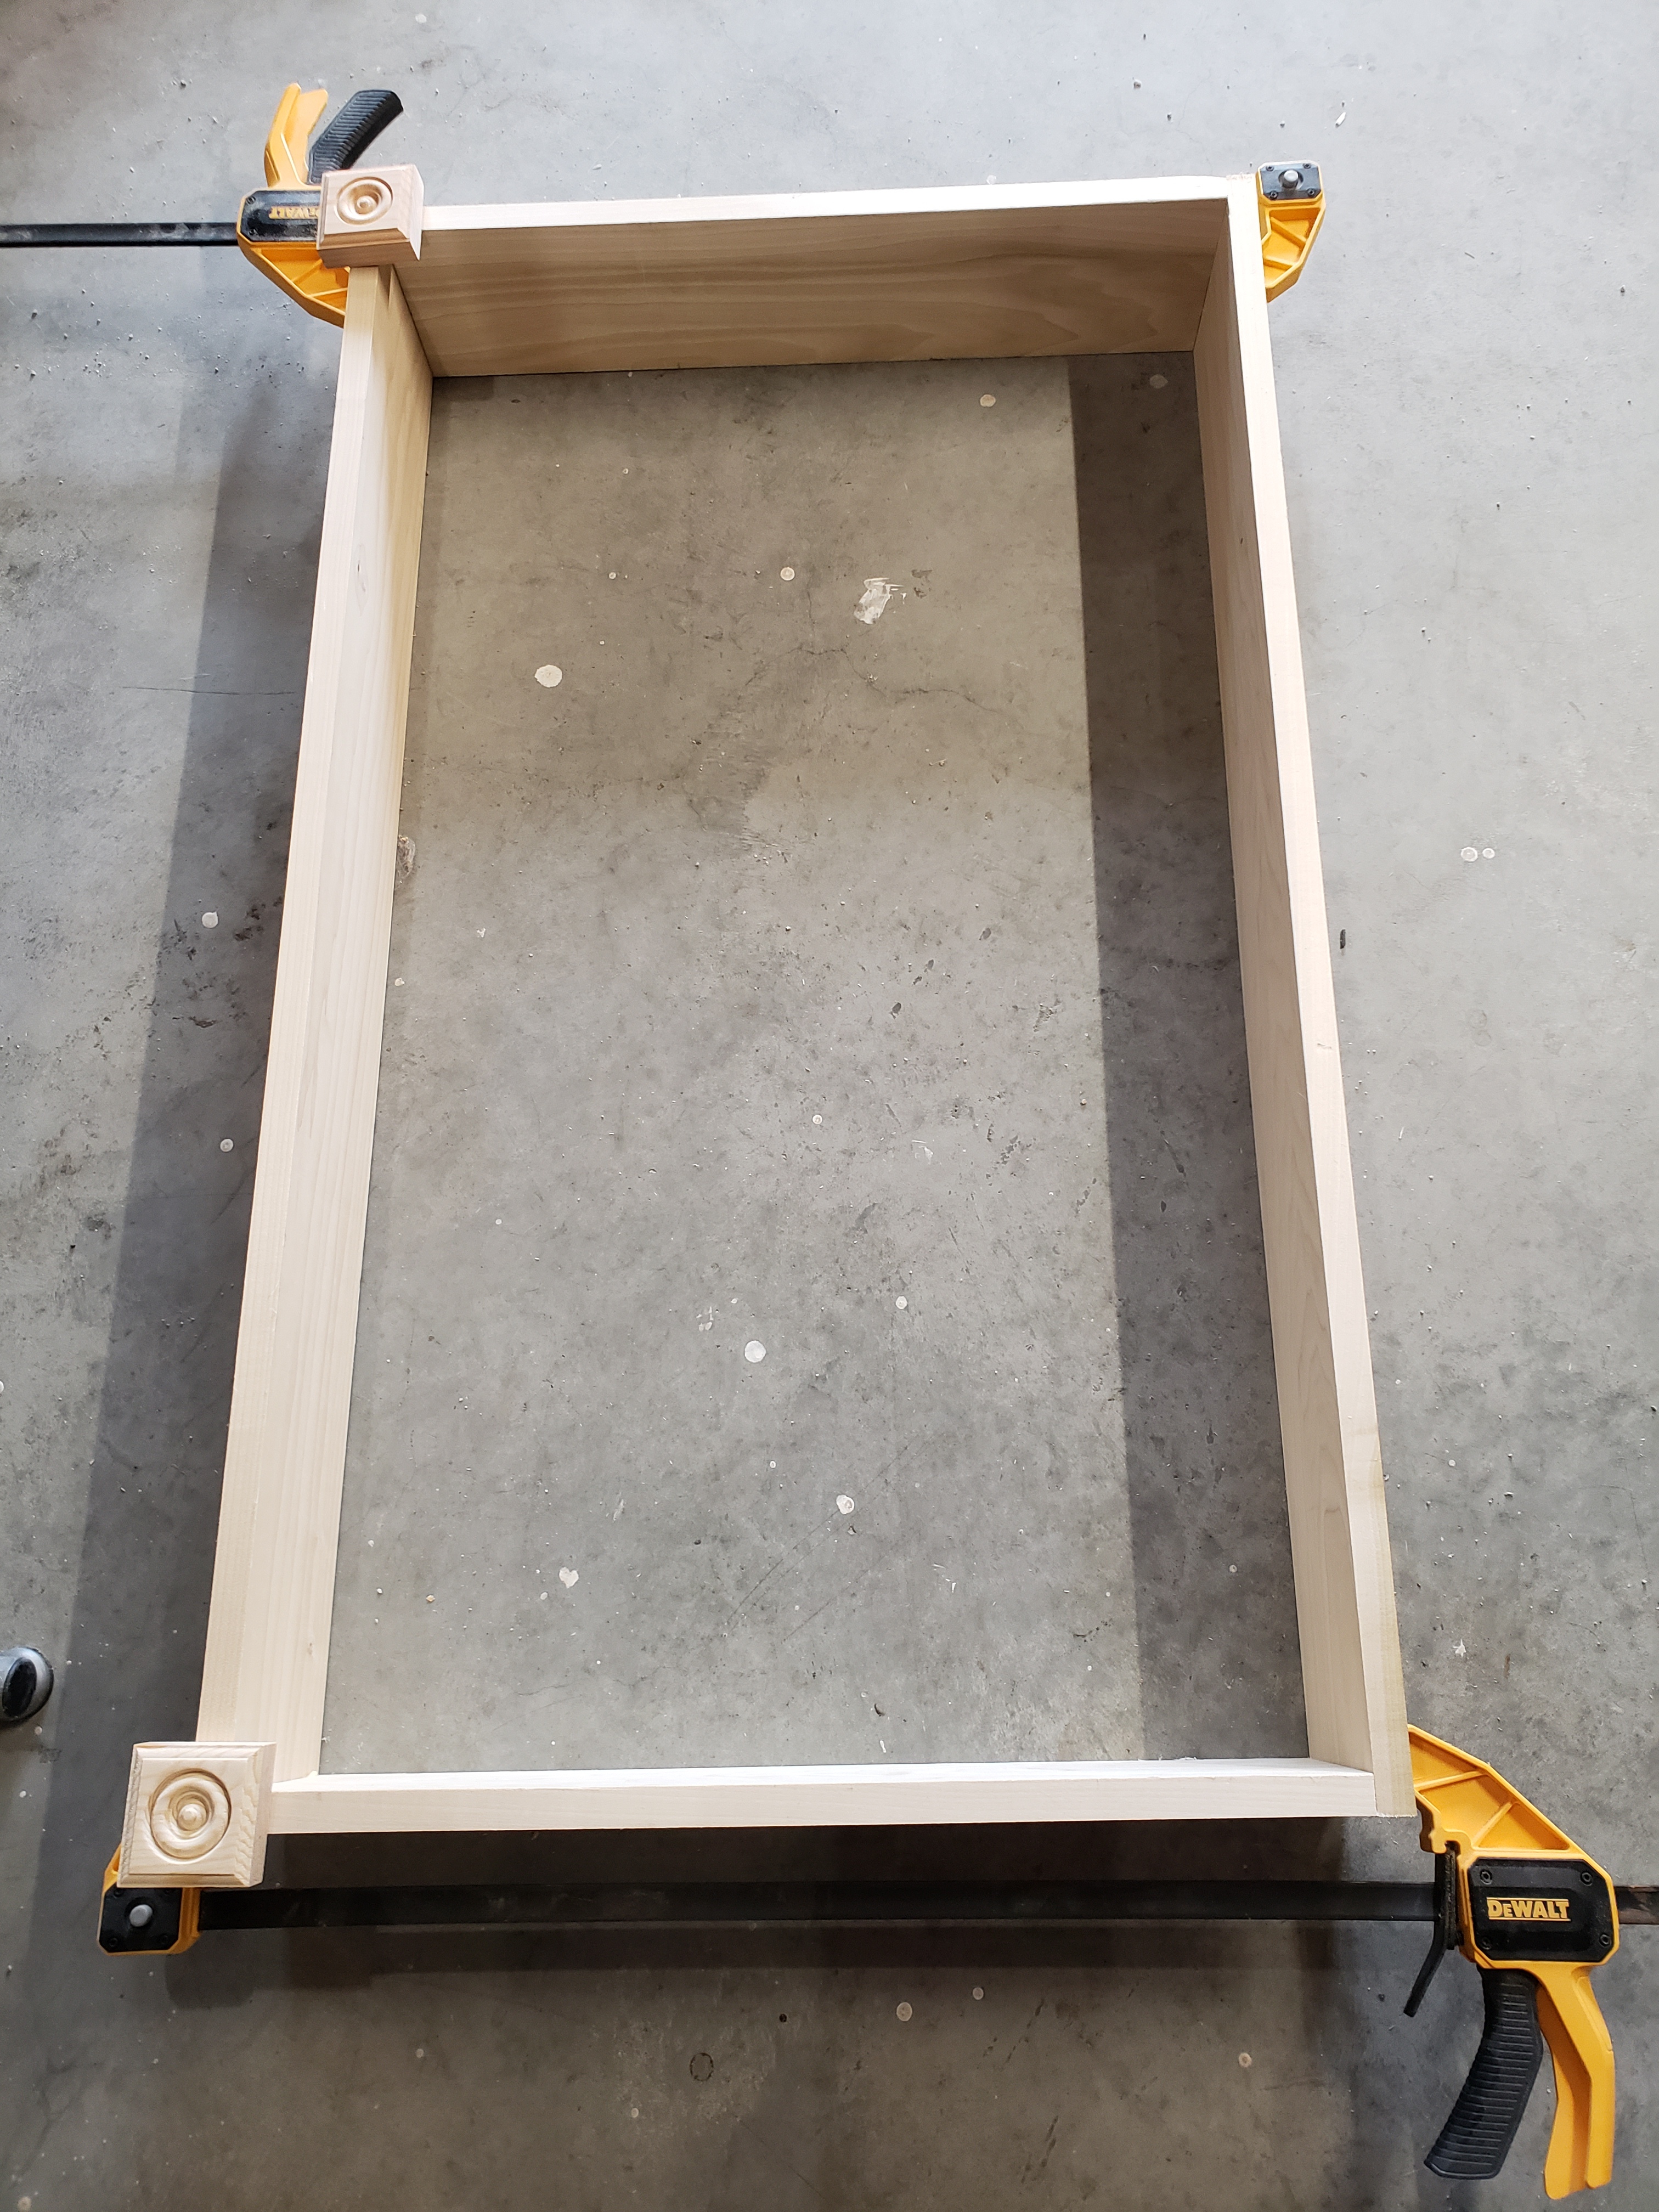
Rough Wood Frame
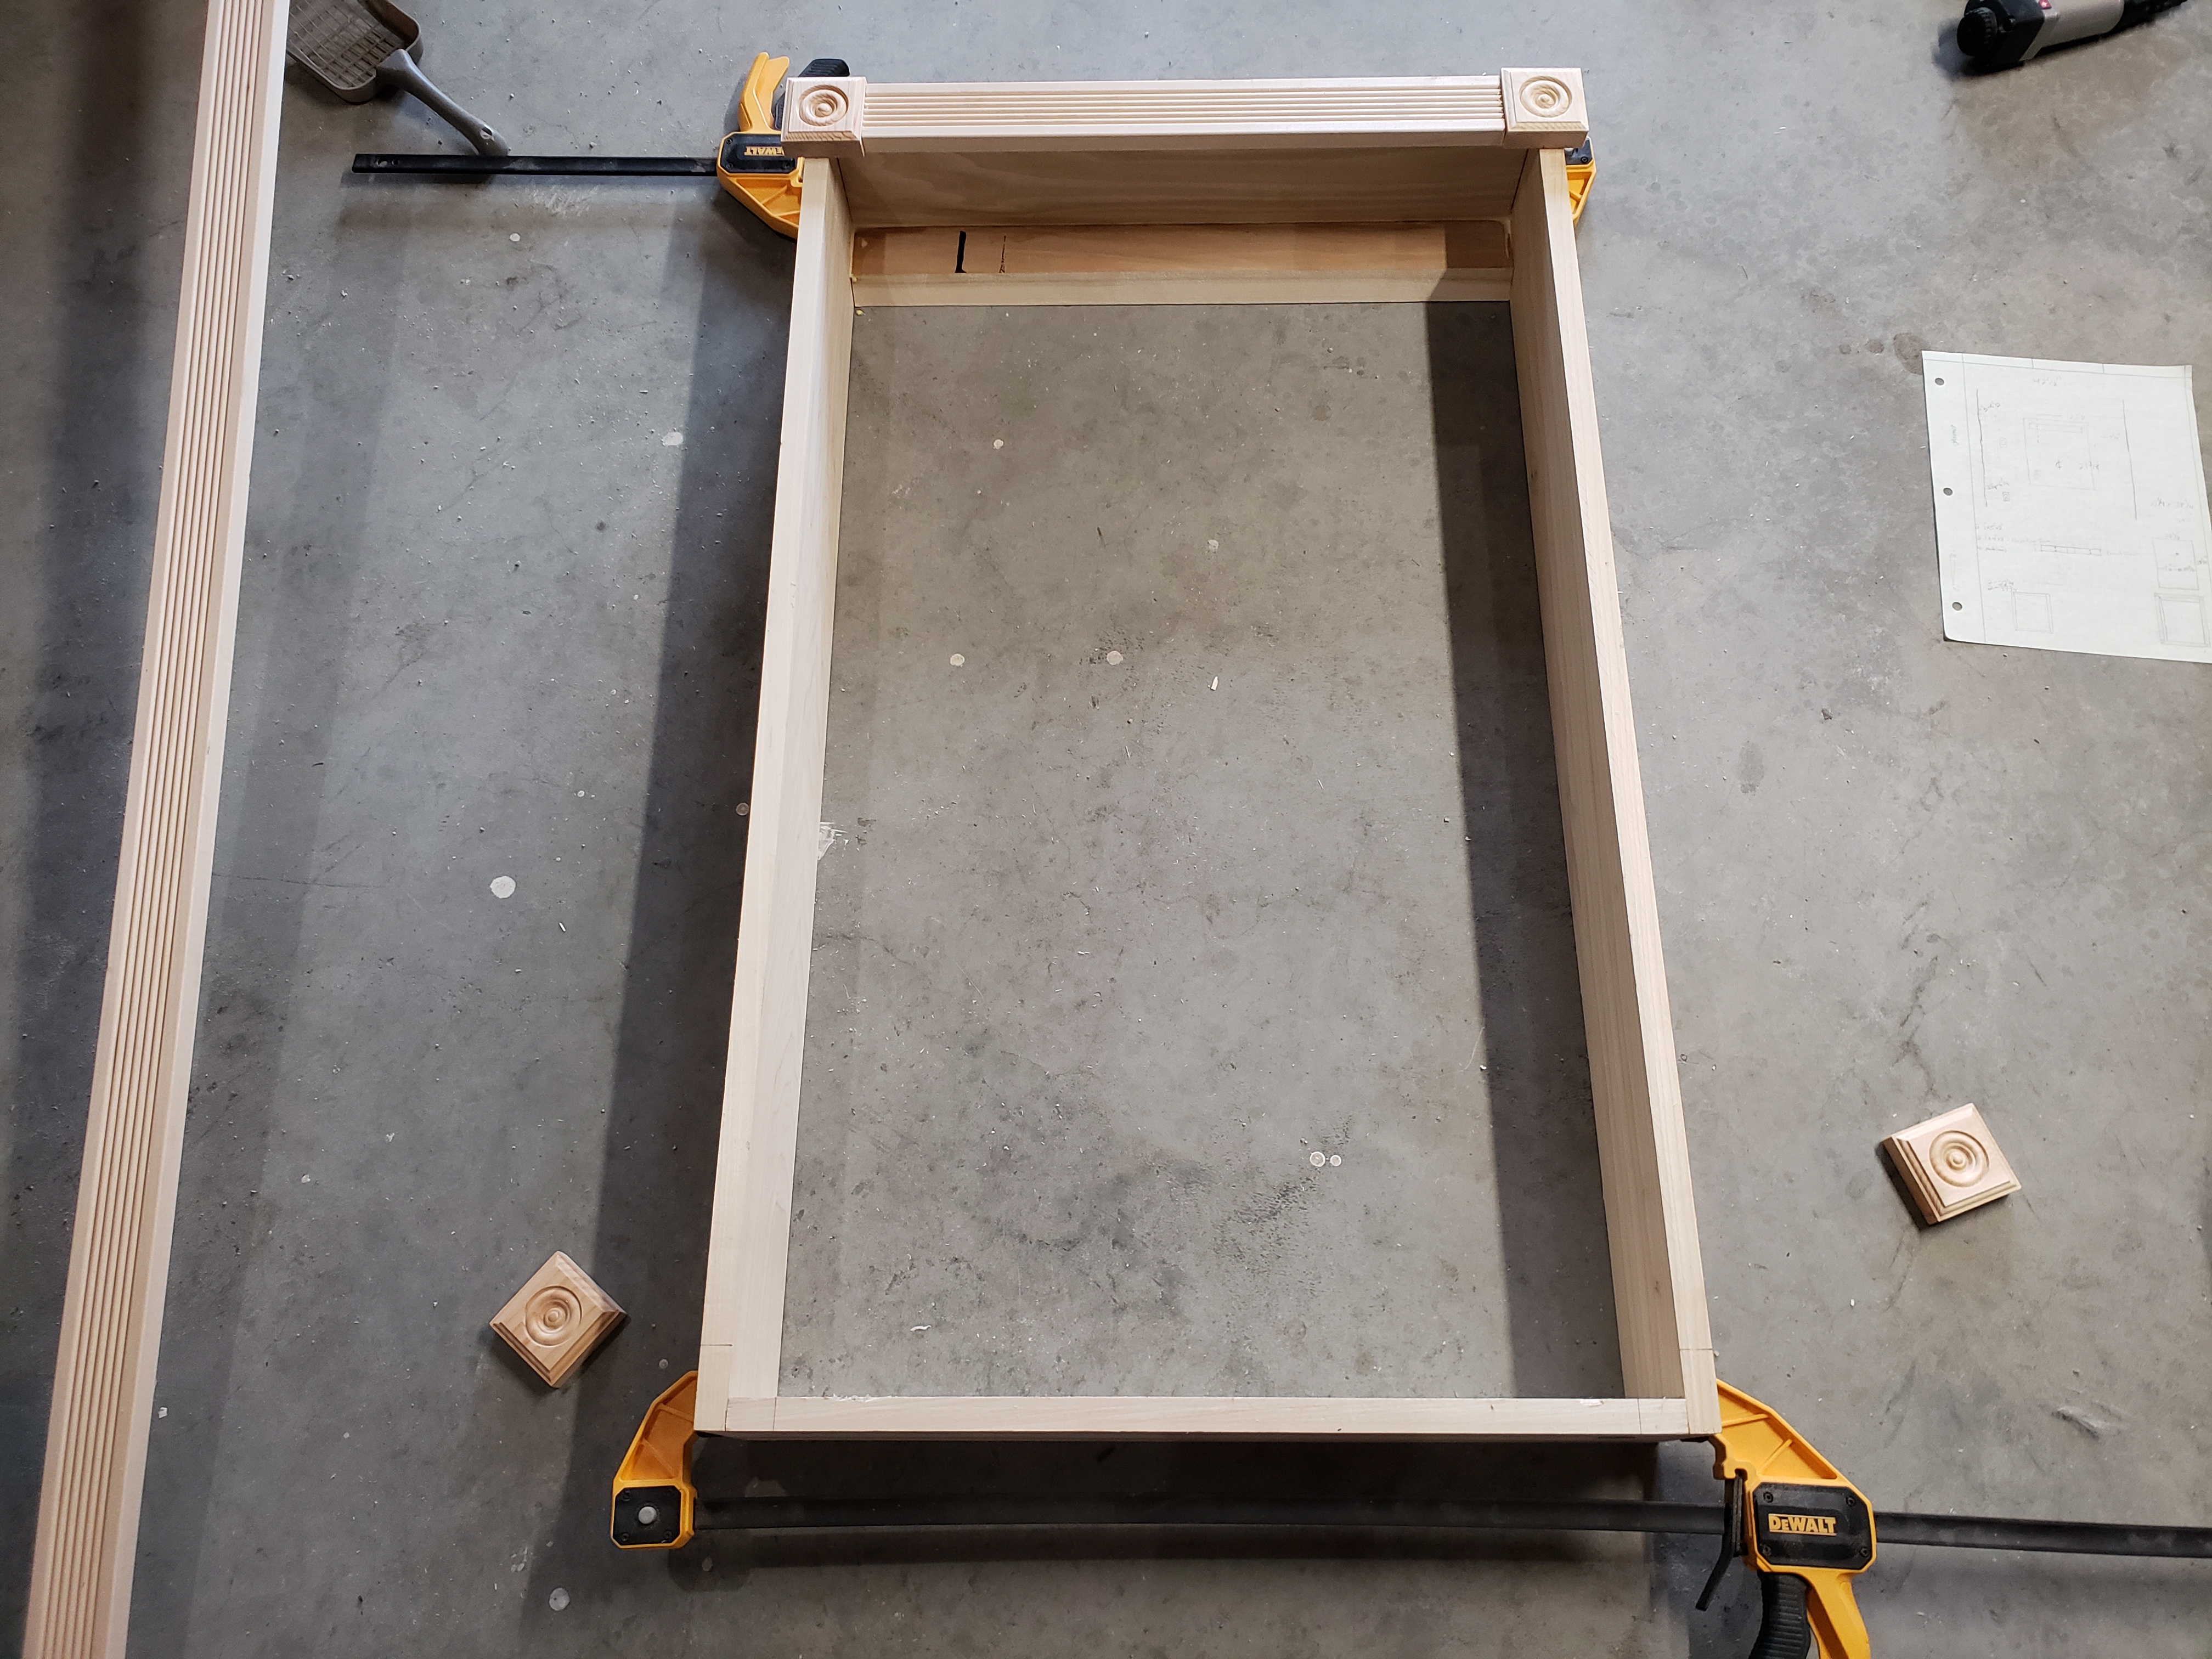
Rough Wood Frame
Measure the dimensions of your TV. The inside dimensions of your frame should be 1/8 of an inch larger than the TV. Measure and cut the poplar. Use wood glue and 1-1/4" nails to build the frame.
The frame will be attached to the wall with a french cleat. I cut a piece of poplar at a 30 degree angle and attached one section to the top of the frame. This gets attached to the top of the frame and the angle should be on the inside and slope as shown in the picture. This also gets glued and nailed to the frame with 1-1/4" nails.
Make sure your frame is square, by measuring it diagonally each way and adjusting it as necessary. Clamp it and let the glue dry according to the instructions
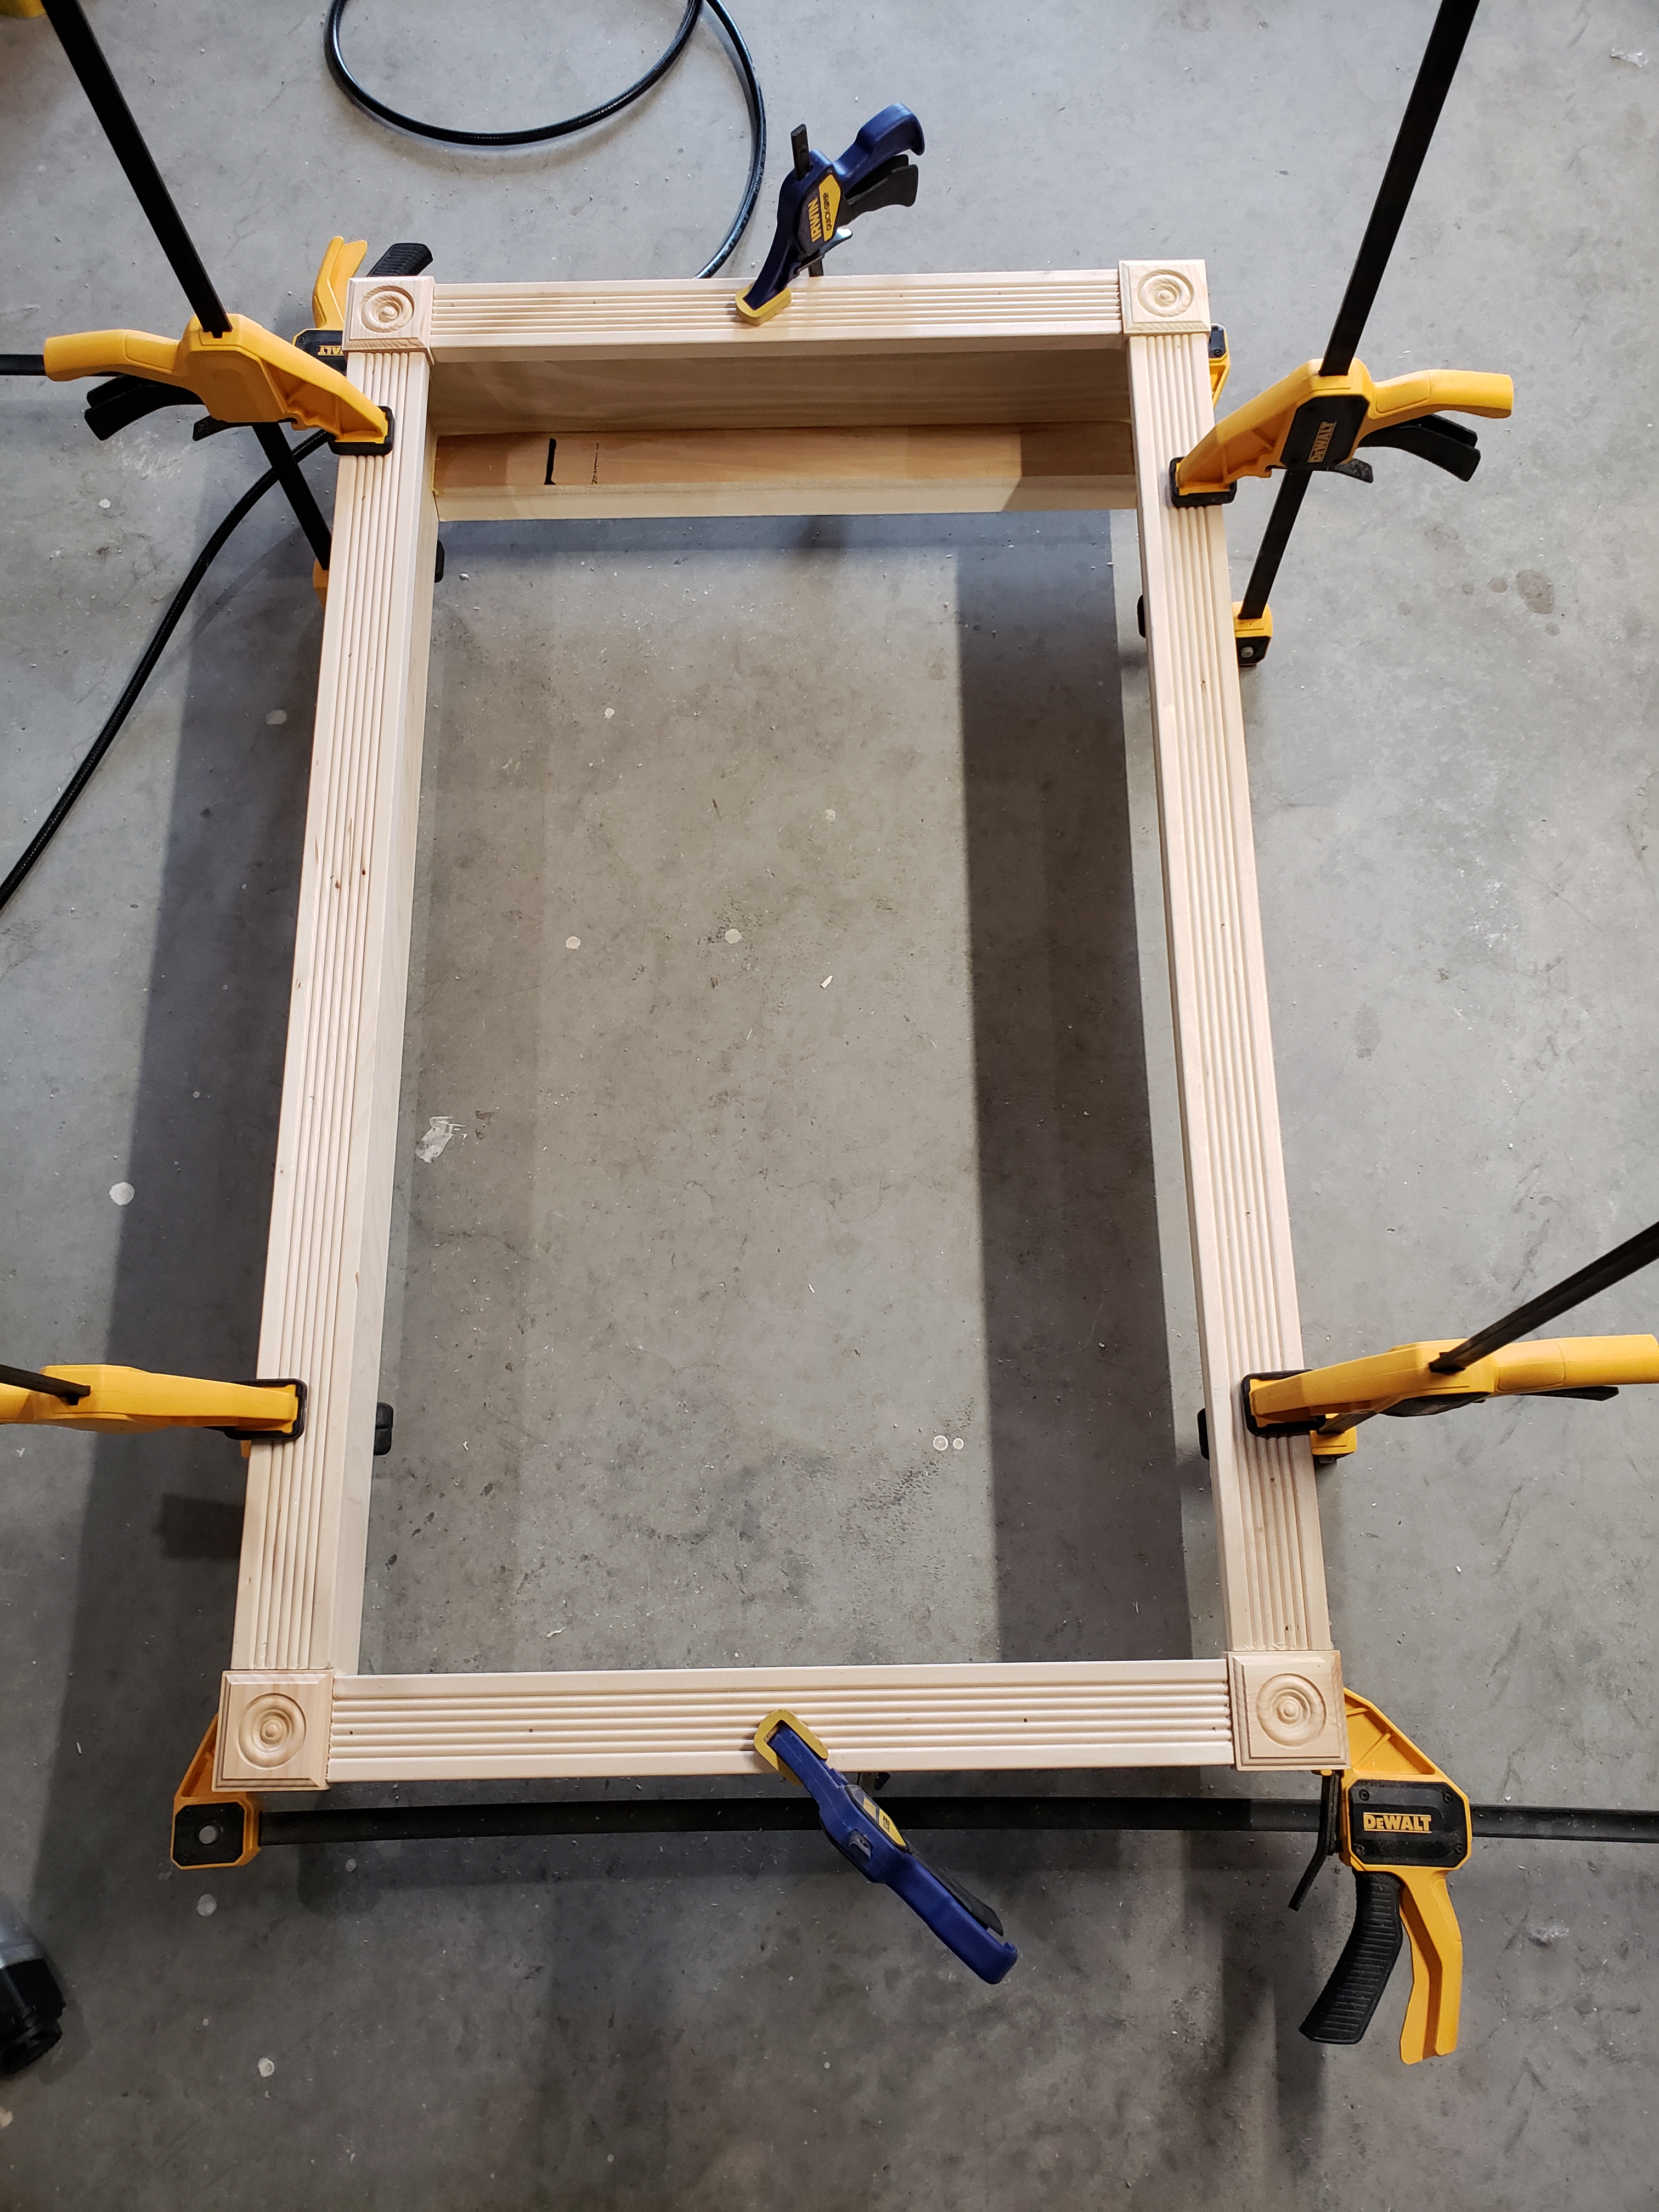
Trim
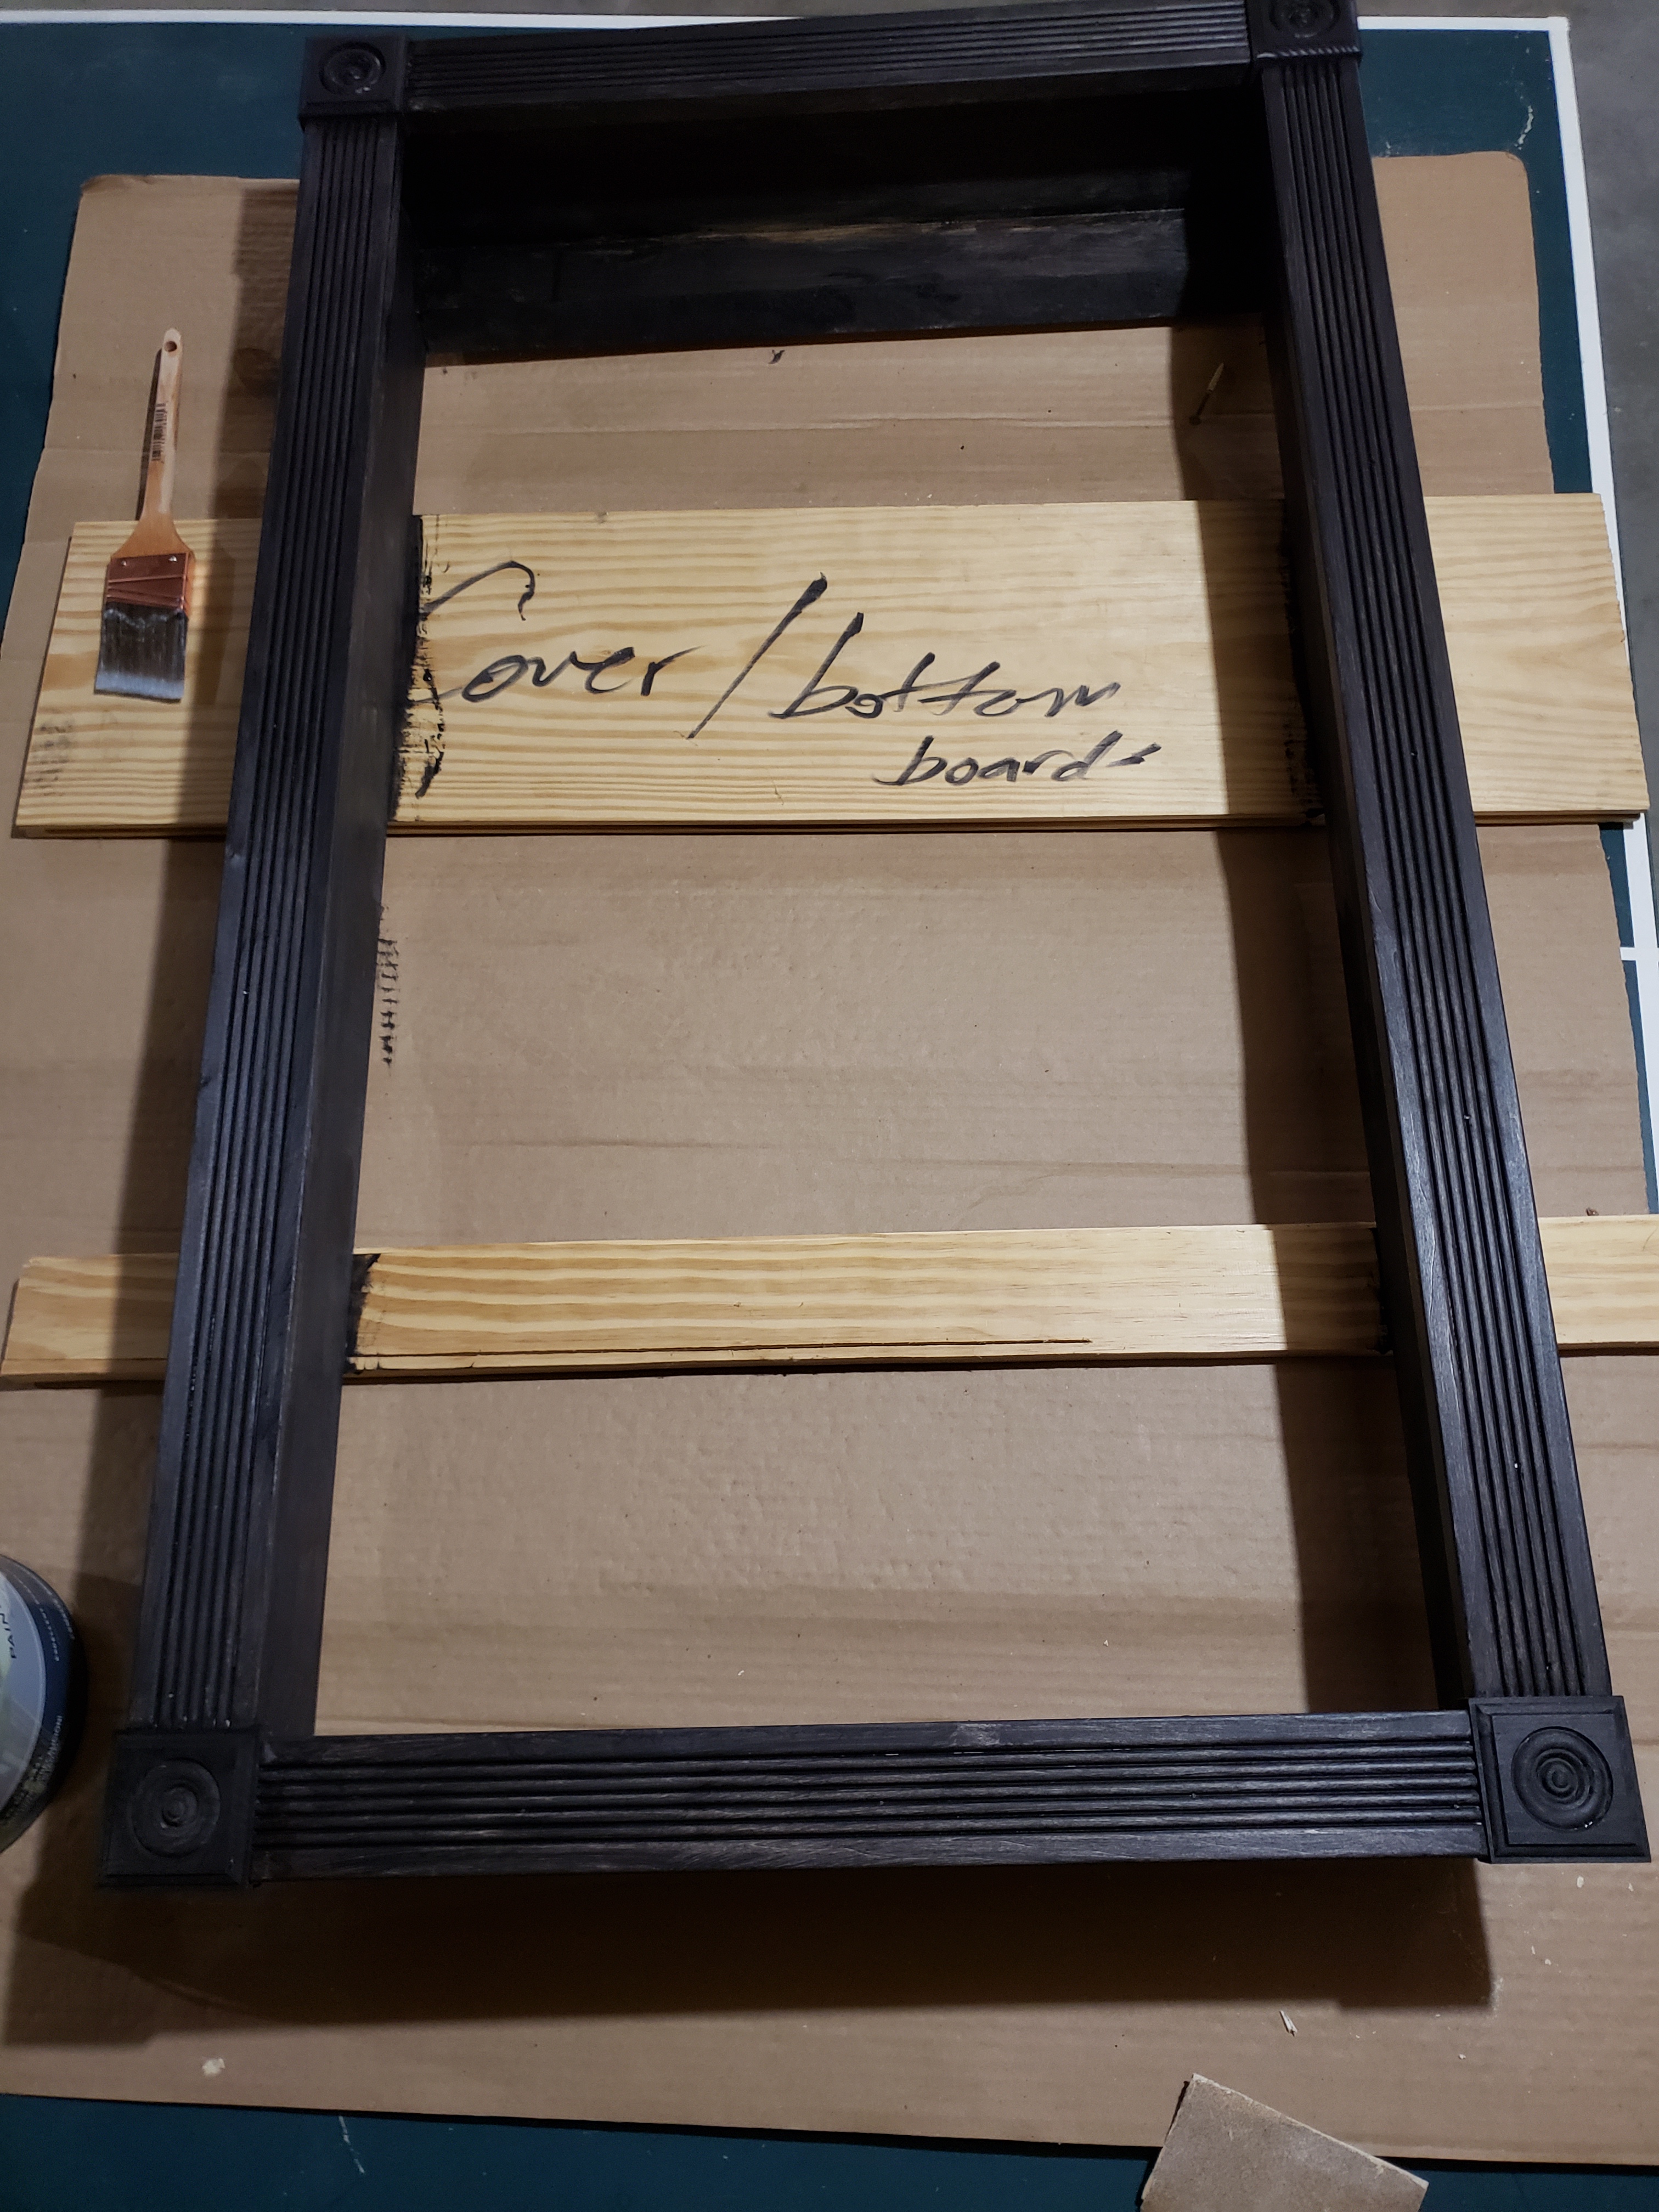
Once the glue has dried, it's time to attach the trim. The trim should overlap the inside of the frame by at least 3/4" or enough to cover the trim that is around the TV. Whichever is bigger.
The trim gets attached using wood glue and 1-1/4 nails as well. I chose to use rosettes on the corners of mine, but you can just picture frame it if you don't want it to be too fancy.
Painting the Frame
Now it's time for paint. Once the glue has dried, remove all of the clamps and fill the nail holes with wood filler. Let the wood filler dry and sand it down with a high grit sandpaper.
Paint with your favorite paint. I painted mine with Baer black satin, but many people choose semi-gloss or gloss for this. It's all up to you and your personal tastes.
Prepping the Location to hang your Digital Movie Poster Frame
French Cleat
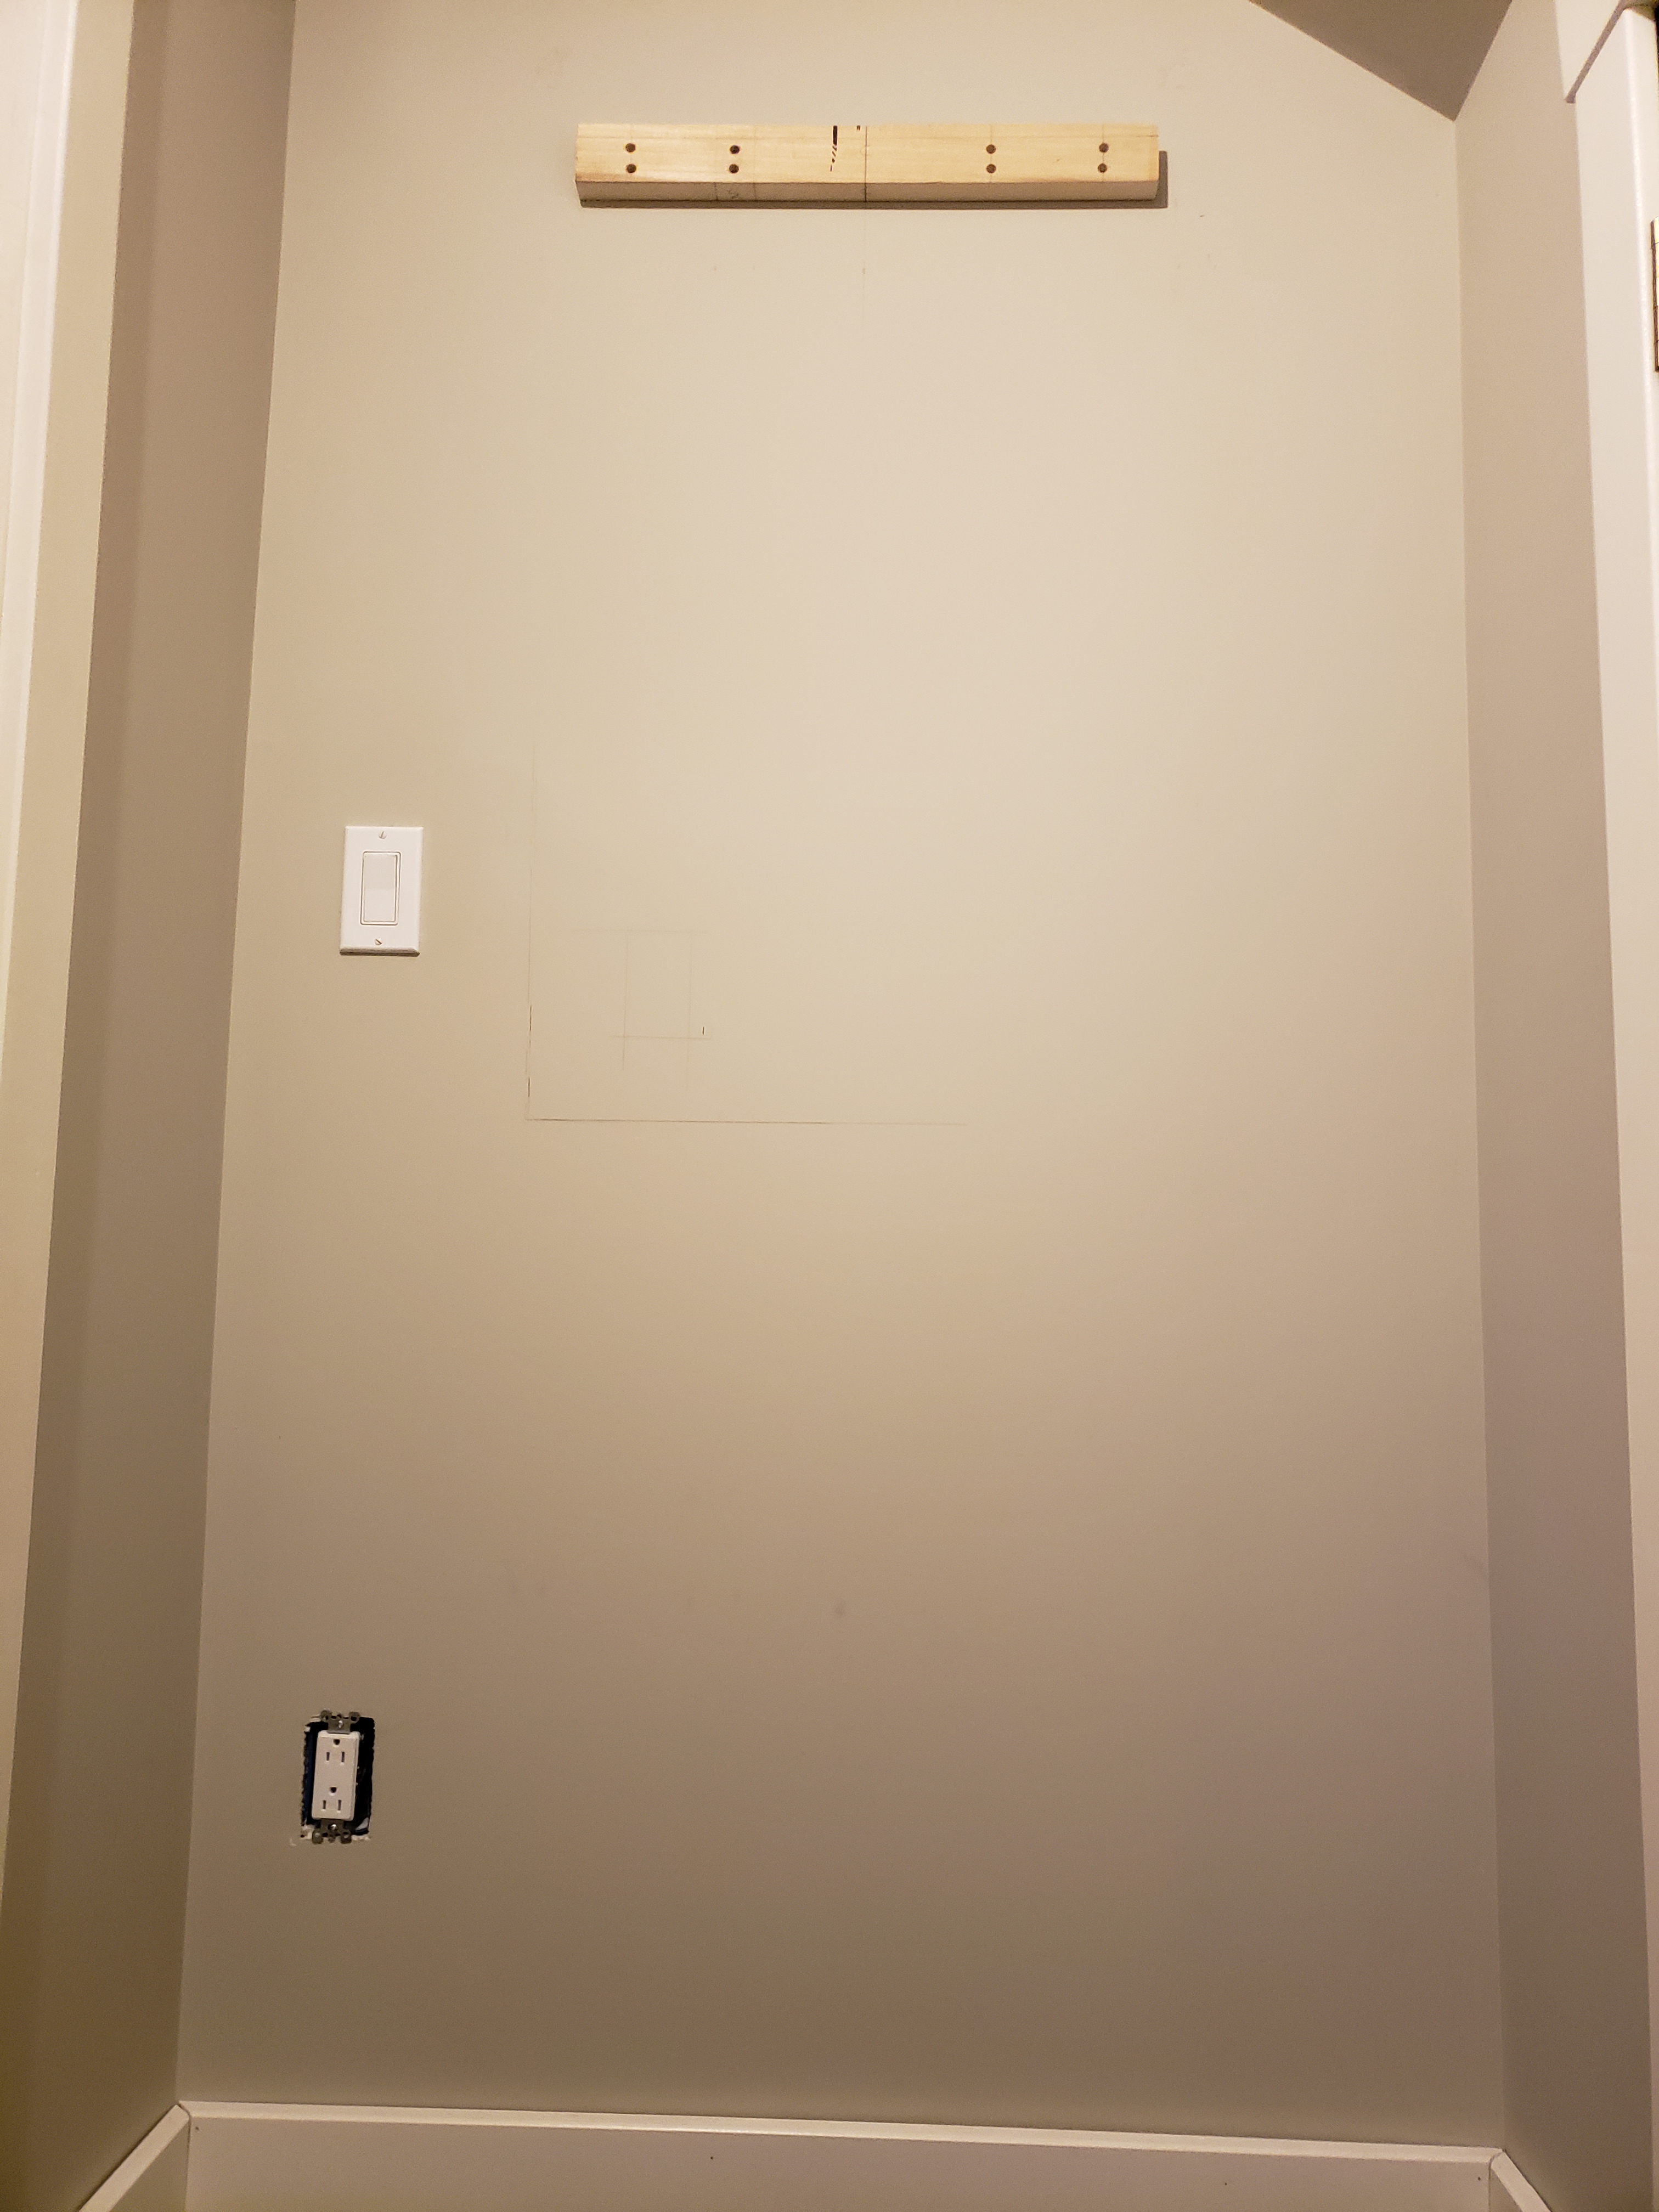
Now it's time to hang the other half of the french cleat on the wall. You want this part to be a little shorter than the one that you put on the frame. I cut 1" off. This makes it easier to set the frame and gives you a little adjust-ability. This needs to be in an area where you can get power and where you have Wi-Fi access.
This one needs to get mounted so that the angle is opposite from the one mounted to the frame. The 30 degree angle should be in the top and slope towards the back.
The cleat needs to be centered where you want the poster hung. It should also be attached to a stud. In my case I was only able to hit one stud, so I used 6 wall anchors that are rated for 50 lbs. each. That should hold it pretty good
Test Mount
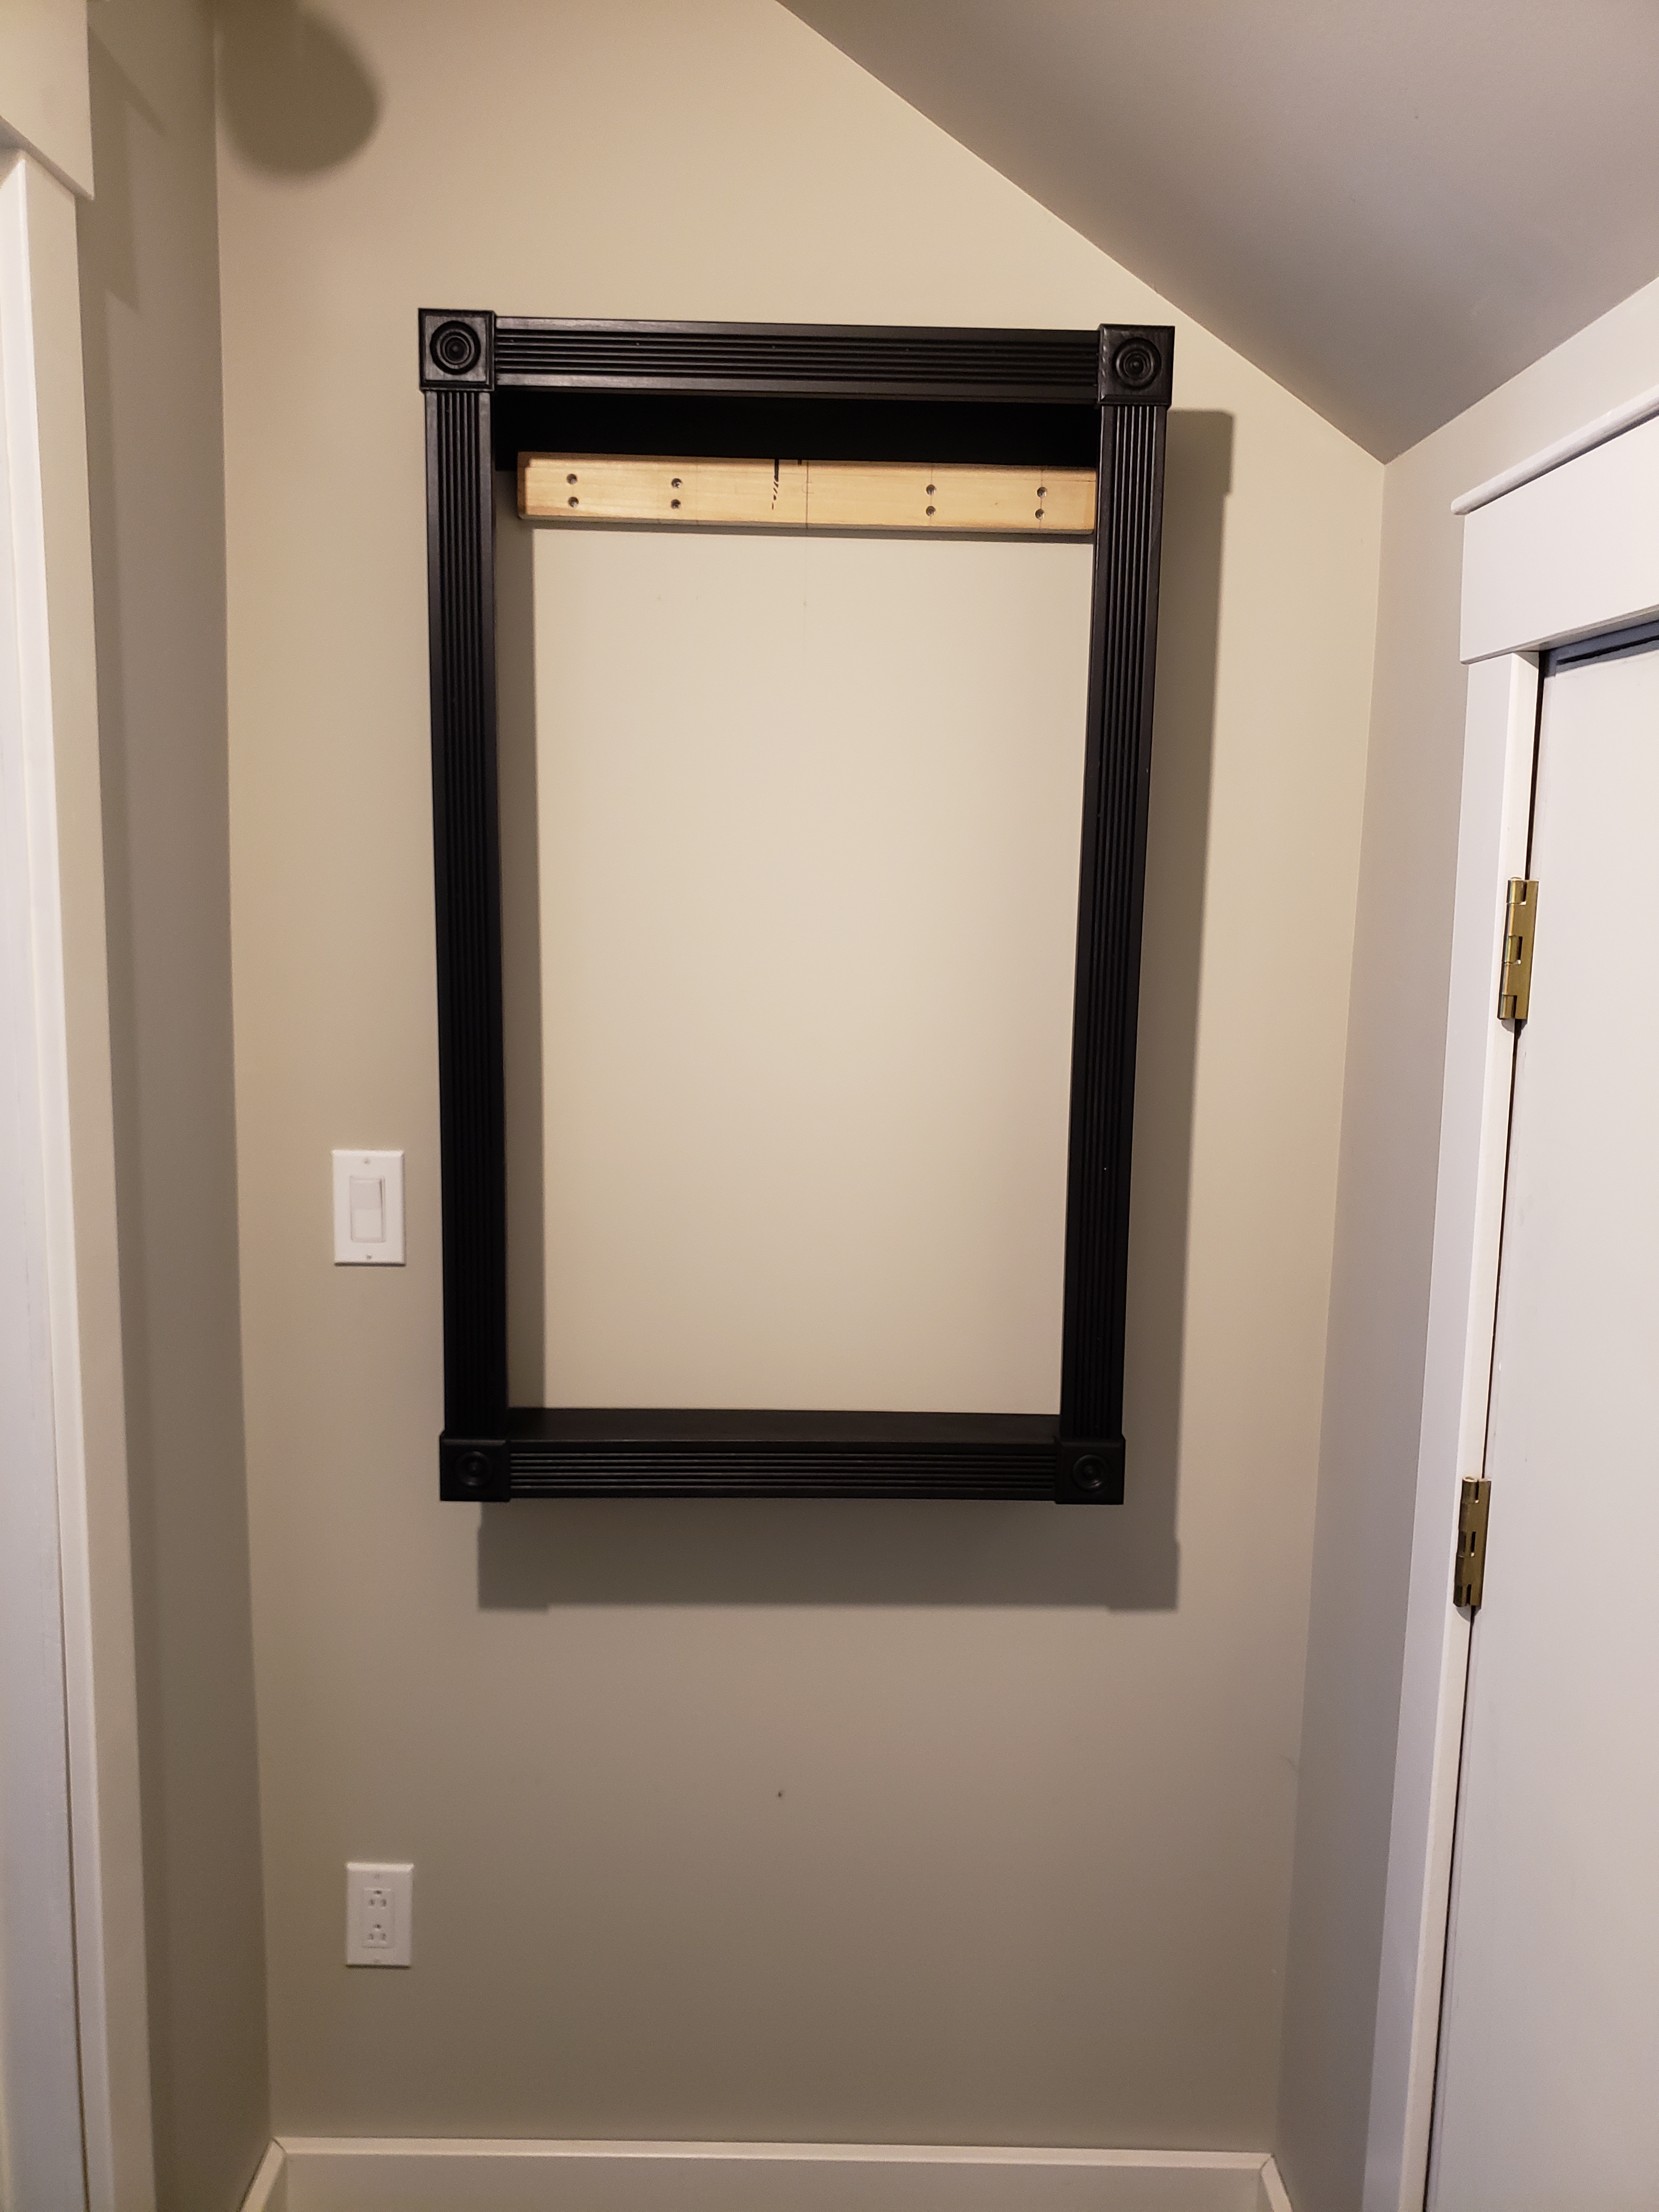
This is a good time to test fit hanging the digital movie poster frame on the cleat. Make sure that it is centered where you want it and make sure the frame fits properly over the cleat.
Now draw a line on the wall by tracing the inside of the frame. This will help you to know where the outlet can go.
Installing the Insteon Outlet
Using the Insteon Remote Control Dual On/Off Outlet allows you to turn the poster TV and the mini PC on and off remotely.
Installing the Outlet
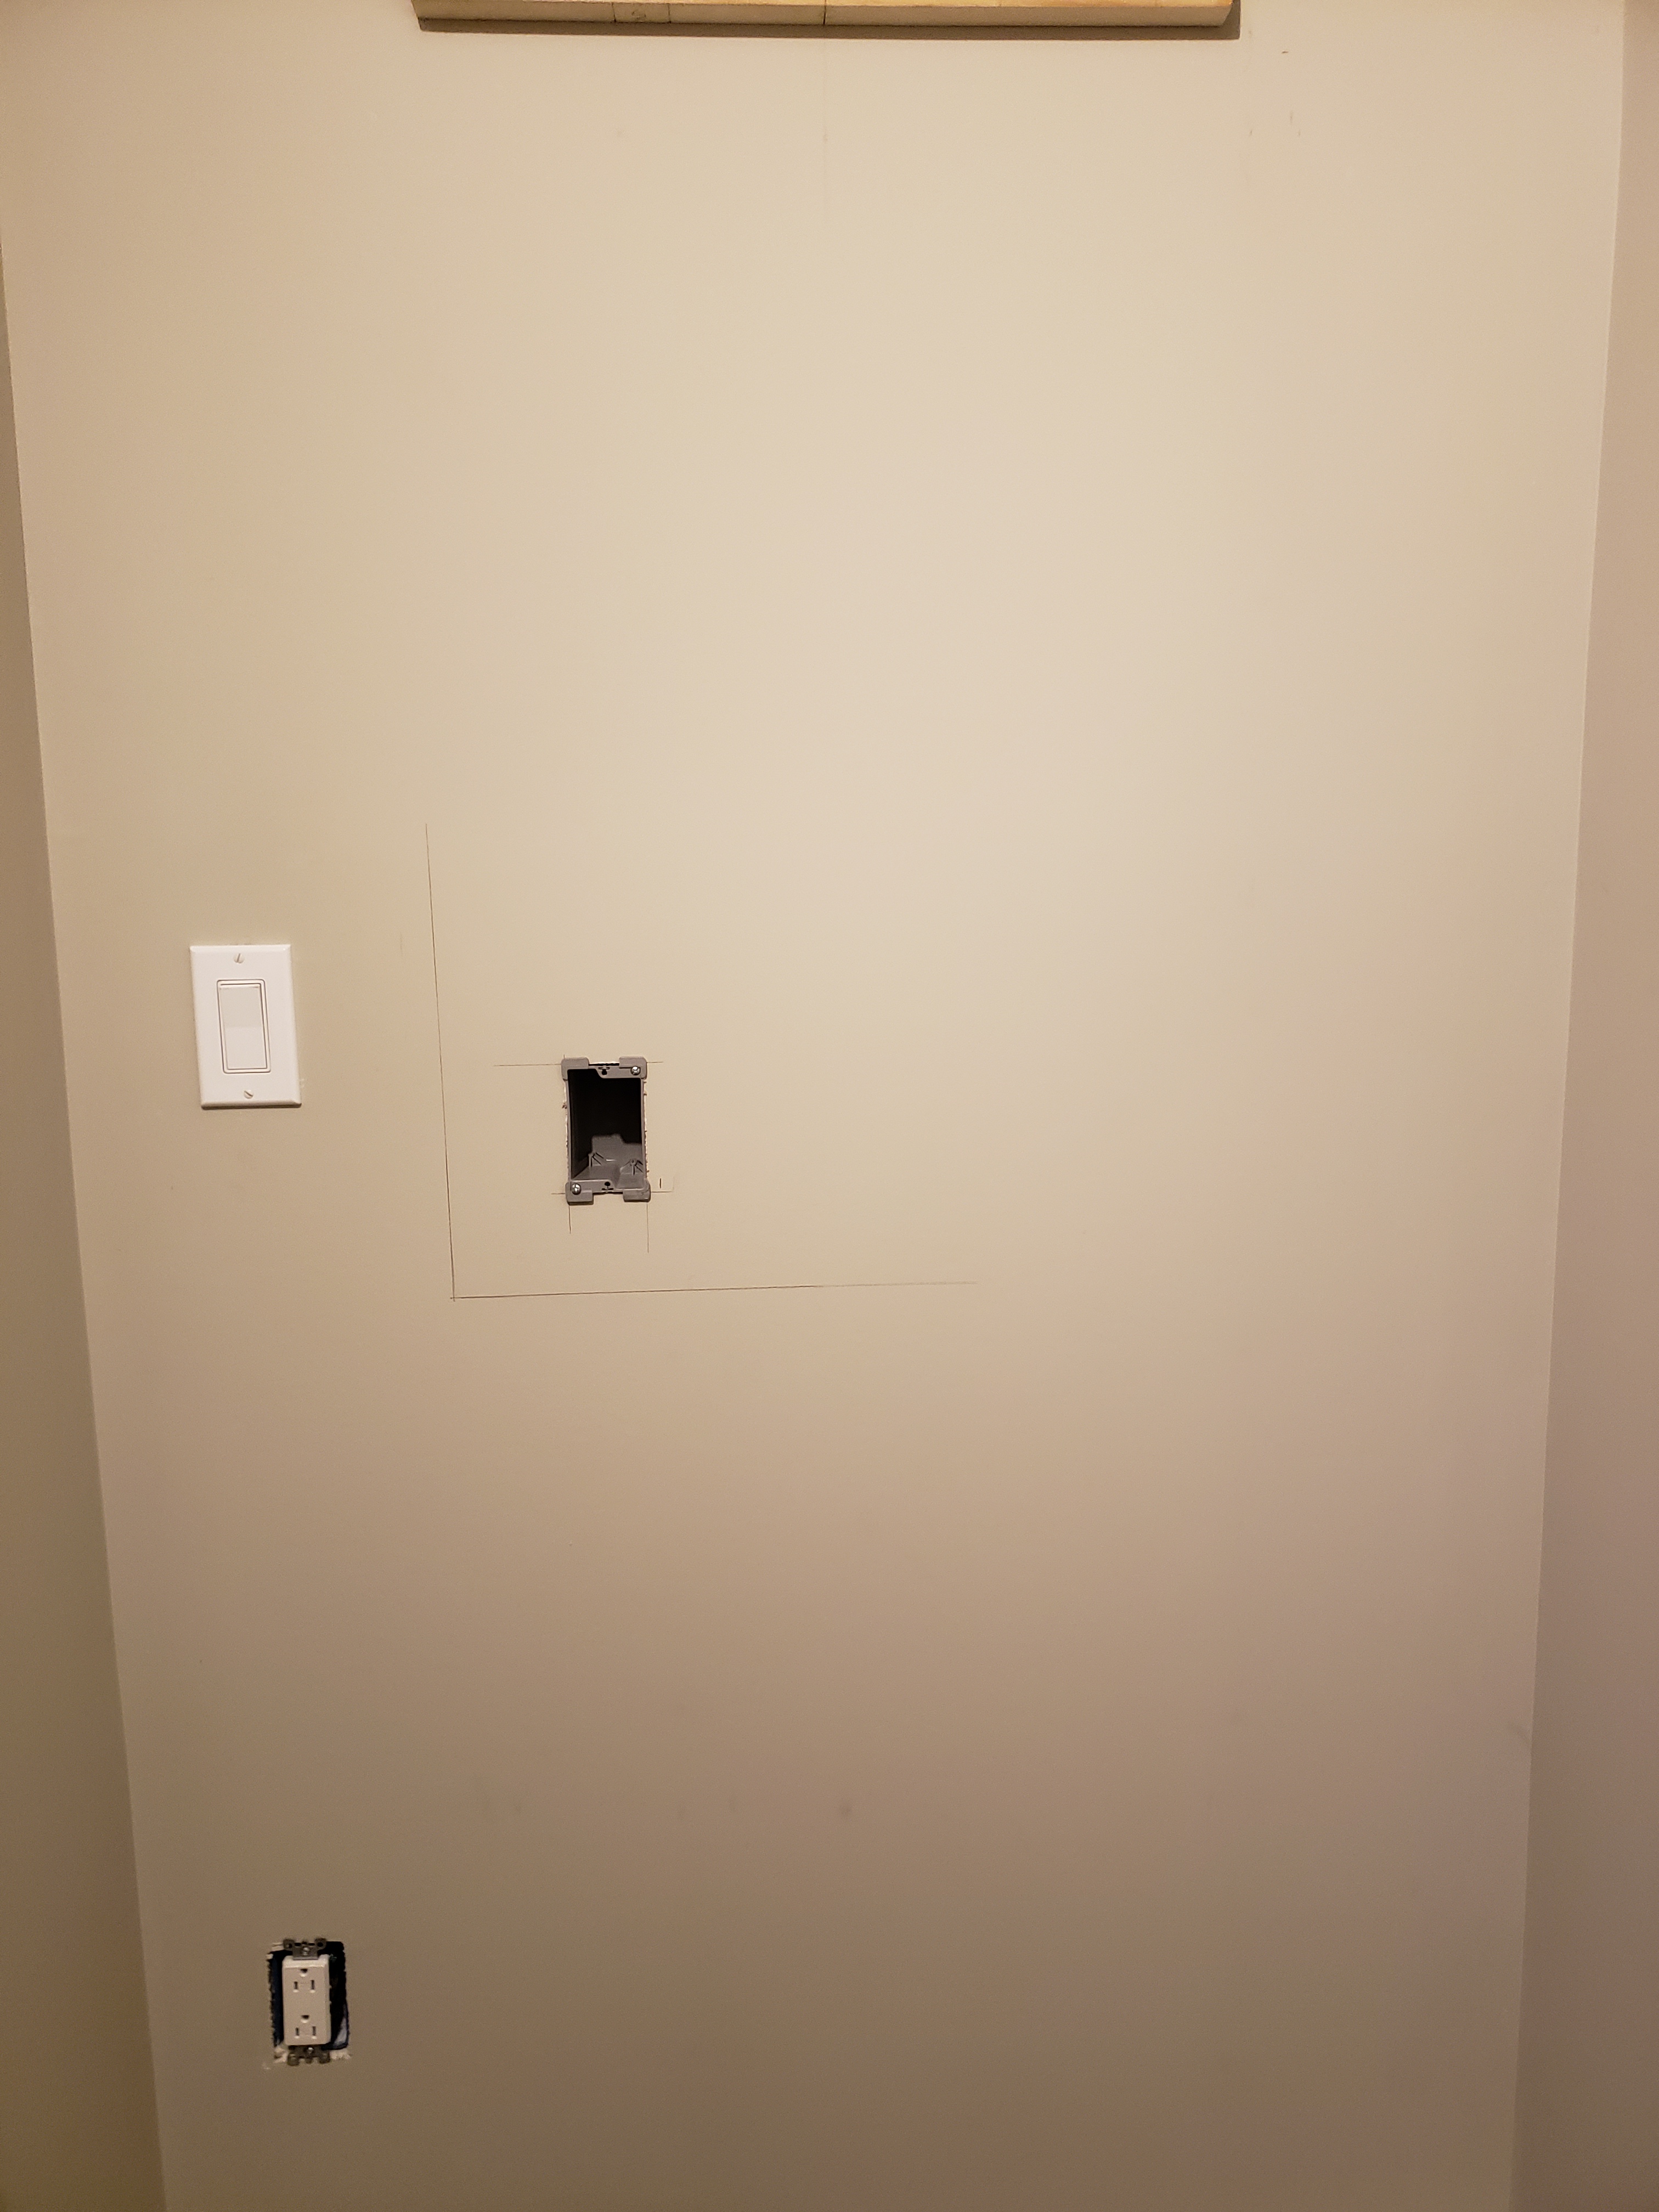
Old Work Box
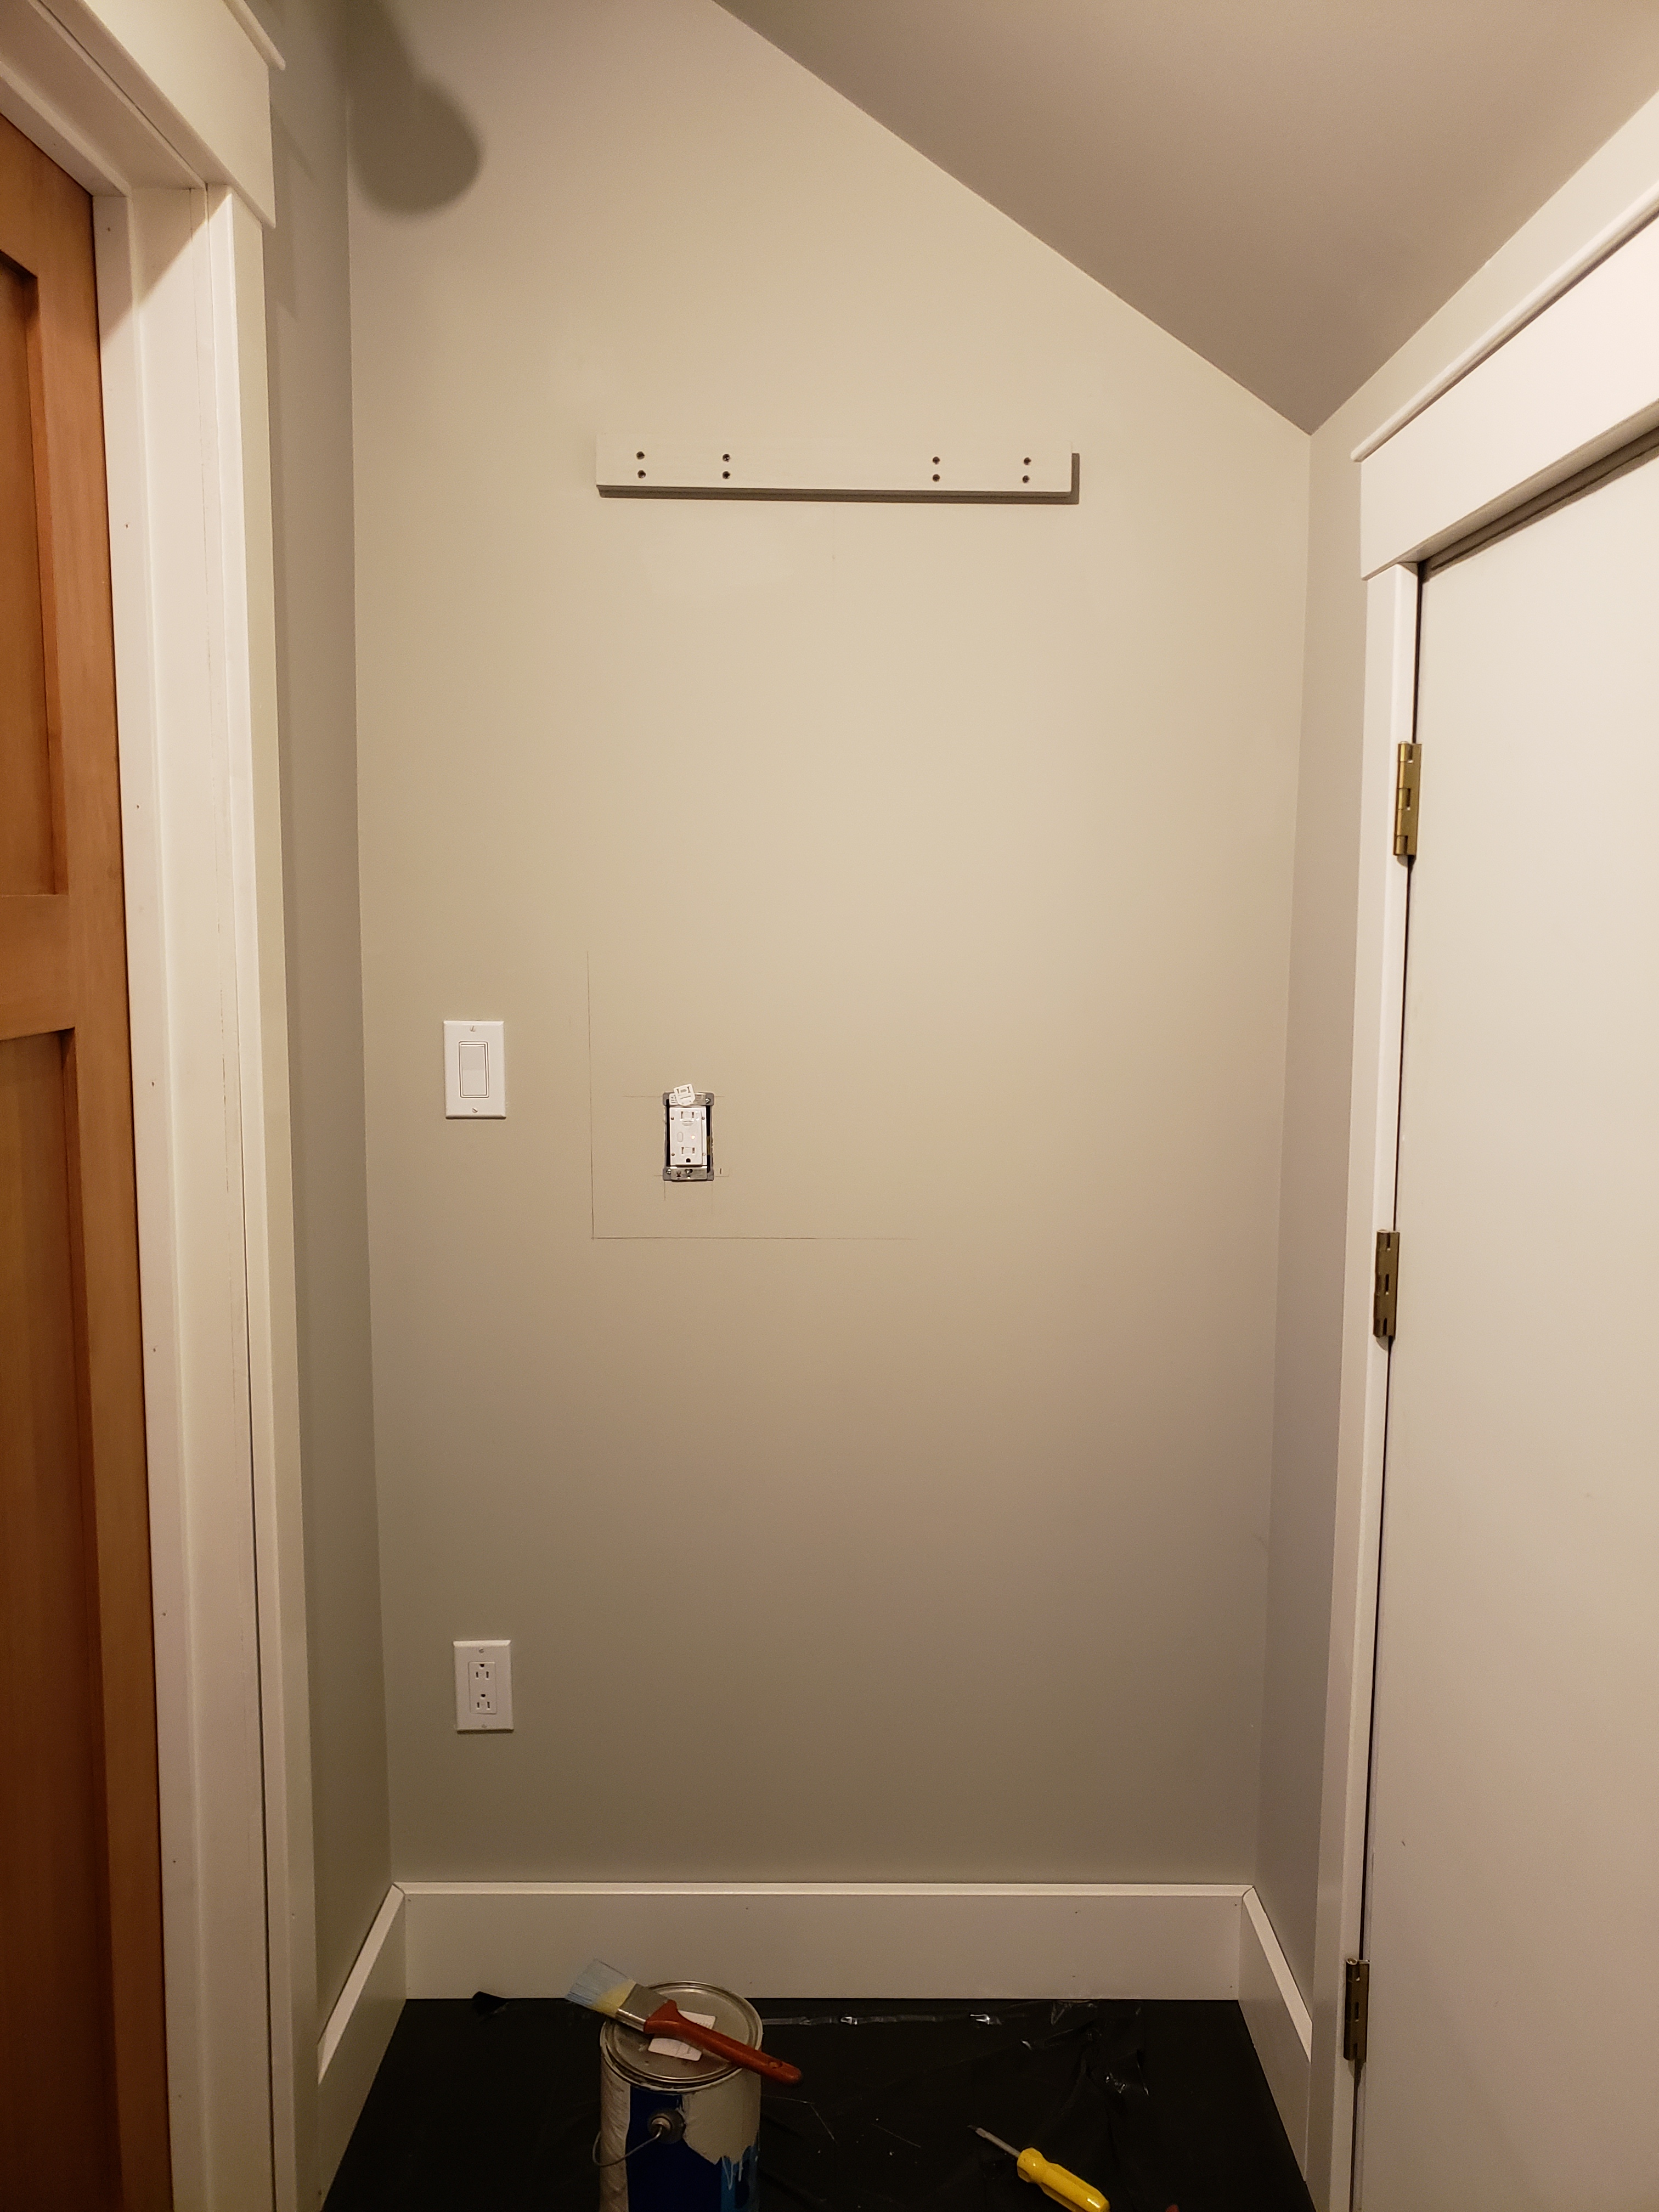
Insteon Outlet
NOTE: If you are not comfortable working with electricity, this is a good part to hire out.
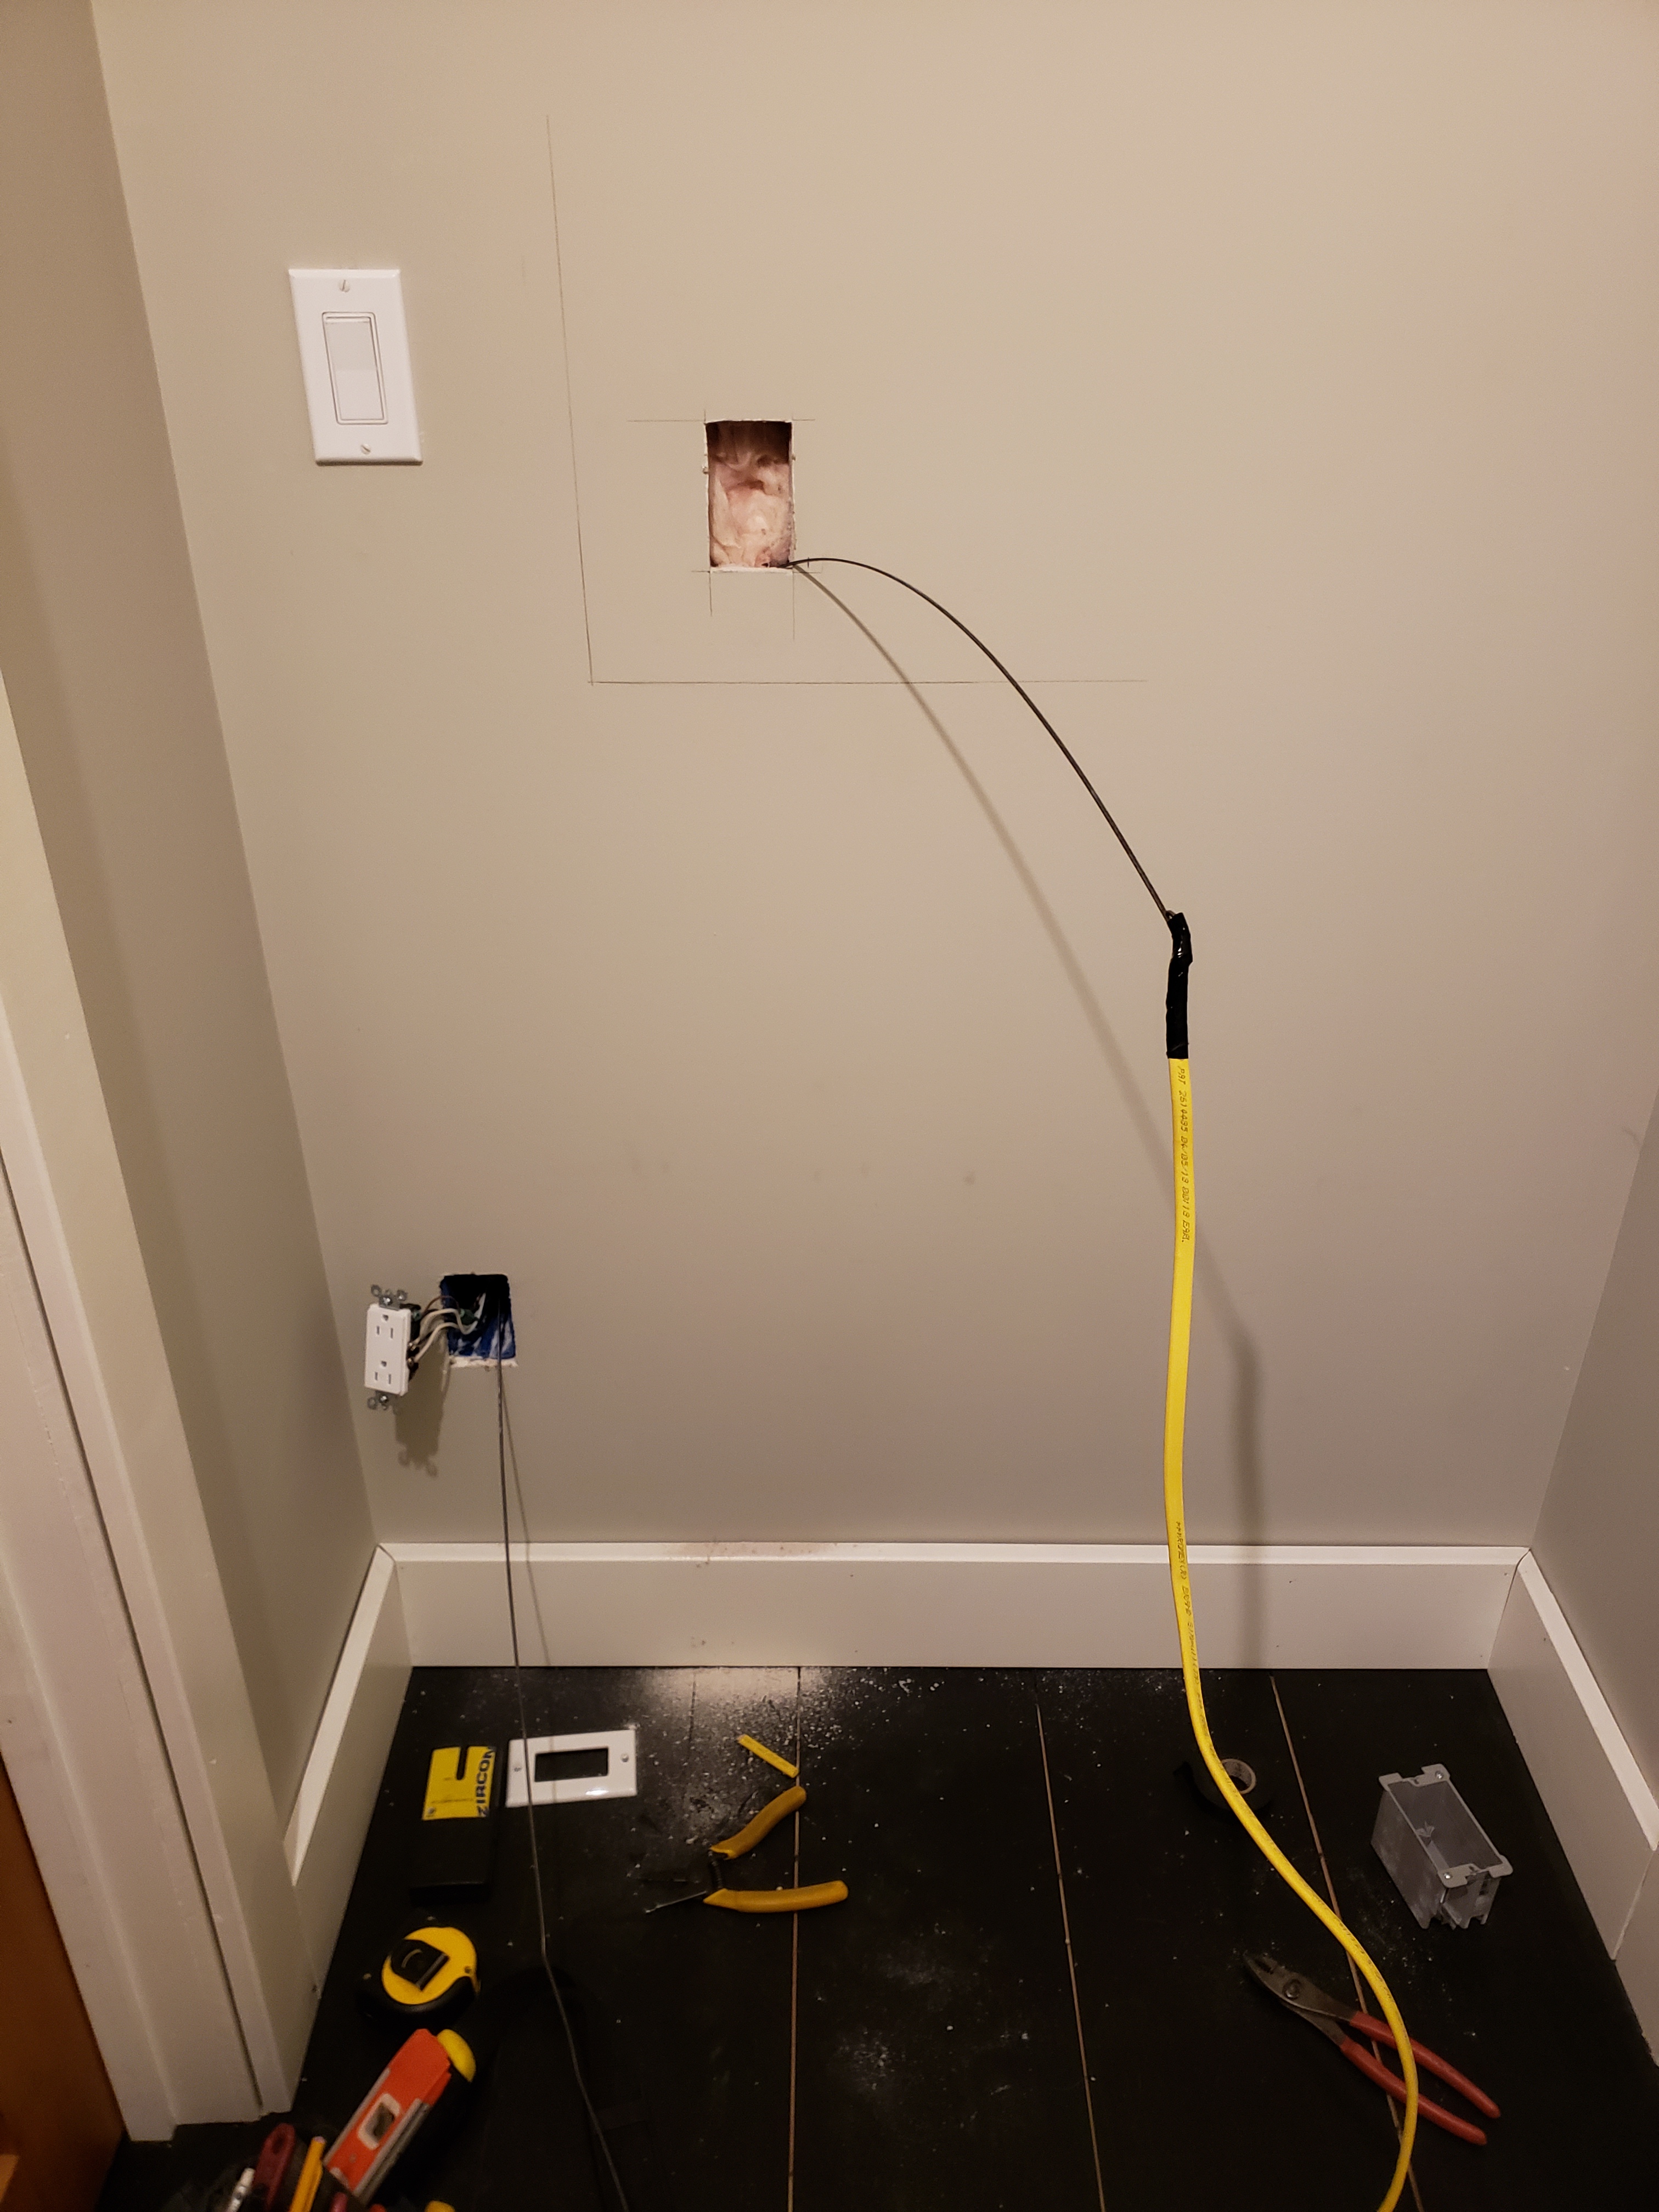
Using the marks you put on the wall in the previous step, locate the spot where you want to put the outlet and install it. Make sure that it won't interfere with the TV.
In my case I had an outlet lower on the wall, so I used an old work box and installed the Insteon outlet within the frame area. I was able to get the power from the lower outlet.
Mounting the TV In The Frame
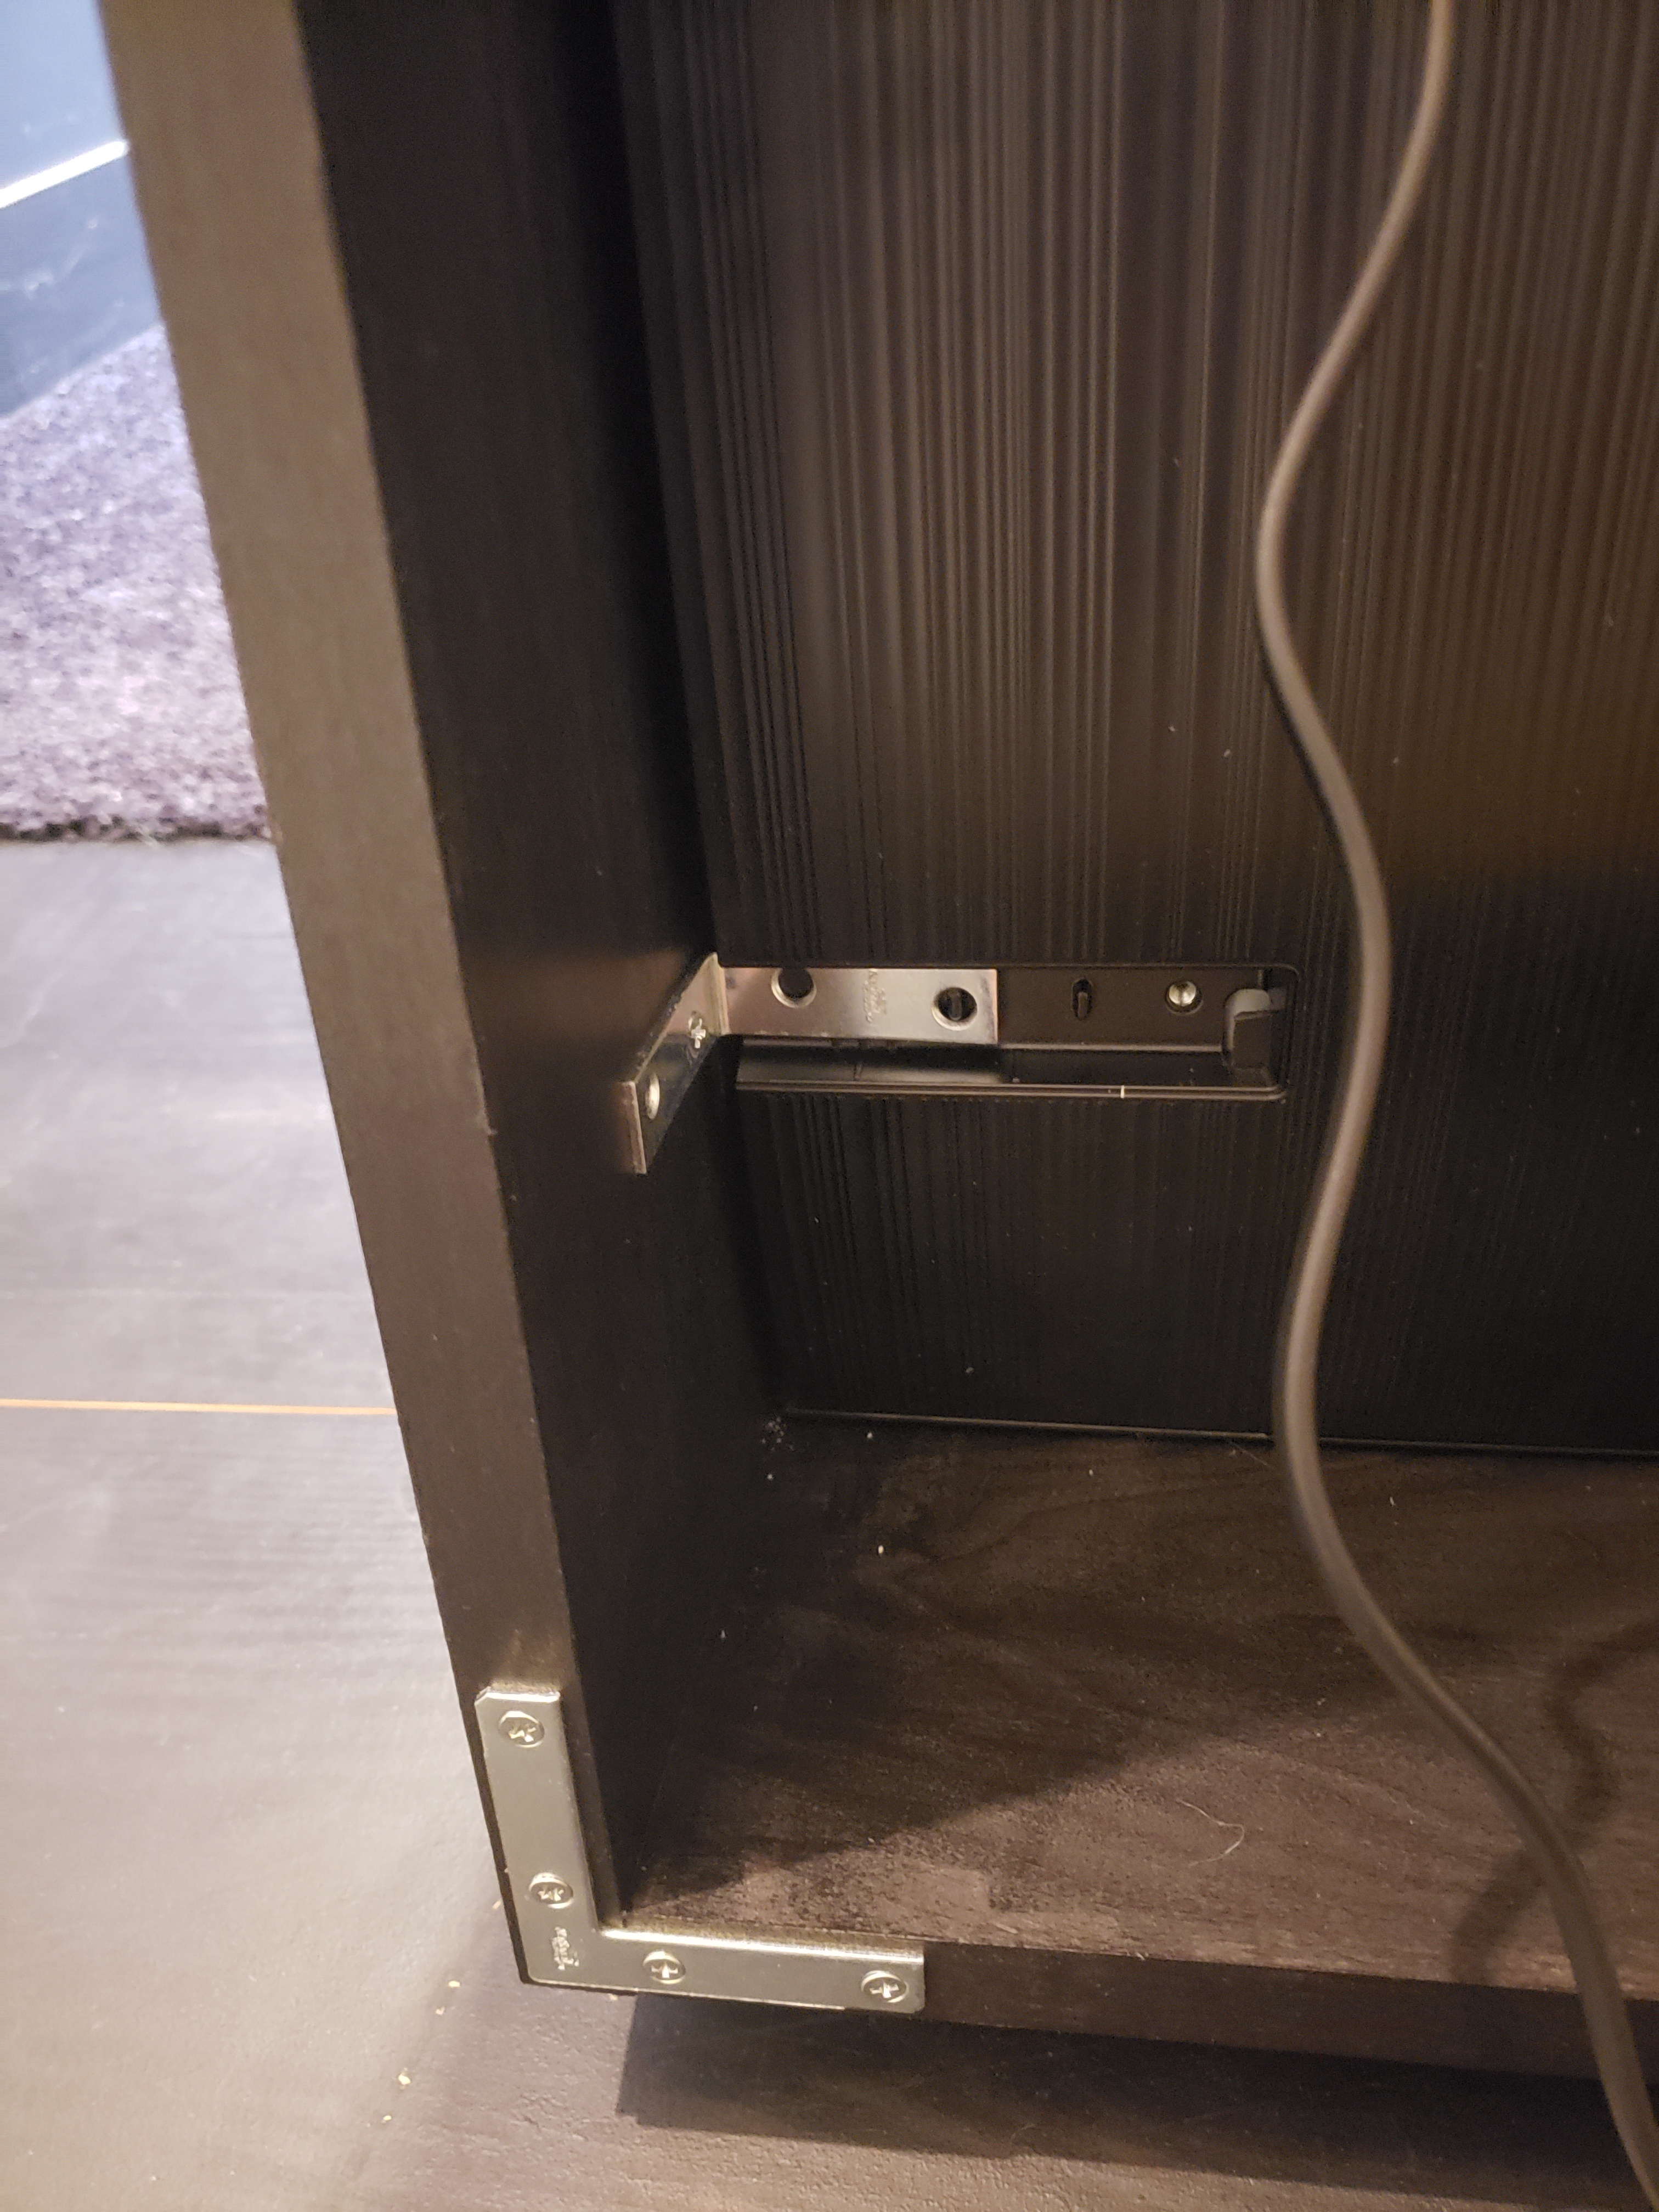
TV Mount
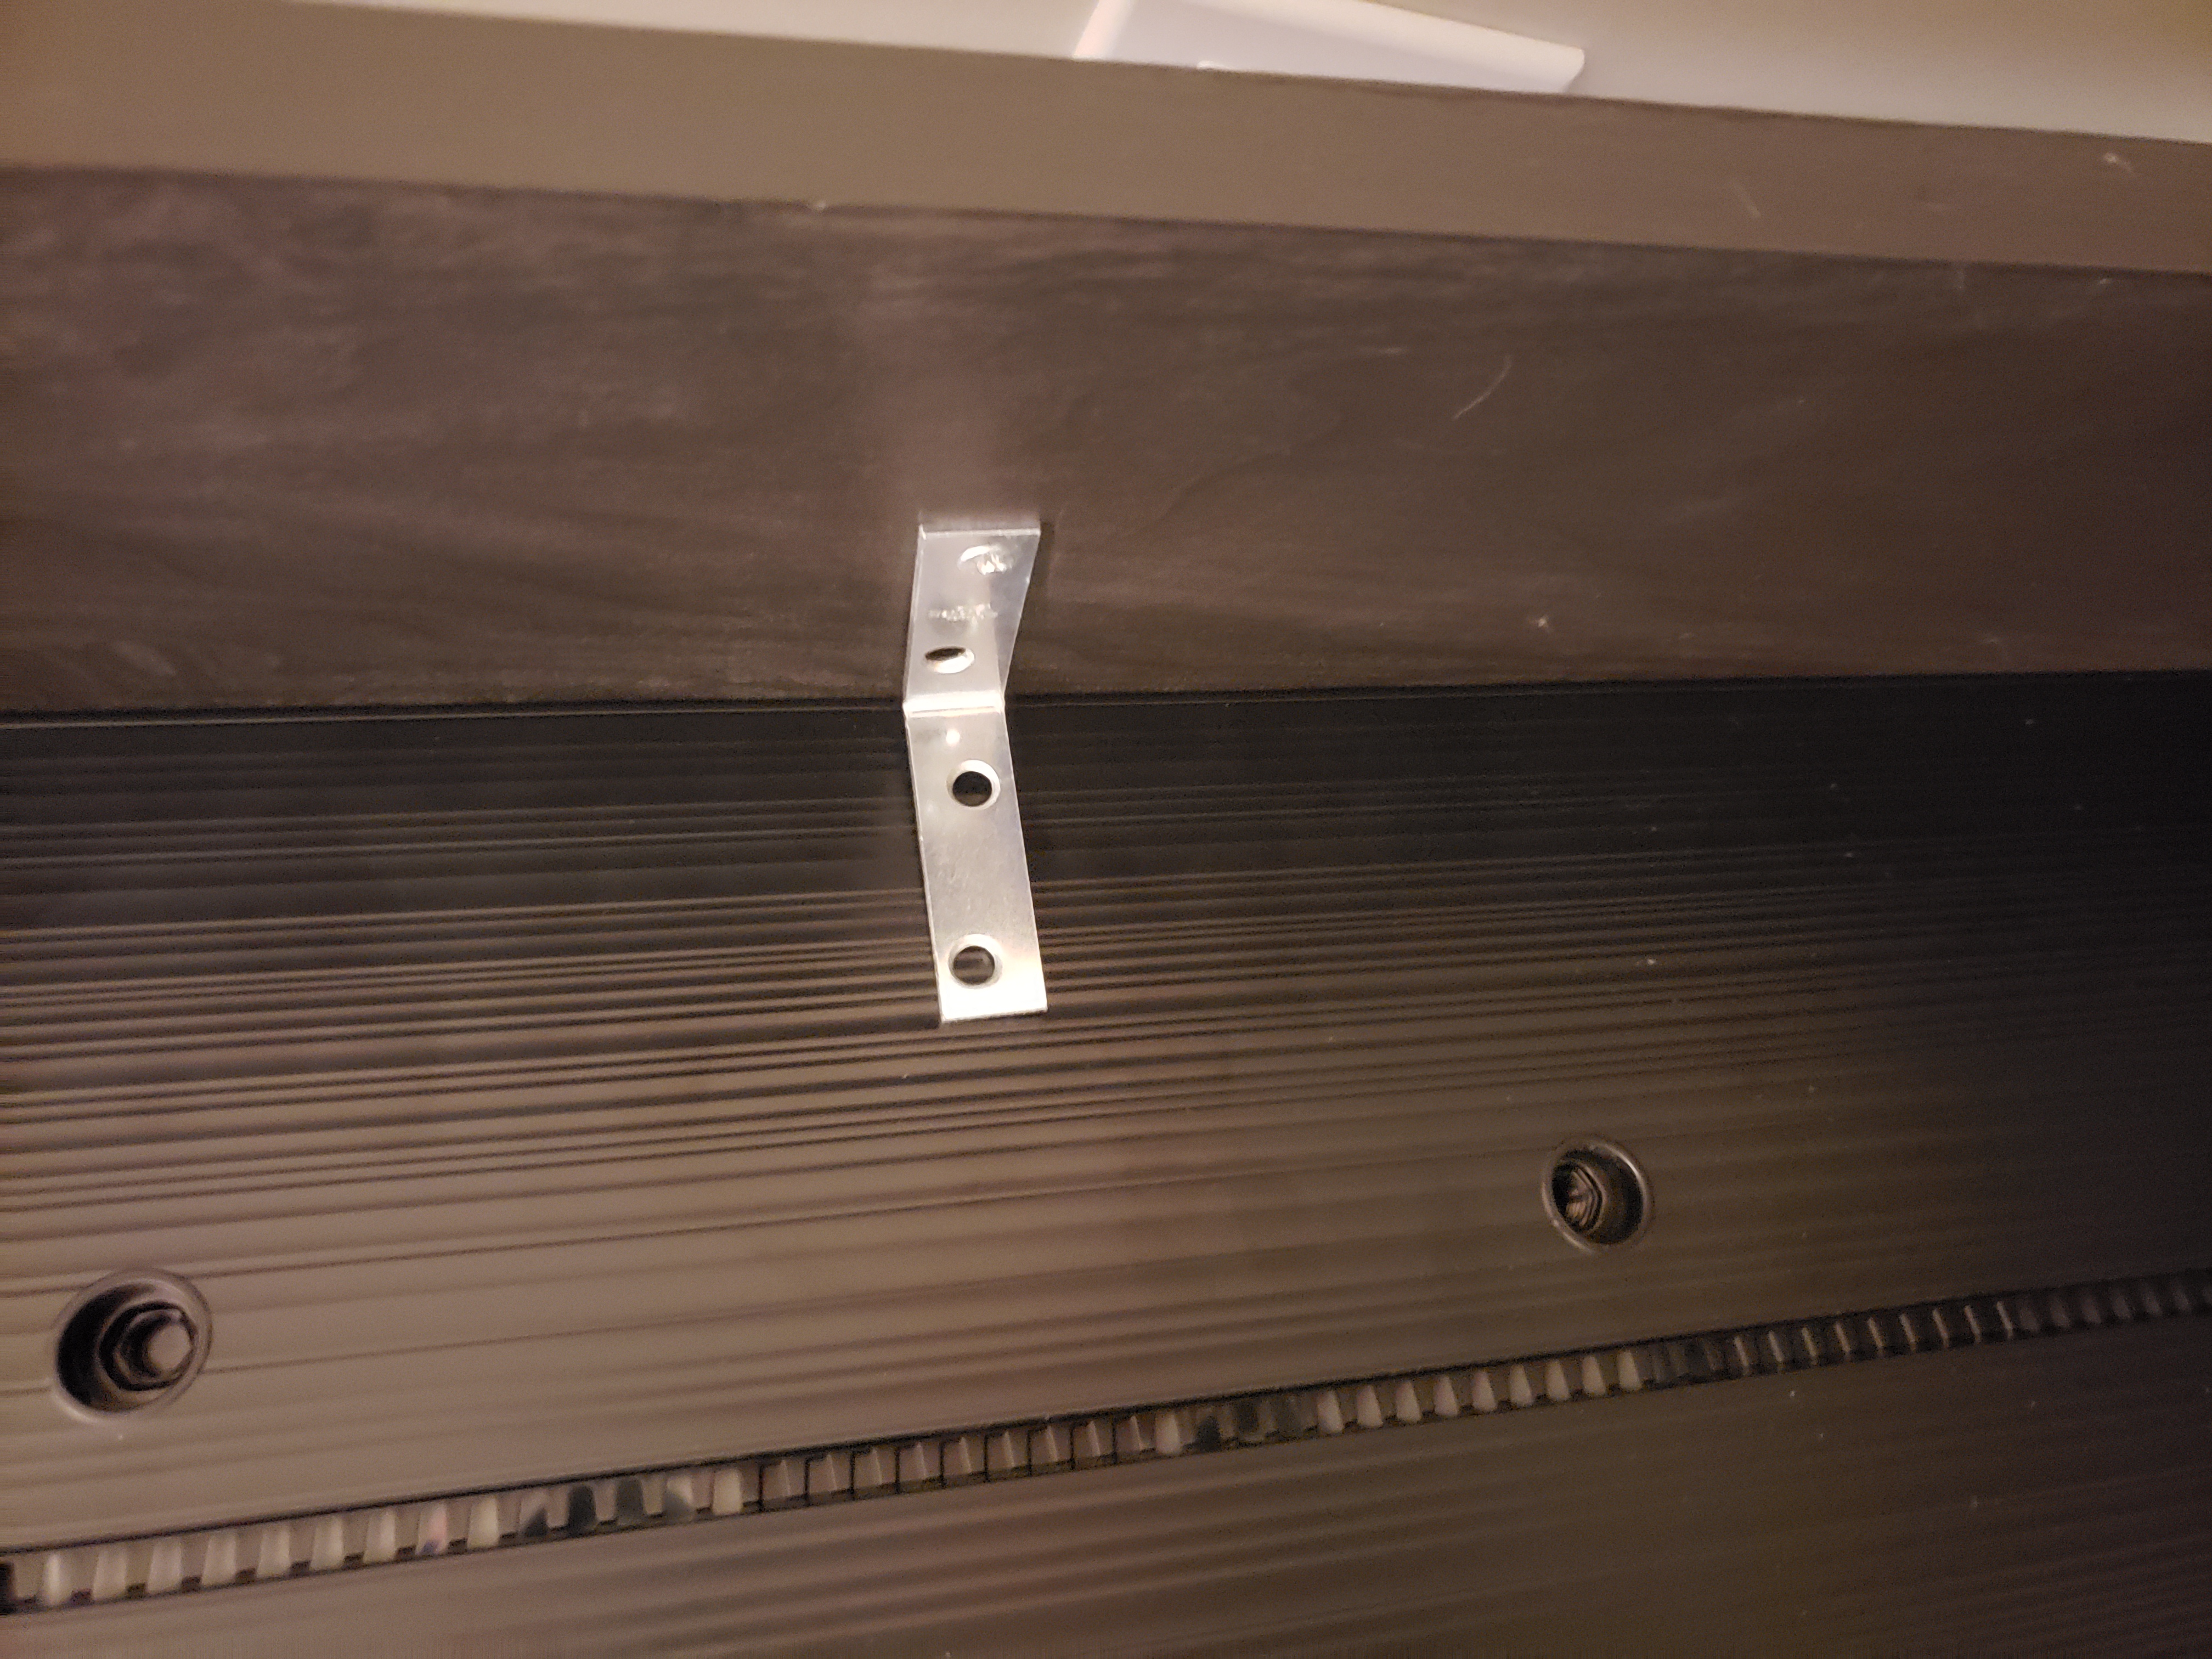
TV Mount
Gently place the TV upside down in the frame. Now place some angle brackets on top of the back of the TV and screw them to the side of the frame.
As you can see, I also used some angle brackets to reinforce the frame itself.
Setting Up The PC and installing the Digital Movie Poster Software
These mini PC's include HDMI connectors and Windows 10 and are perfect for digital movie posters. I used this one from Amazon. I will say that the fan in this one is noticeable, so if you are installing your poster anywhere where noise could be a problem you may want to pick another one. Other than that it works great.
You should do this before you mount the frame to the wall. It makes it easier to work on. The mini PC plugs directly into the HDMI port on the TV.
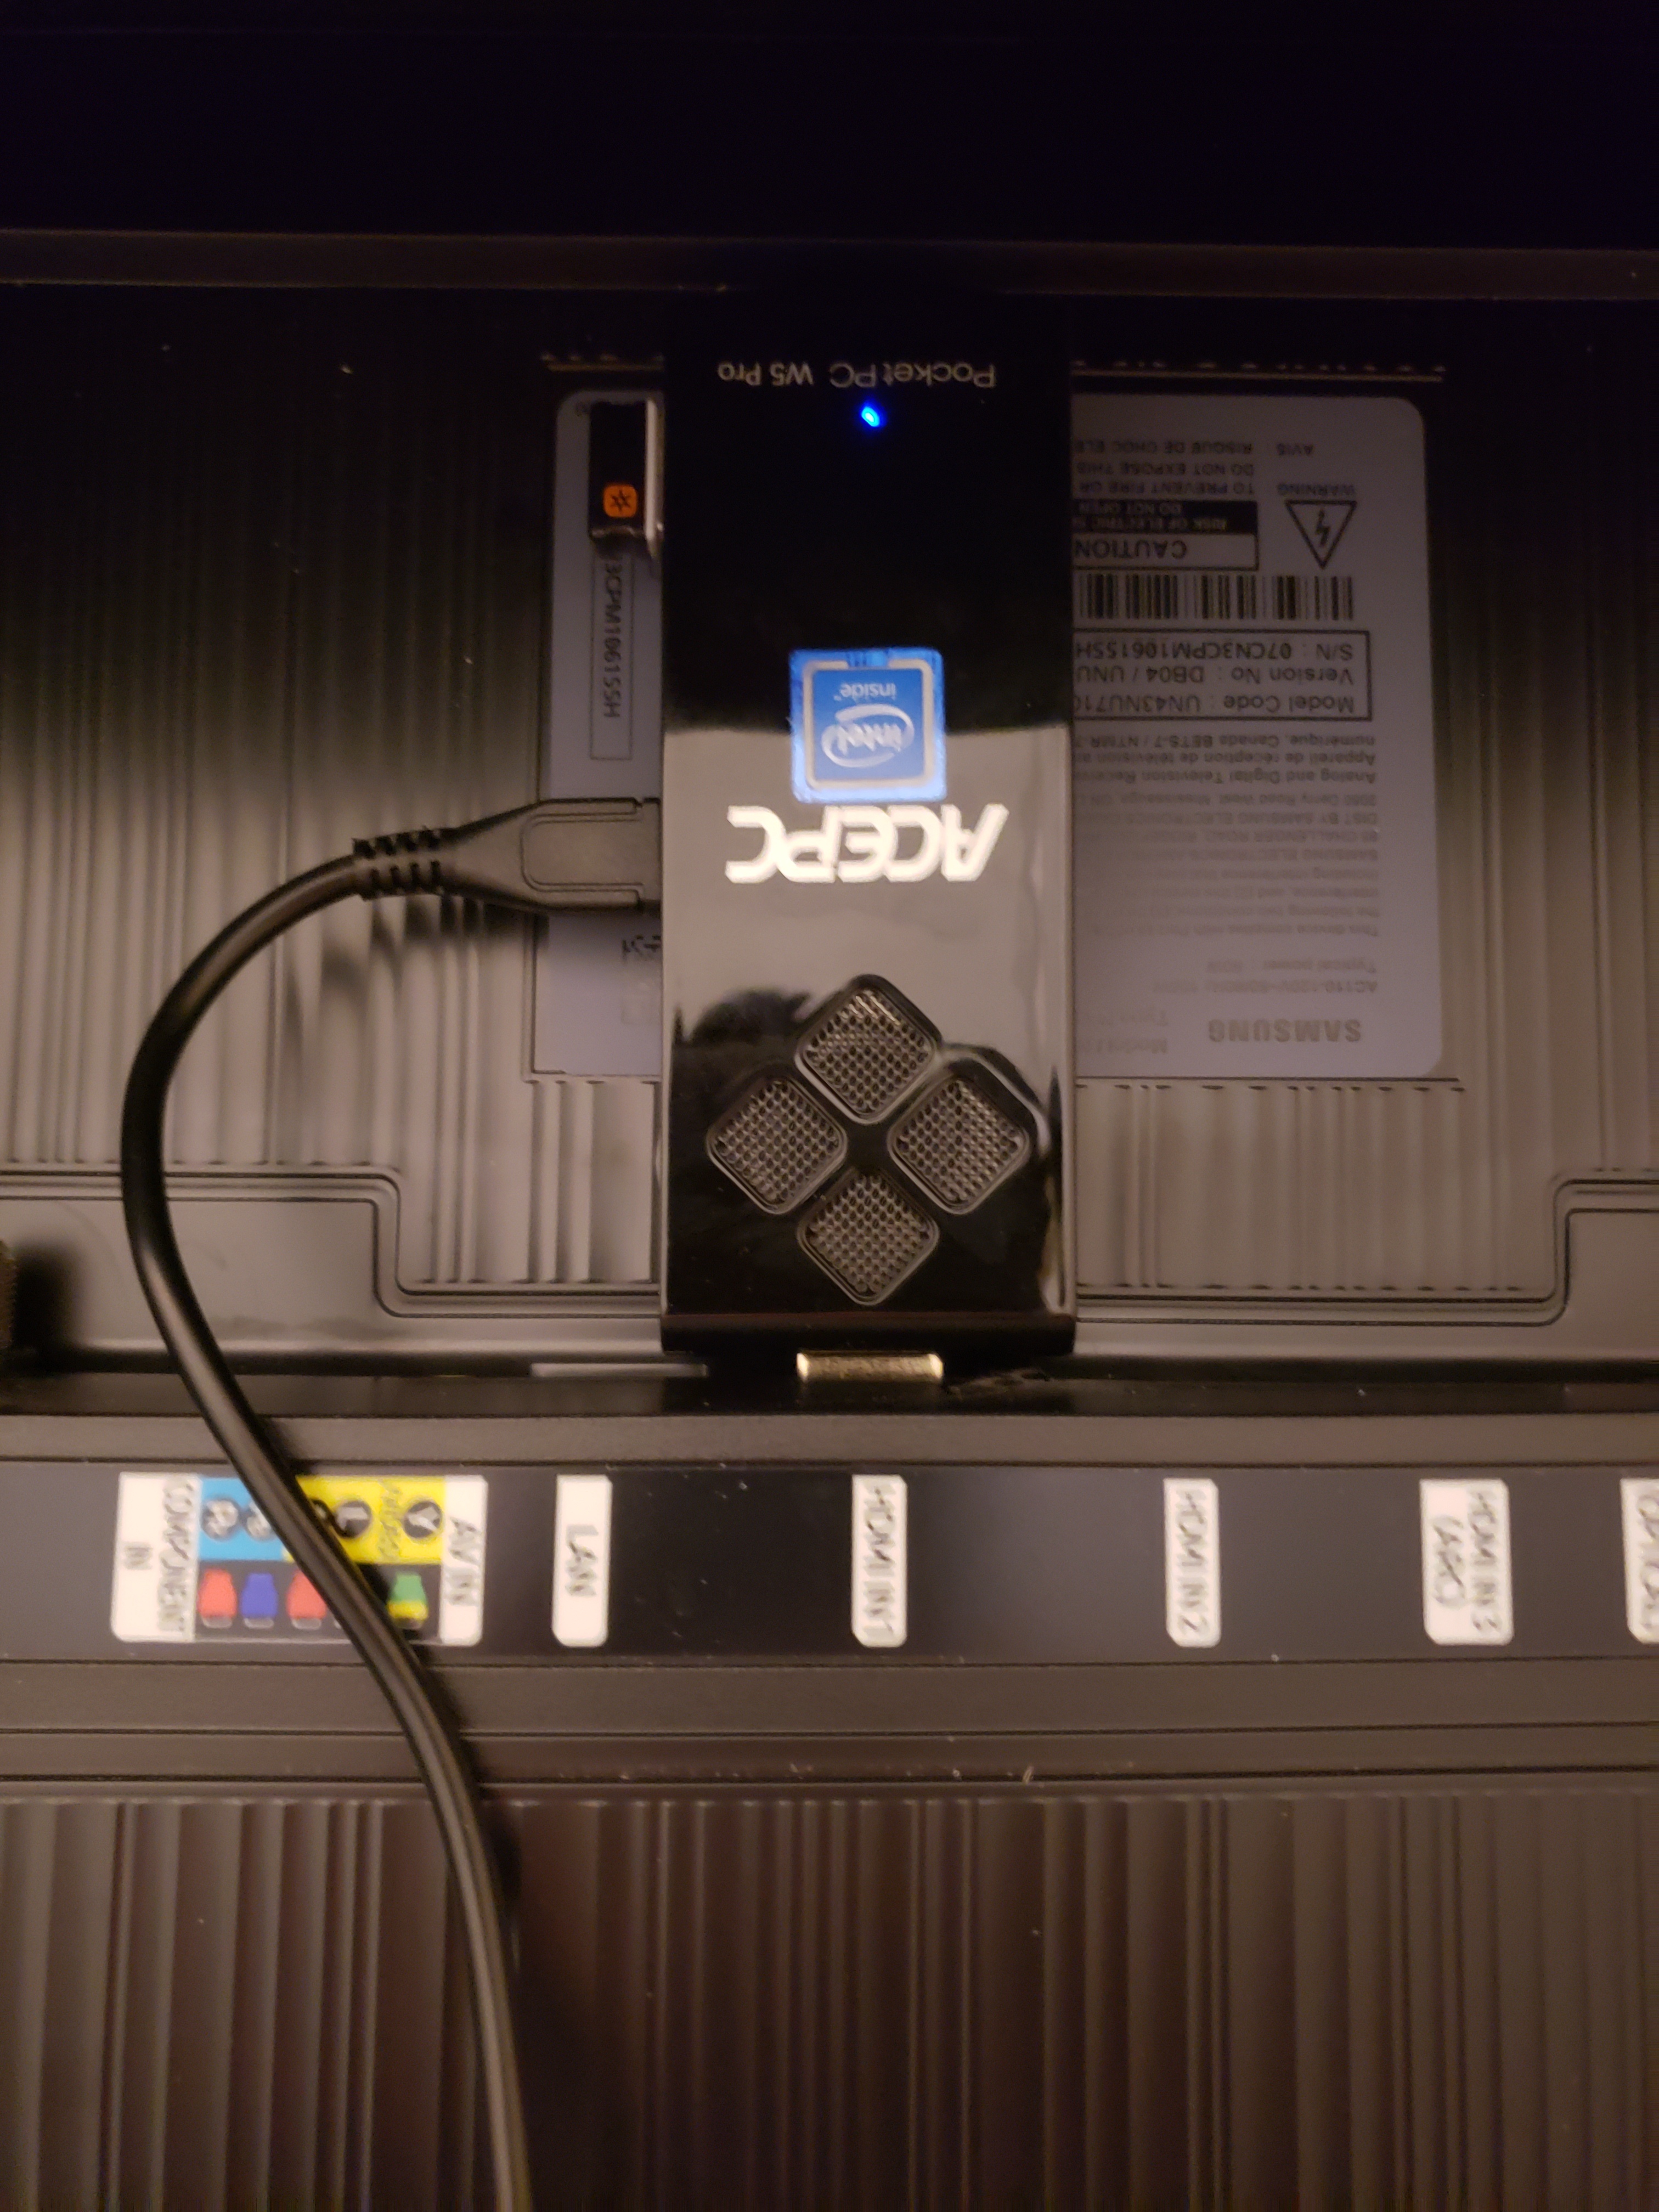
Mini PC
You will want a USB mouse and keyboard for the initial setup, but once you get Windows 10 setup, you can use a Bluetooth mouse and keyboard, like this one.
Setup Windows 10 as guided. It's best to give it a static IP. Once you have the basic setup complete. Do the following:
Disable the Windows Firewall
The Movie Poster software has a web based remote and the firewall will block it.
NOTE: I only recommend doing this, if you are using a dedicated PC for the movie poster and won't be using it for anything else. If you are using the PC for other tasks, leave the firewall enabled and just open port 8082.
To disable the Windows firewall in Windows 10, just type firewall into your search box and then click on Windows Defender Firewall Control Panel. Click on Private networks and switch the setting to off.
Rotating The Screen
To rotate the screen, right-click on the desktop and select Graphics Options->Rotation. Select the degrees that puts the screen in portrait with the correct orientation.
Adjusting The Power Settings
To adjust the power settings, select Setting from the Start menu, then type in Power. Select Power & sleep settings.
Under Screen select the "When plugged in, turn off after" drop down and select Never.
Under Sleep select the "When plugged in, PC goes to sleep after" drop down and select Never. This will keep the mini PC from shutting down most of the time. It will still go off during power outages, or it will reboot when it installs updates, unless you disable that too.
Download the free MoviePoster App
Before you download the free MoviePoster App, you will need to download 7 Zip from here. It is a free compression utility. Download and install that app per its instructions. It is very lightweight.
Now you can down load the MoviePoster App from here.
This is a free app, but it will present you with a registration popup and will say a Not Registered at the bottom of your poster, unless you donate $10 or more to the project. It's up to you, but I'm going to register mine so that I don't have that on my posters.
Download the zip file. I used the most recent Dev version, which at the time of writing this was 2.3.0.4. Now unzip it using the 7 Zip utility you installed. I put it right on the desktop.
Configuring The App
I won't go through all of the instructions here, as there is a semi-completed manual for the software. It's not perfect. It definitely has some bugs, but for free software, it works pretty good. I haven't integrated it into a media server yet, but that is coming.
Open the MoviePoster folder that was created when you unzipped the file. Find MoviePoster.exe, right-click on it and make shortcut of it on the desktop. This will make it easier to find when you need it.
Double-click the shortcut.
As I mentioned above, unless you register it, you will get a popup every time you start the app.
The app will start downloading poster as soon as it launches. It will start filling the cache up. Close the registration window and the settings window and right-click on the poster window and select Maximize.
The easiest way to configure the app is to use the web remote. To get to this, go to your web browser and type int http://[static IP]:8082/remote.html. Replace [static IP] with the static IP that you assigned to the mini PC in the earlier step.
Again, I won't go into all of the functions here, since there is already a manual for that, but you can do things like:
Hanging Your Digital Movie Poster
To hang your digital movie poster, simply slide the french cleat on the poster frame over the top of the french you mounted to the wall. While you are doing that carefully plug in the TV and the Mini PC to the two outlets on the Insteon Outlet and tuck the wires up into the frame so they aren't hanging out.
Setting up the Insteon Outlet
This depends on what you have for a home automation controller. I have a Universal Devices ISY994i.
I added the outlet to my network and set ti up into a scene in my home theater, so that it comes on automatically when I select that scene. I'm also going to set up a button on the switches I have in my stairwell, so it can be turned on and off interdependently. I leave the mini PC on all of the time and just turn the TV on and off.
HINT: Make sure you unplug the TV with it on. Most TV's remember the state they were in. This way when the outlet is switched on, it will turn on without having to use the remote.
Conclusion
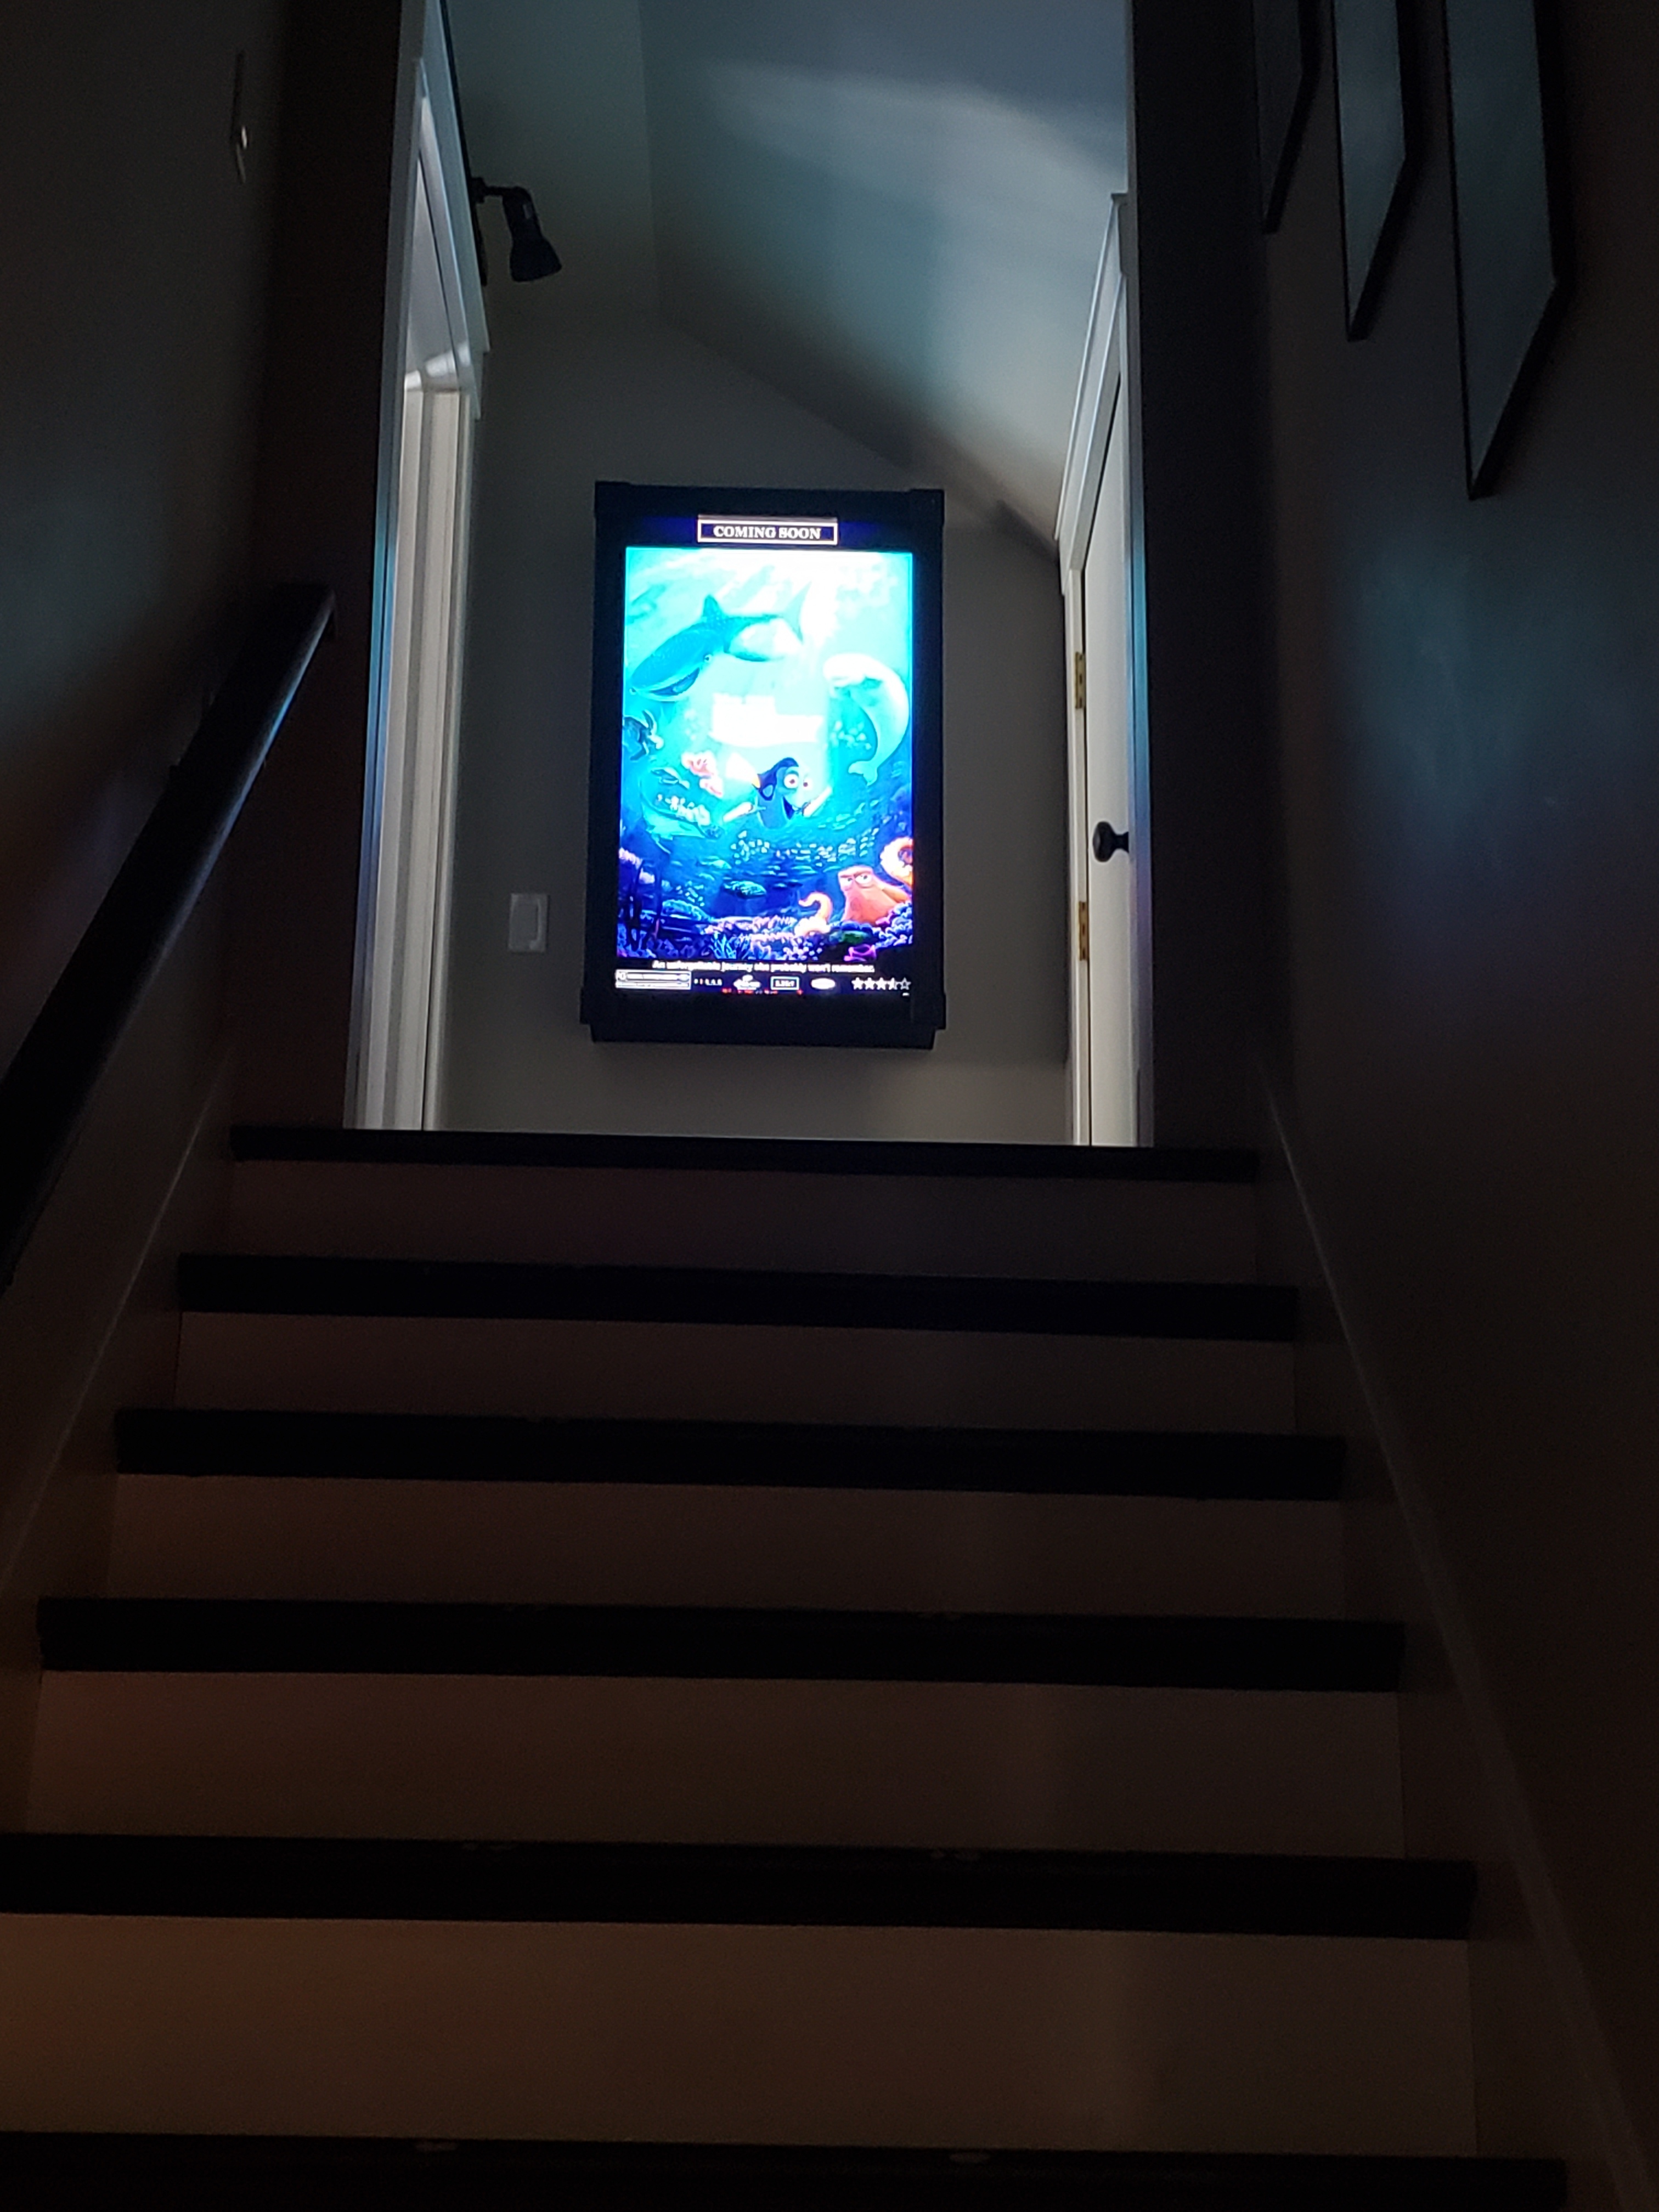
Movie Poster
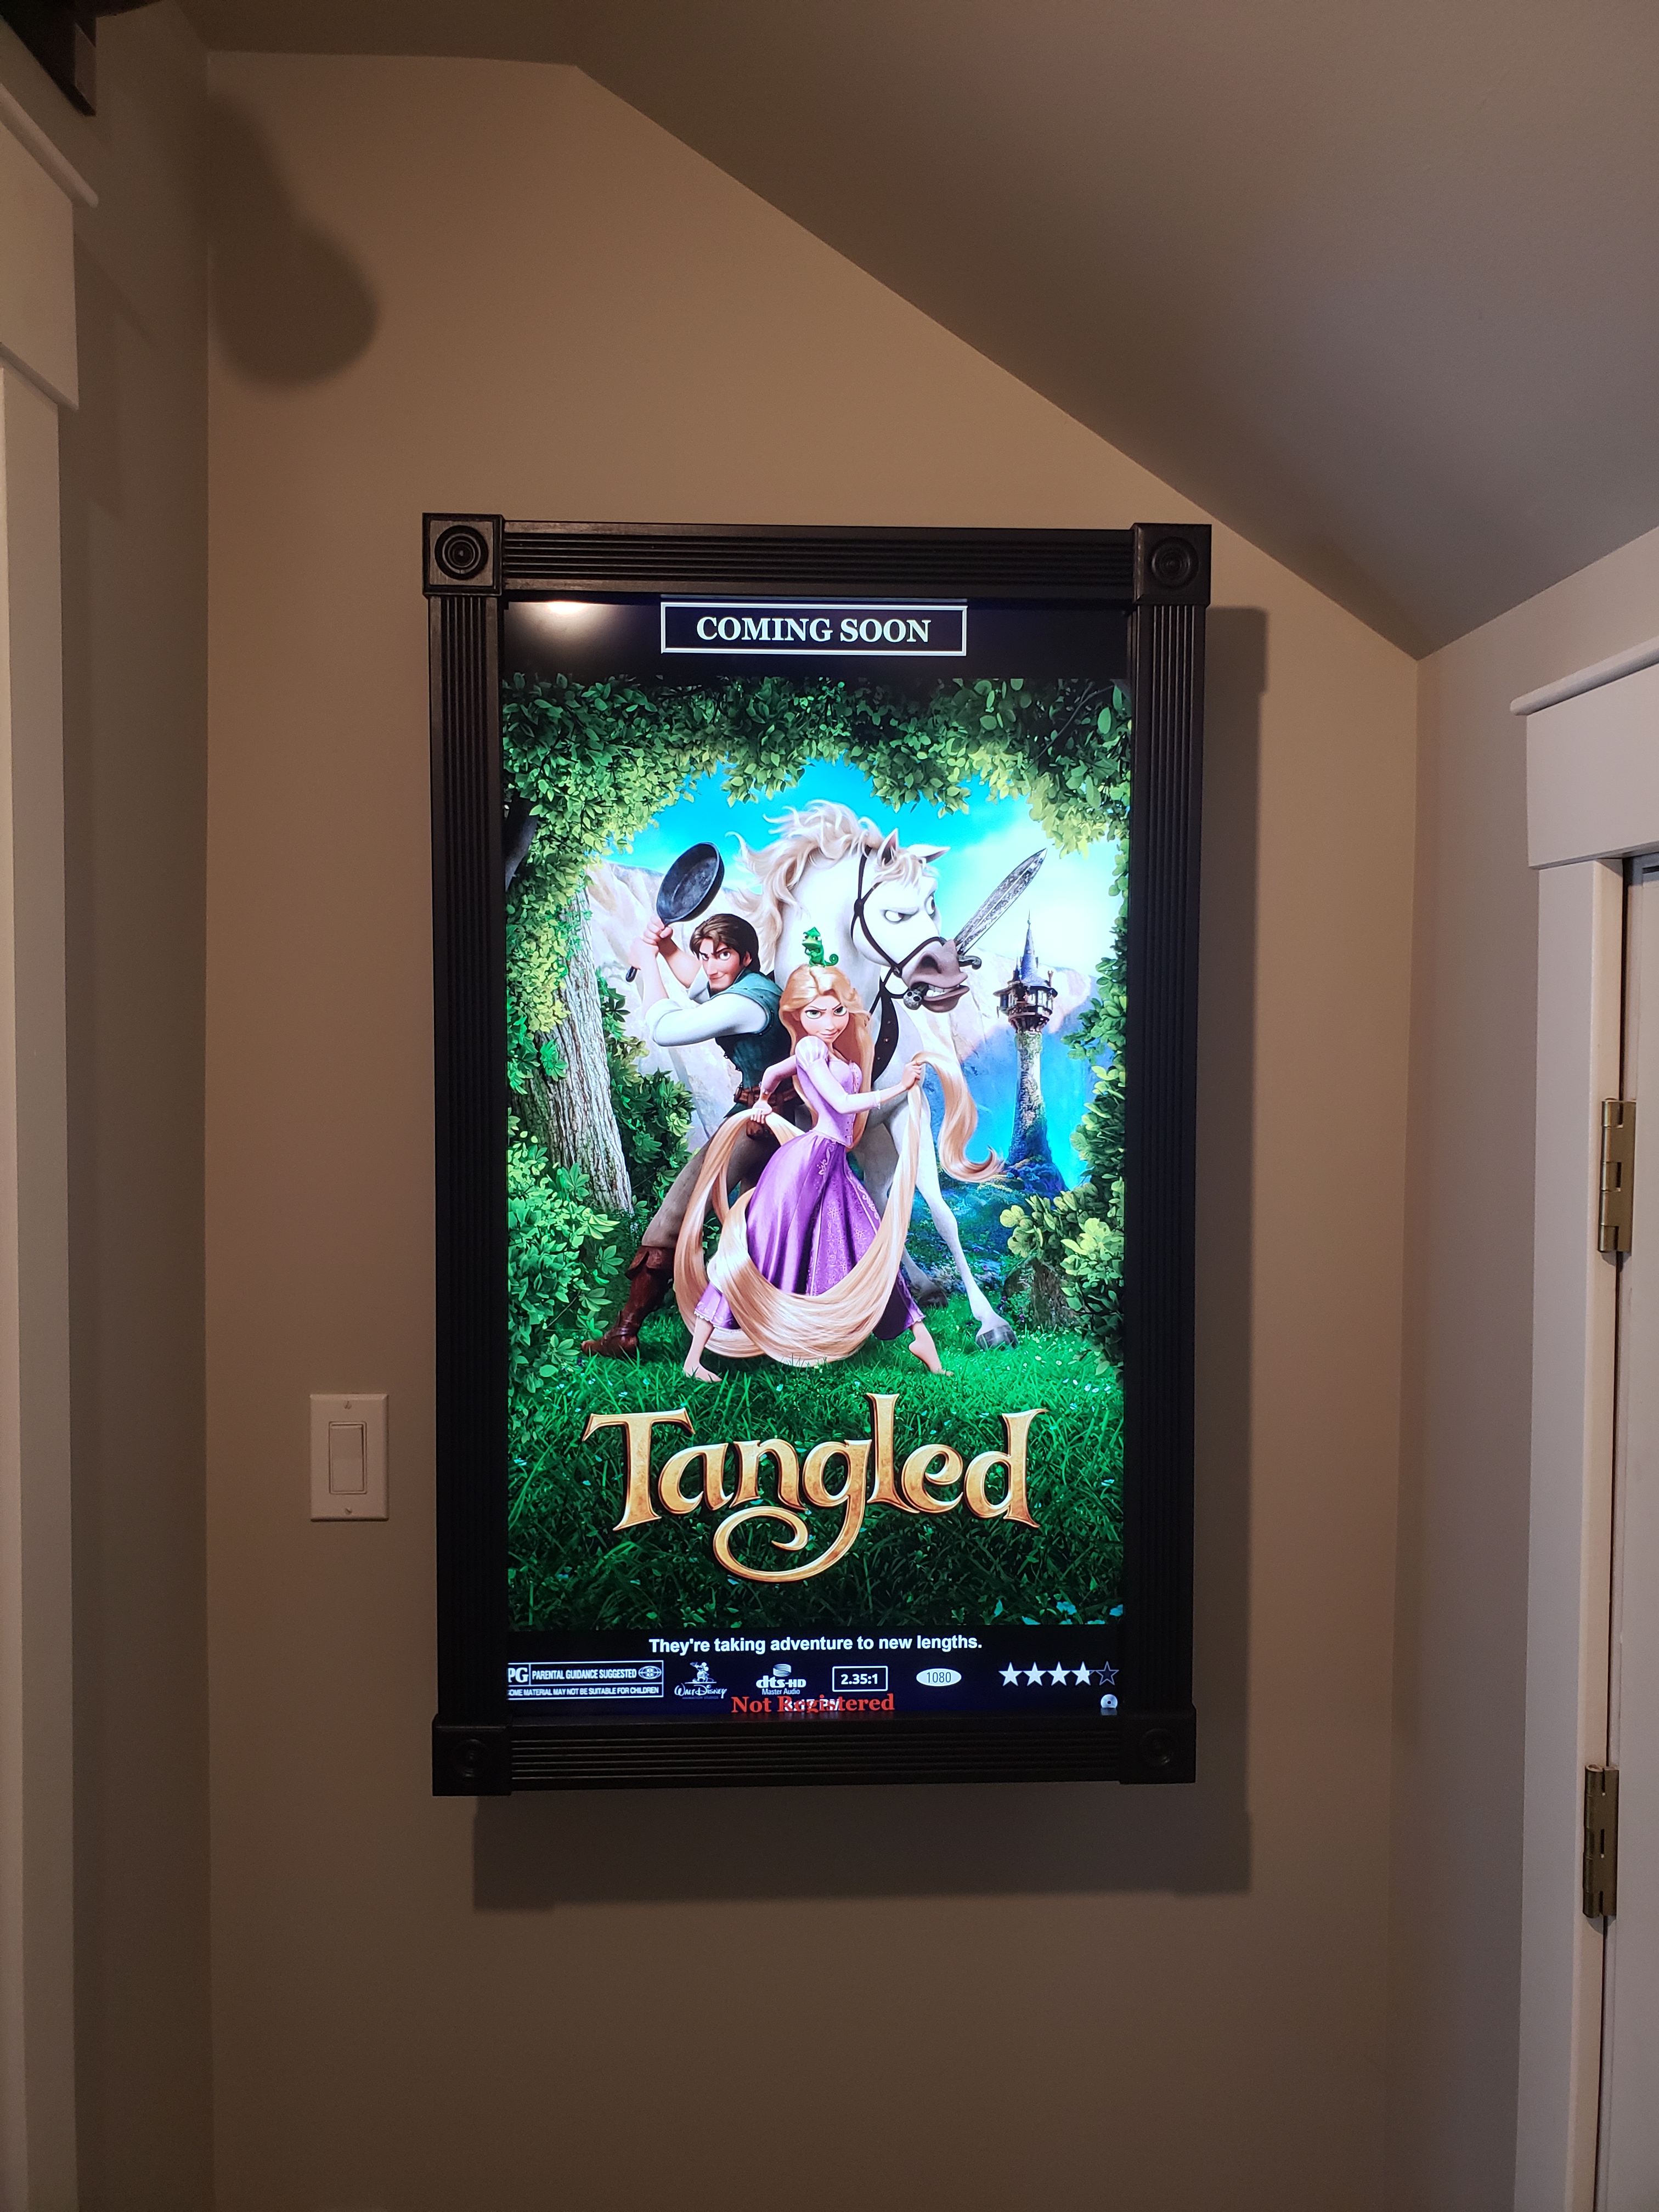
Movie Poster
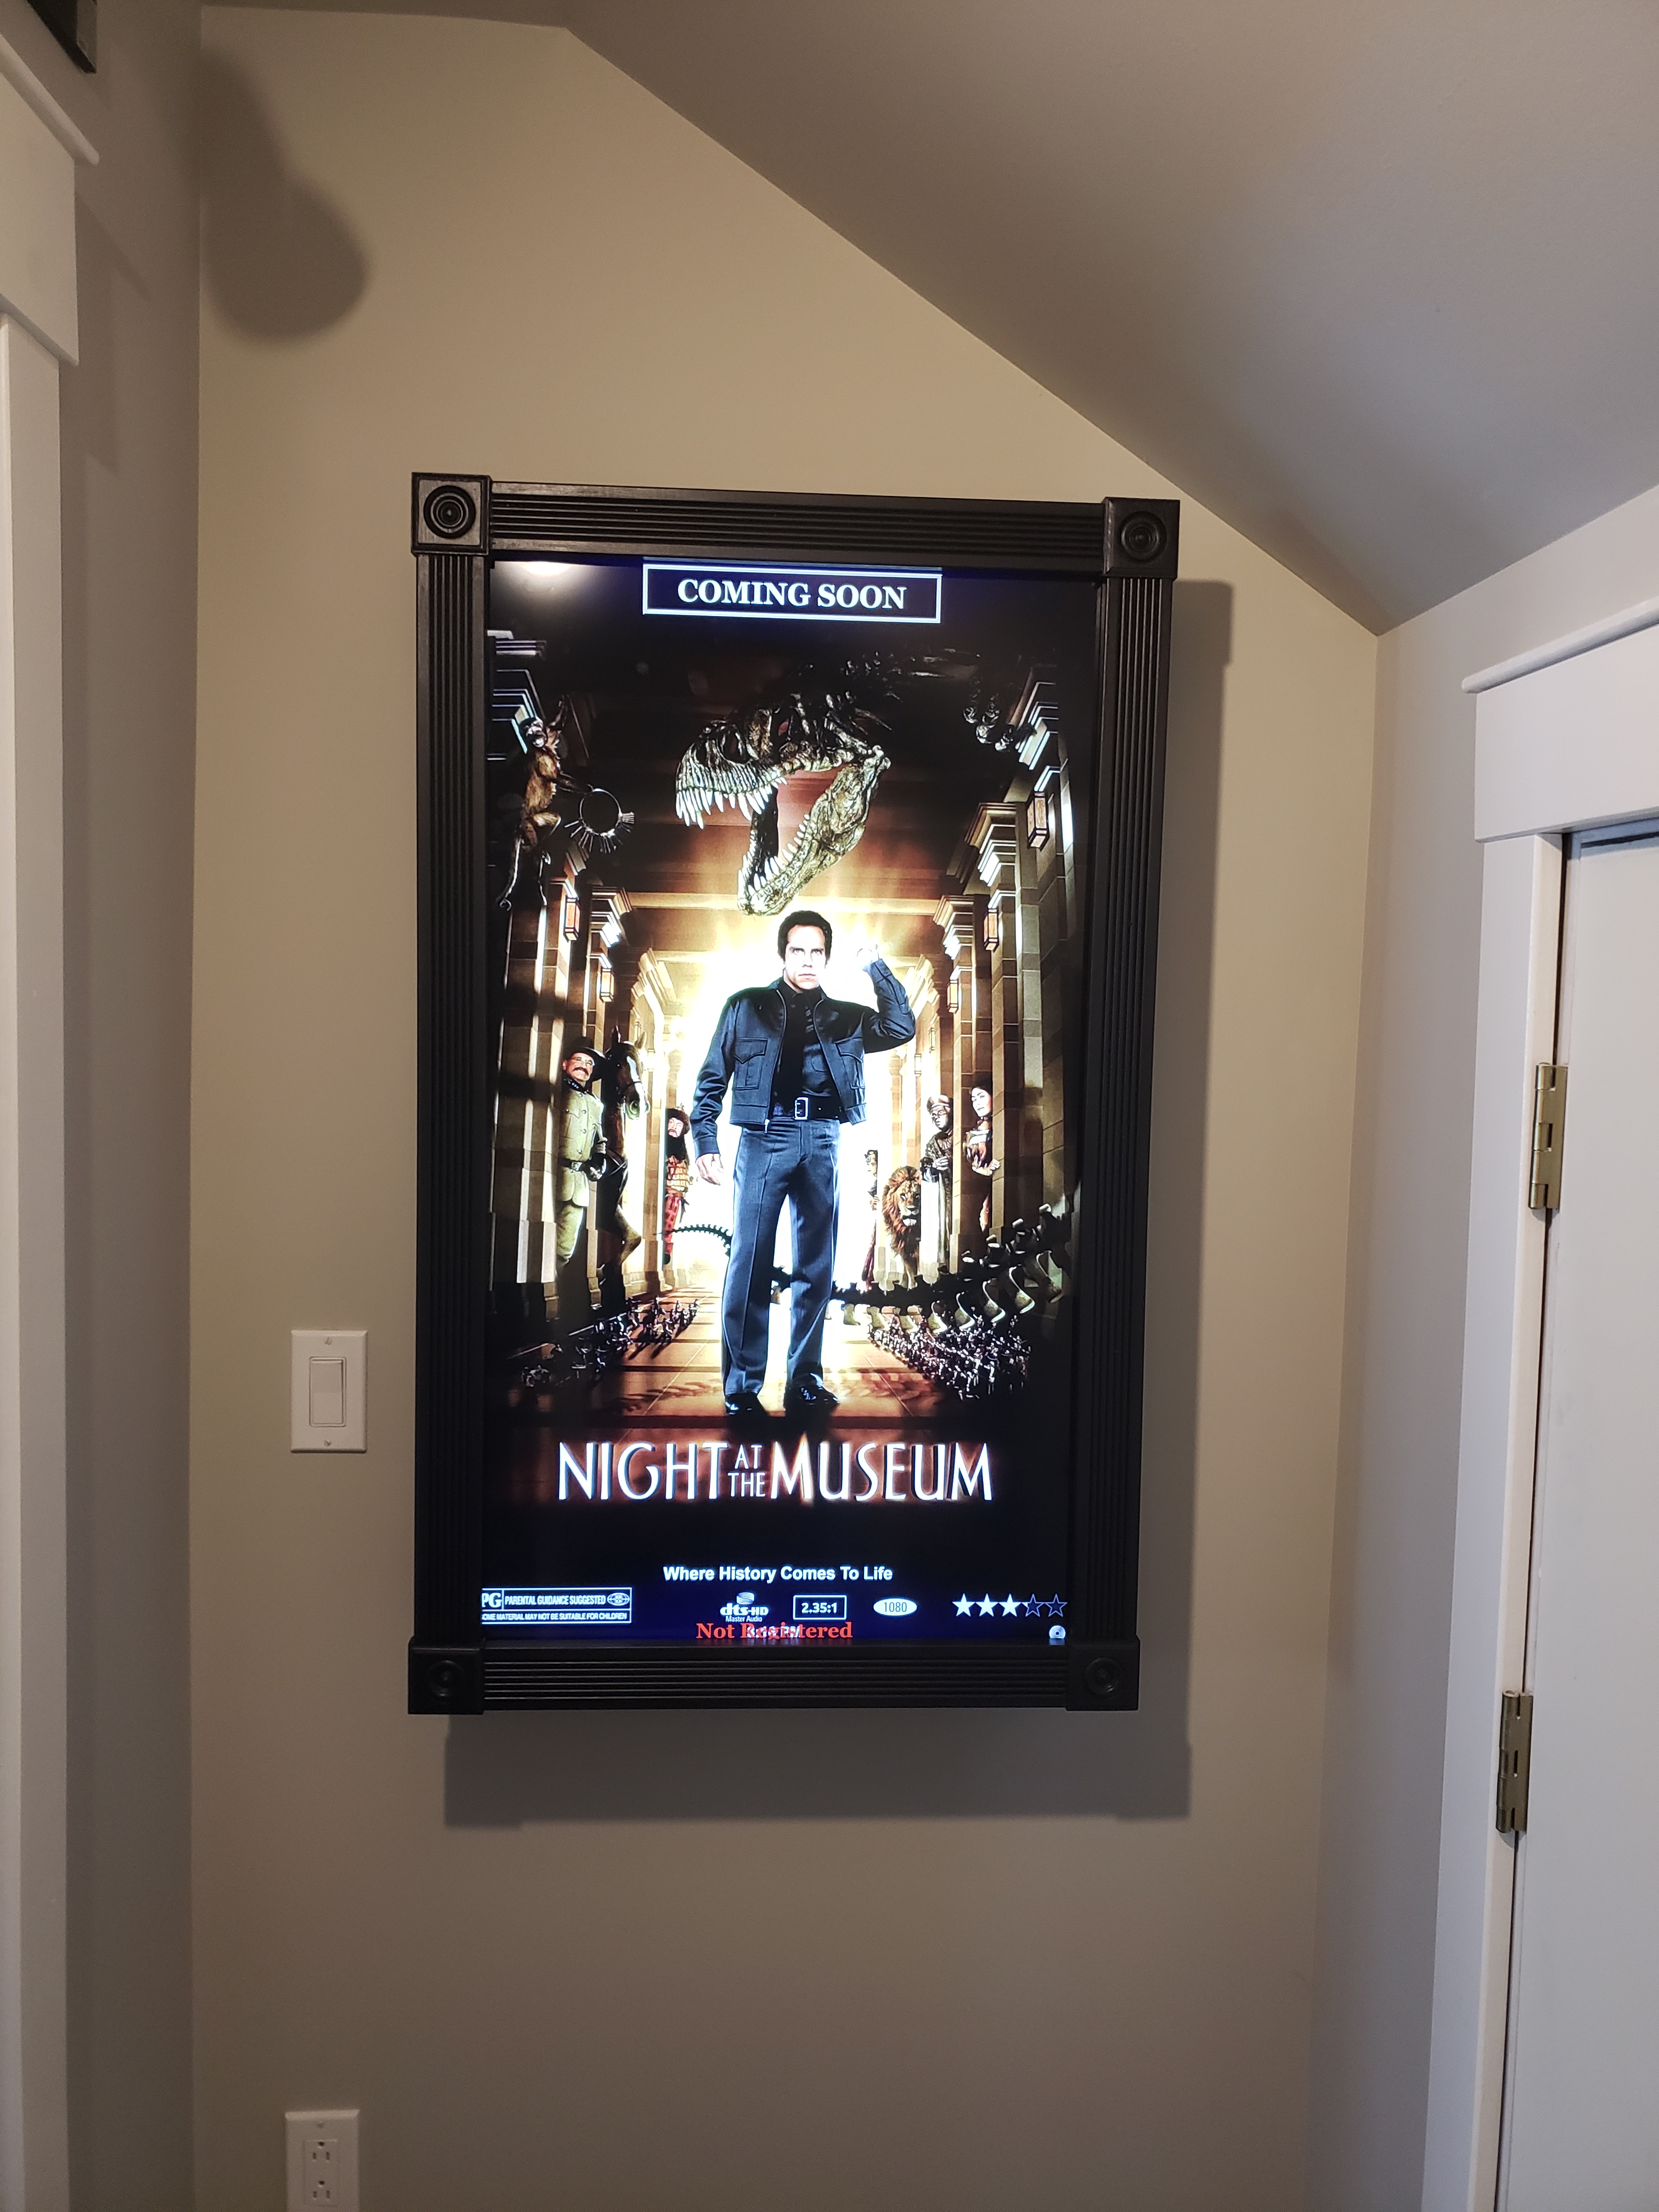
Movie Poster
A digital movie poster is a great addition to your home theater. It gives it that extra customization and allows you to display the movie posters from all of your favorite movies, TV show and Games. It's a pretty easy project to tackle on your own, as long as you have some basic tools and are a little handy. If you have any questions, please feels free to leave them in the comments and I will do my best to answer them.


