Why build a hidden door in your home theater??? Well, why not?
When I first started building my home theater I had the idea of using my equipment rack as a hidden door. Don't ask me why, I just thought it would be a really cool technical challenge, that would add a little something unique to my theater. Here is how I did it...
More...
Materials
Here is a list of the larger items I used. There will be other construction materials needed, depending on how you decide to do it.
Attaching the Wheels
The first step is to attach the V groove casters to the bottom of the rack. Middle Atlantic Slim 5 racks come with holes in the bottom to attach their wheel sets, but unfortunately those holes didn't line up with the holes in the casters, so I had to drill them out.
To do this, first mark the holes of the casters on the bottom of the rack, being sure that they are square.
Then drill out the holes and attach the wheels with bolts and nuts with lock washers.
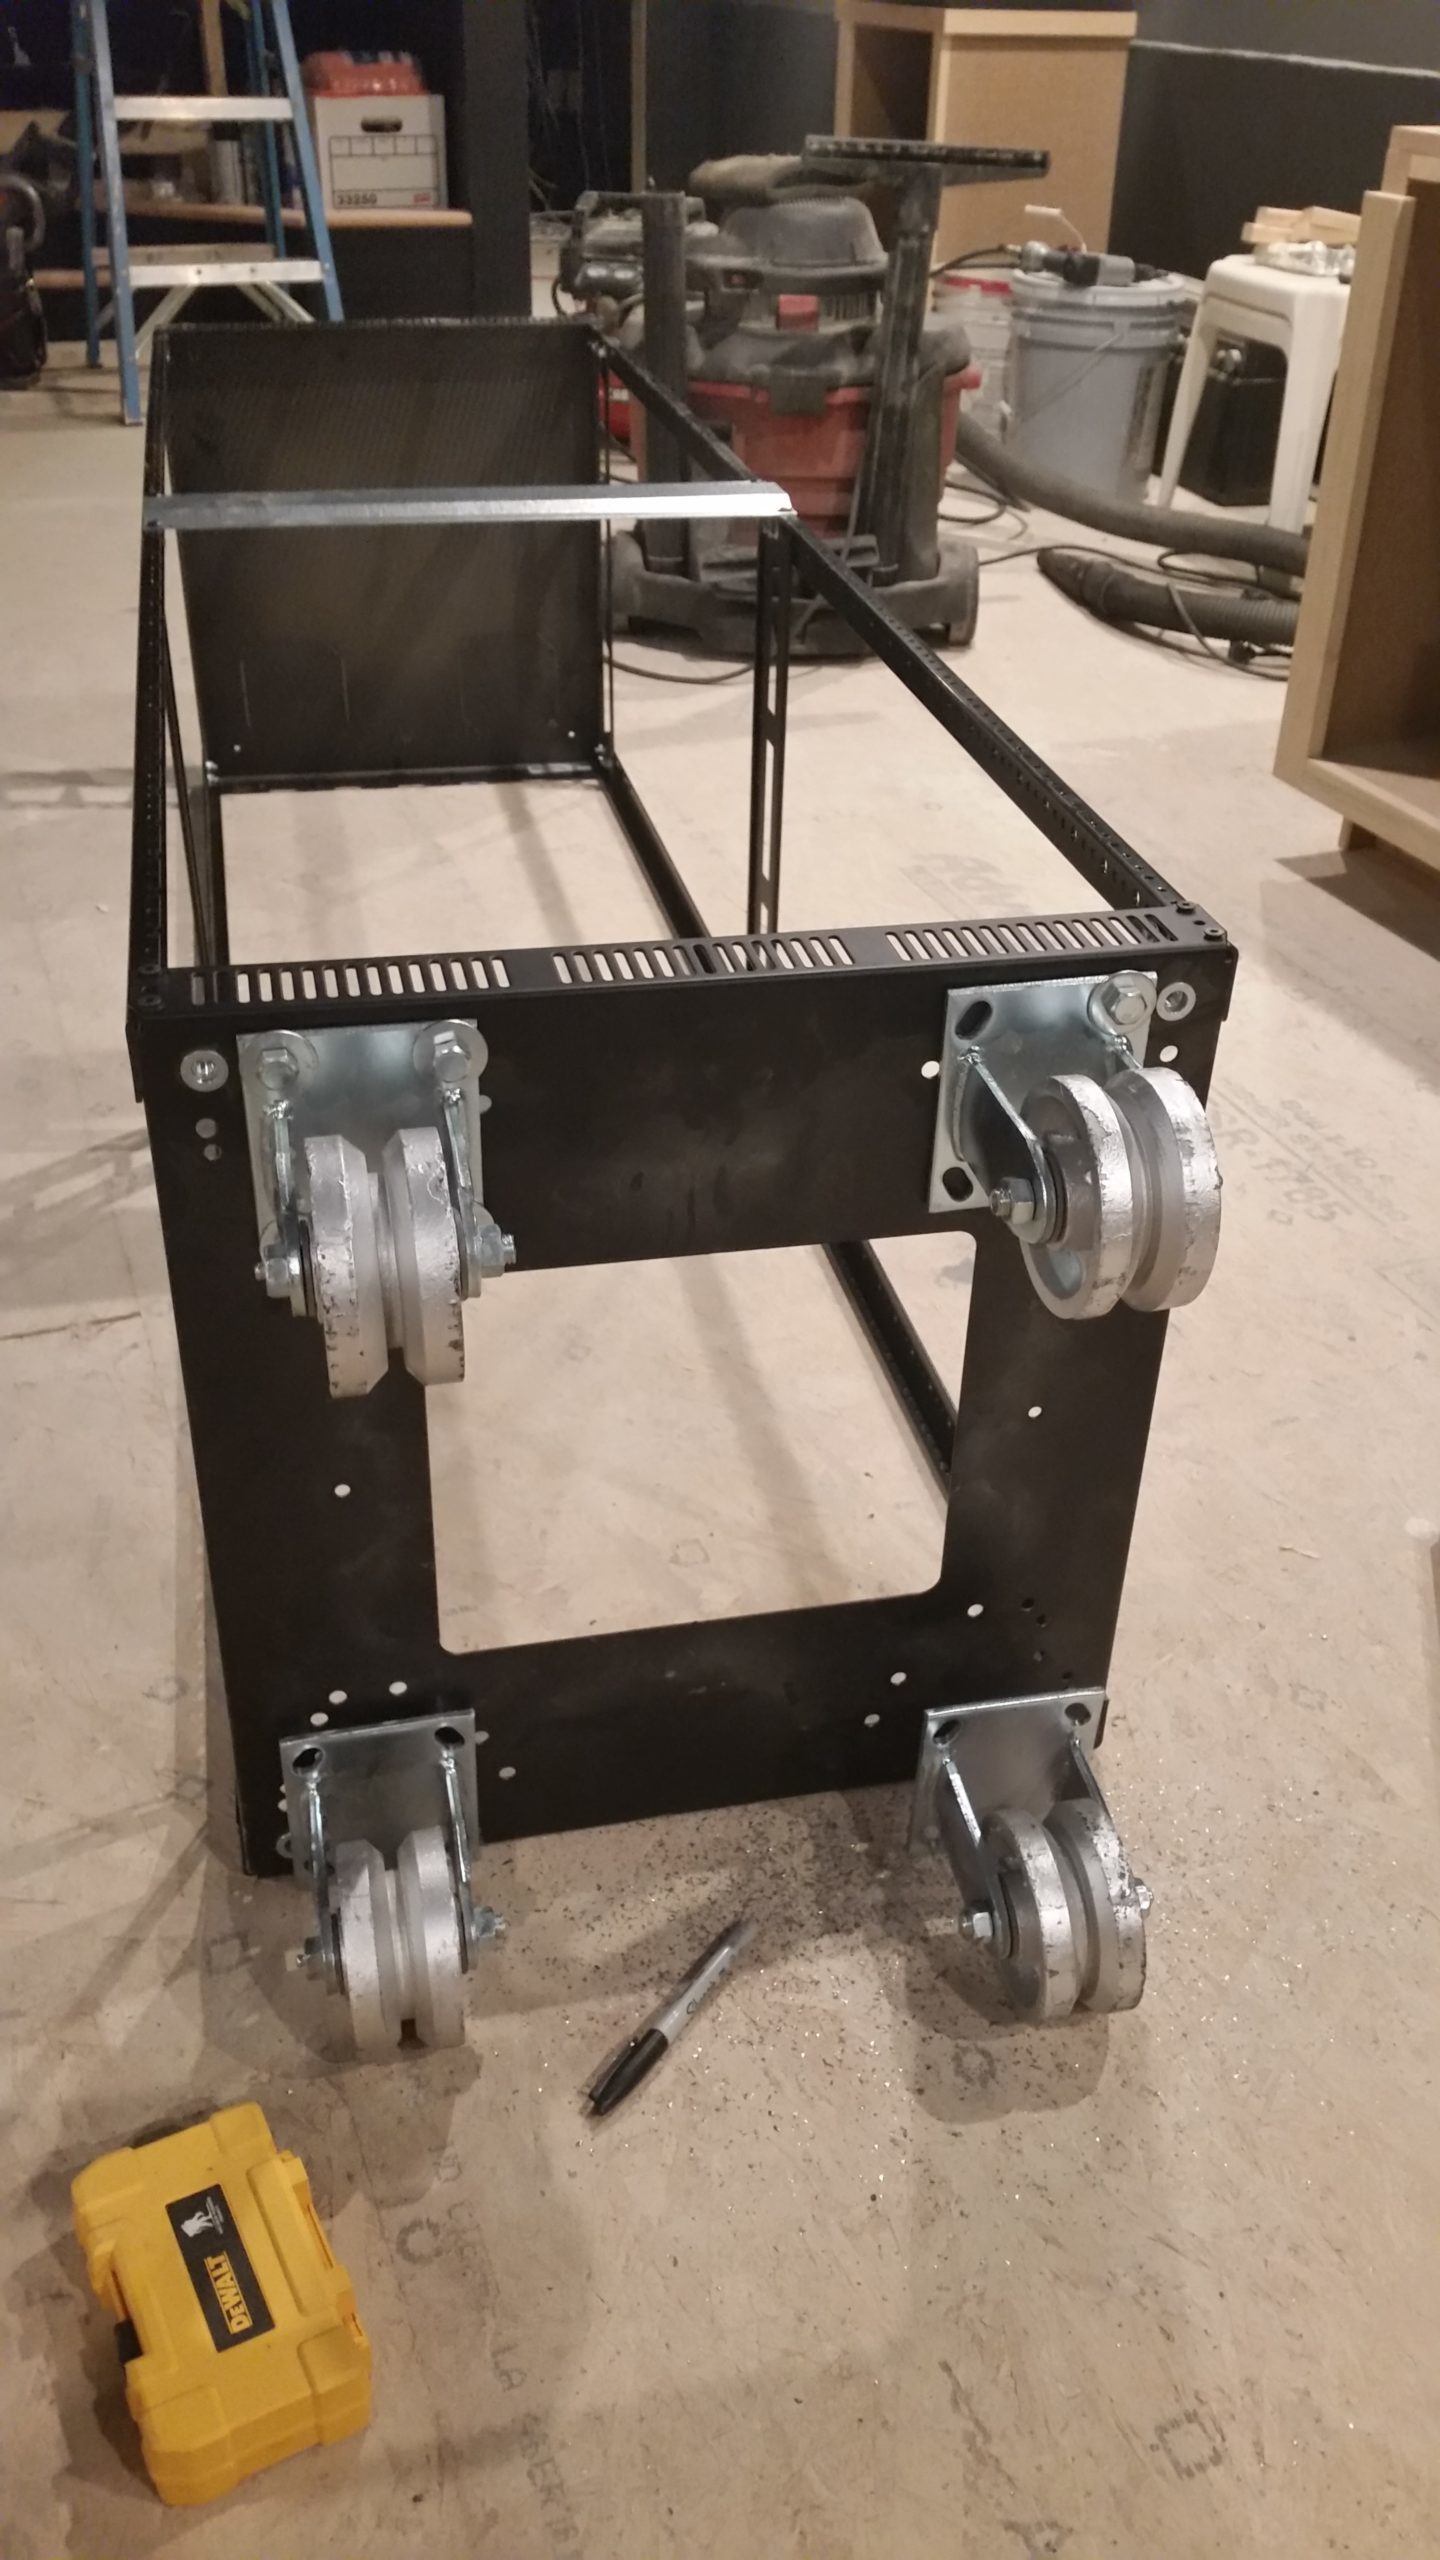
Attaching The Wheels
Pre-Wiring
If you've seen my other posts, you'll know I like using thermostat wire for these types of applications. Run one from your switch location to where you will have the power supply and relay and one from the linear actuator to that same location.
You'll need two wires to go to the actuator and three to the switch.
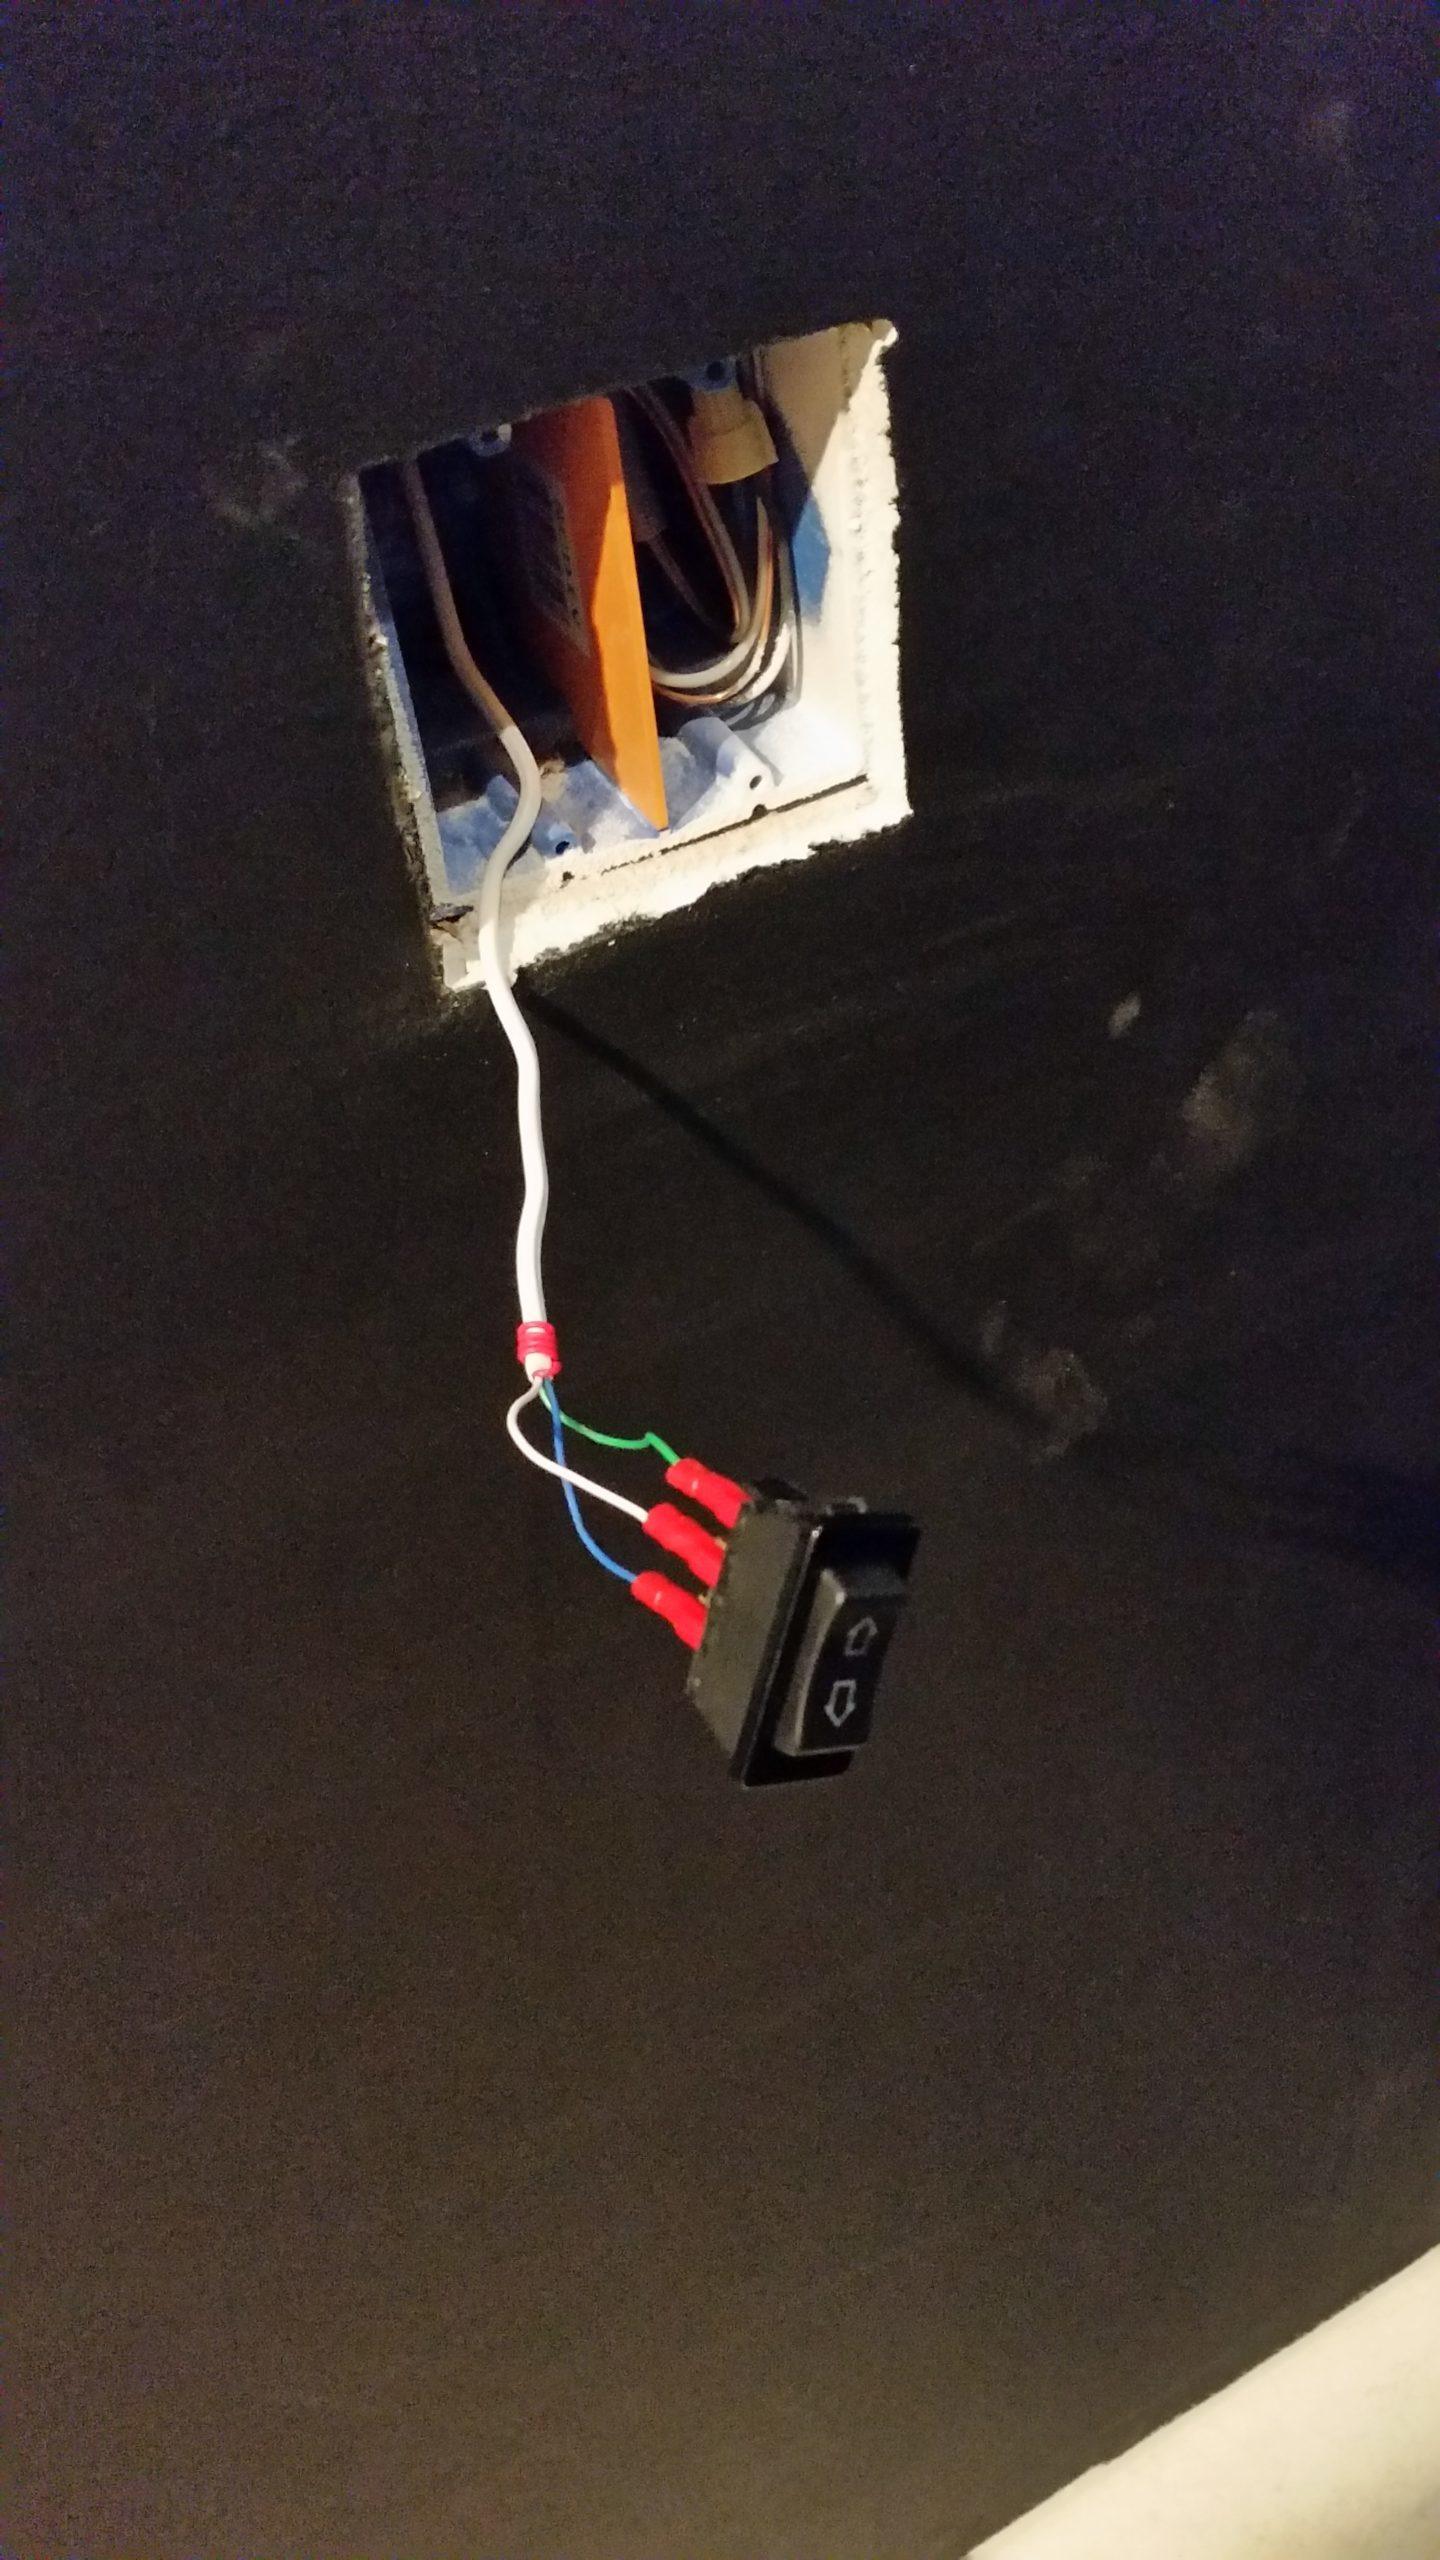
Rough Switch Wiring
The Door Opening
I recommend having the rack and wheels assembled before roughing in the door opening. That way you can be sure that you have the dimensions correct. A good way to get those dimension is to place the rack with the wheels attached onto the rail temporarily.
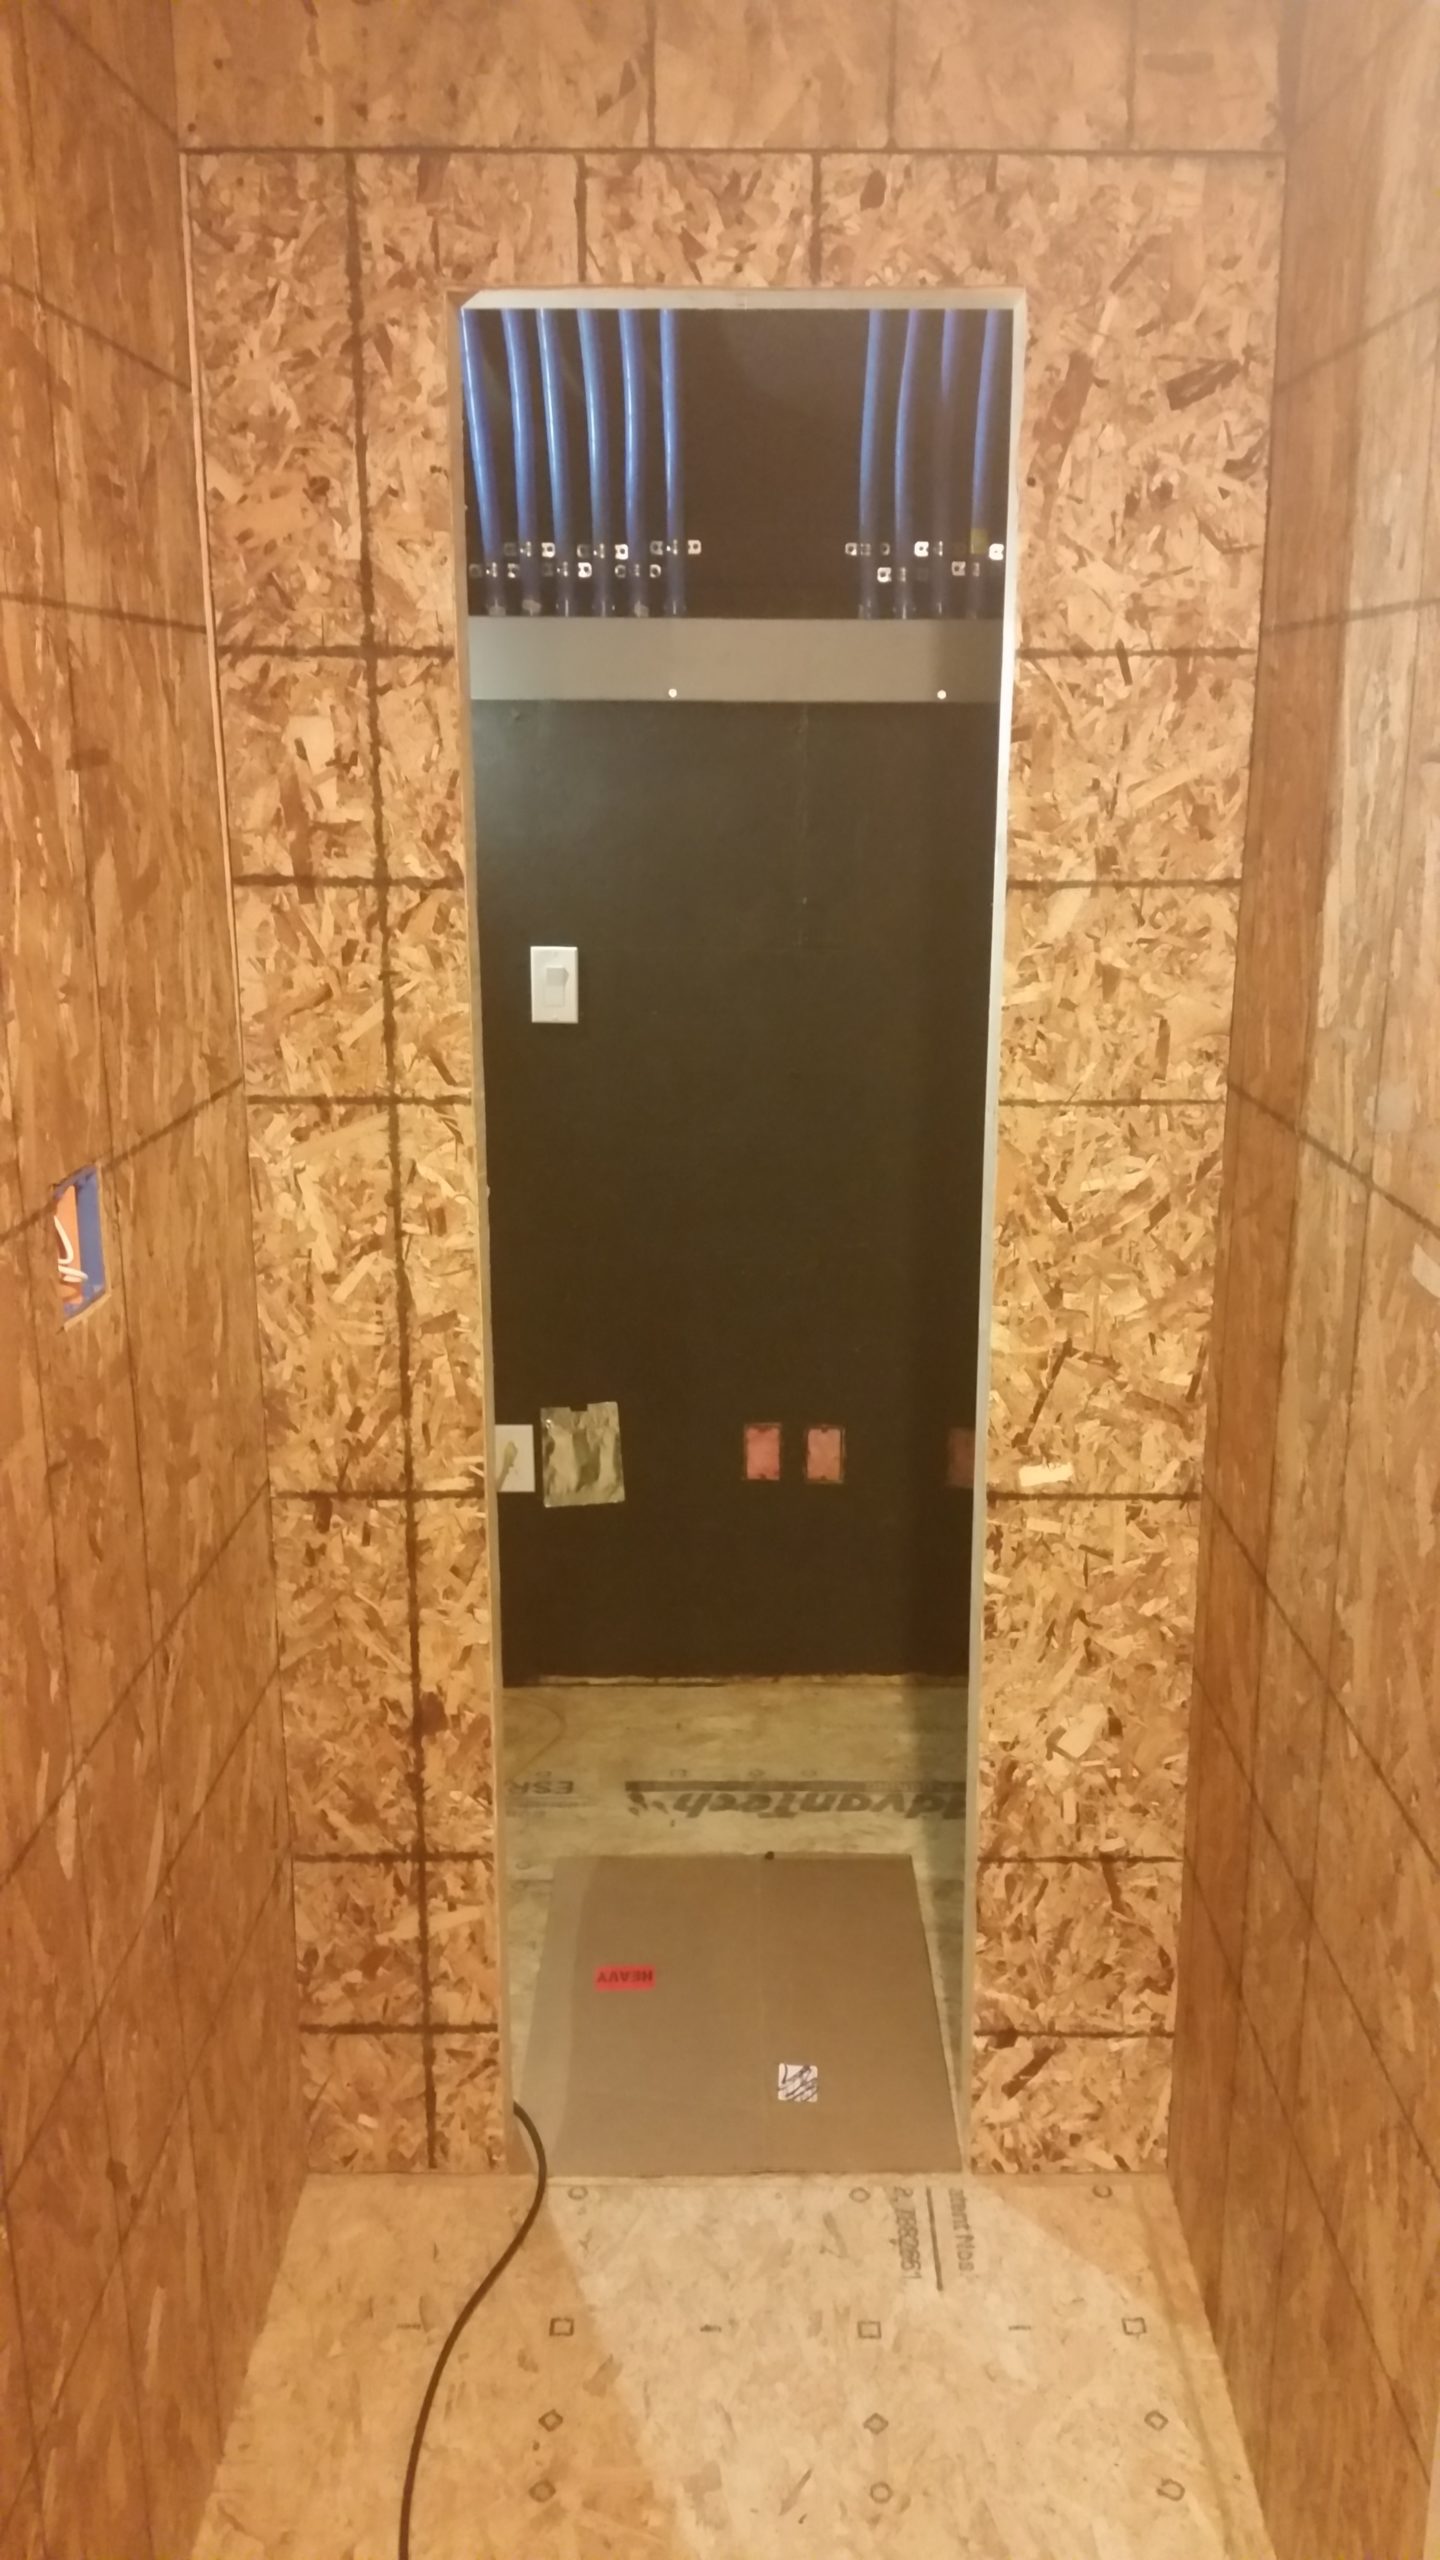
Rough Opening
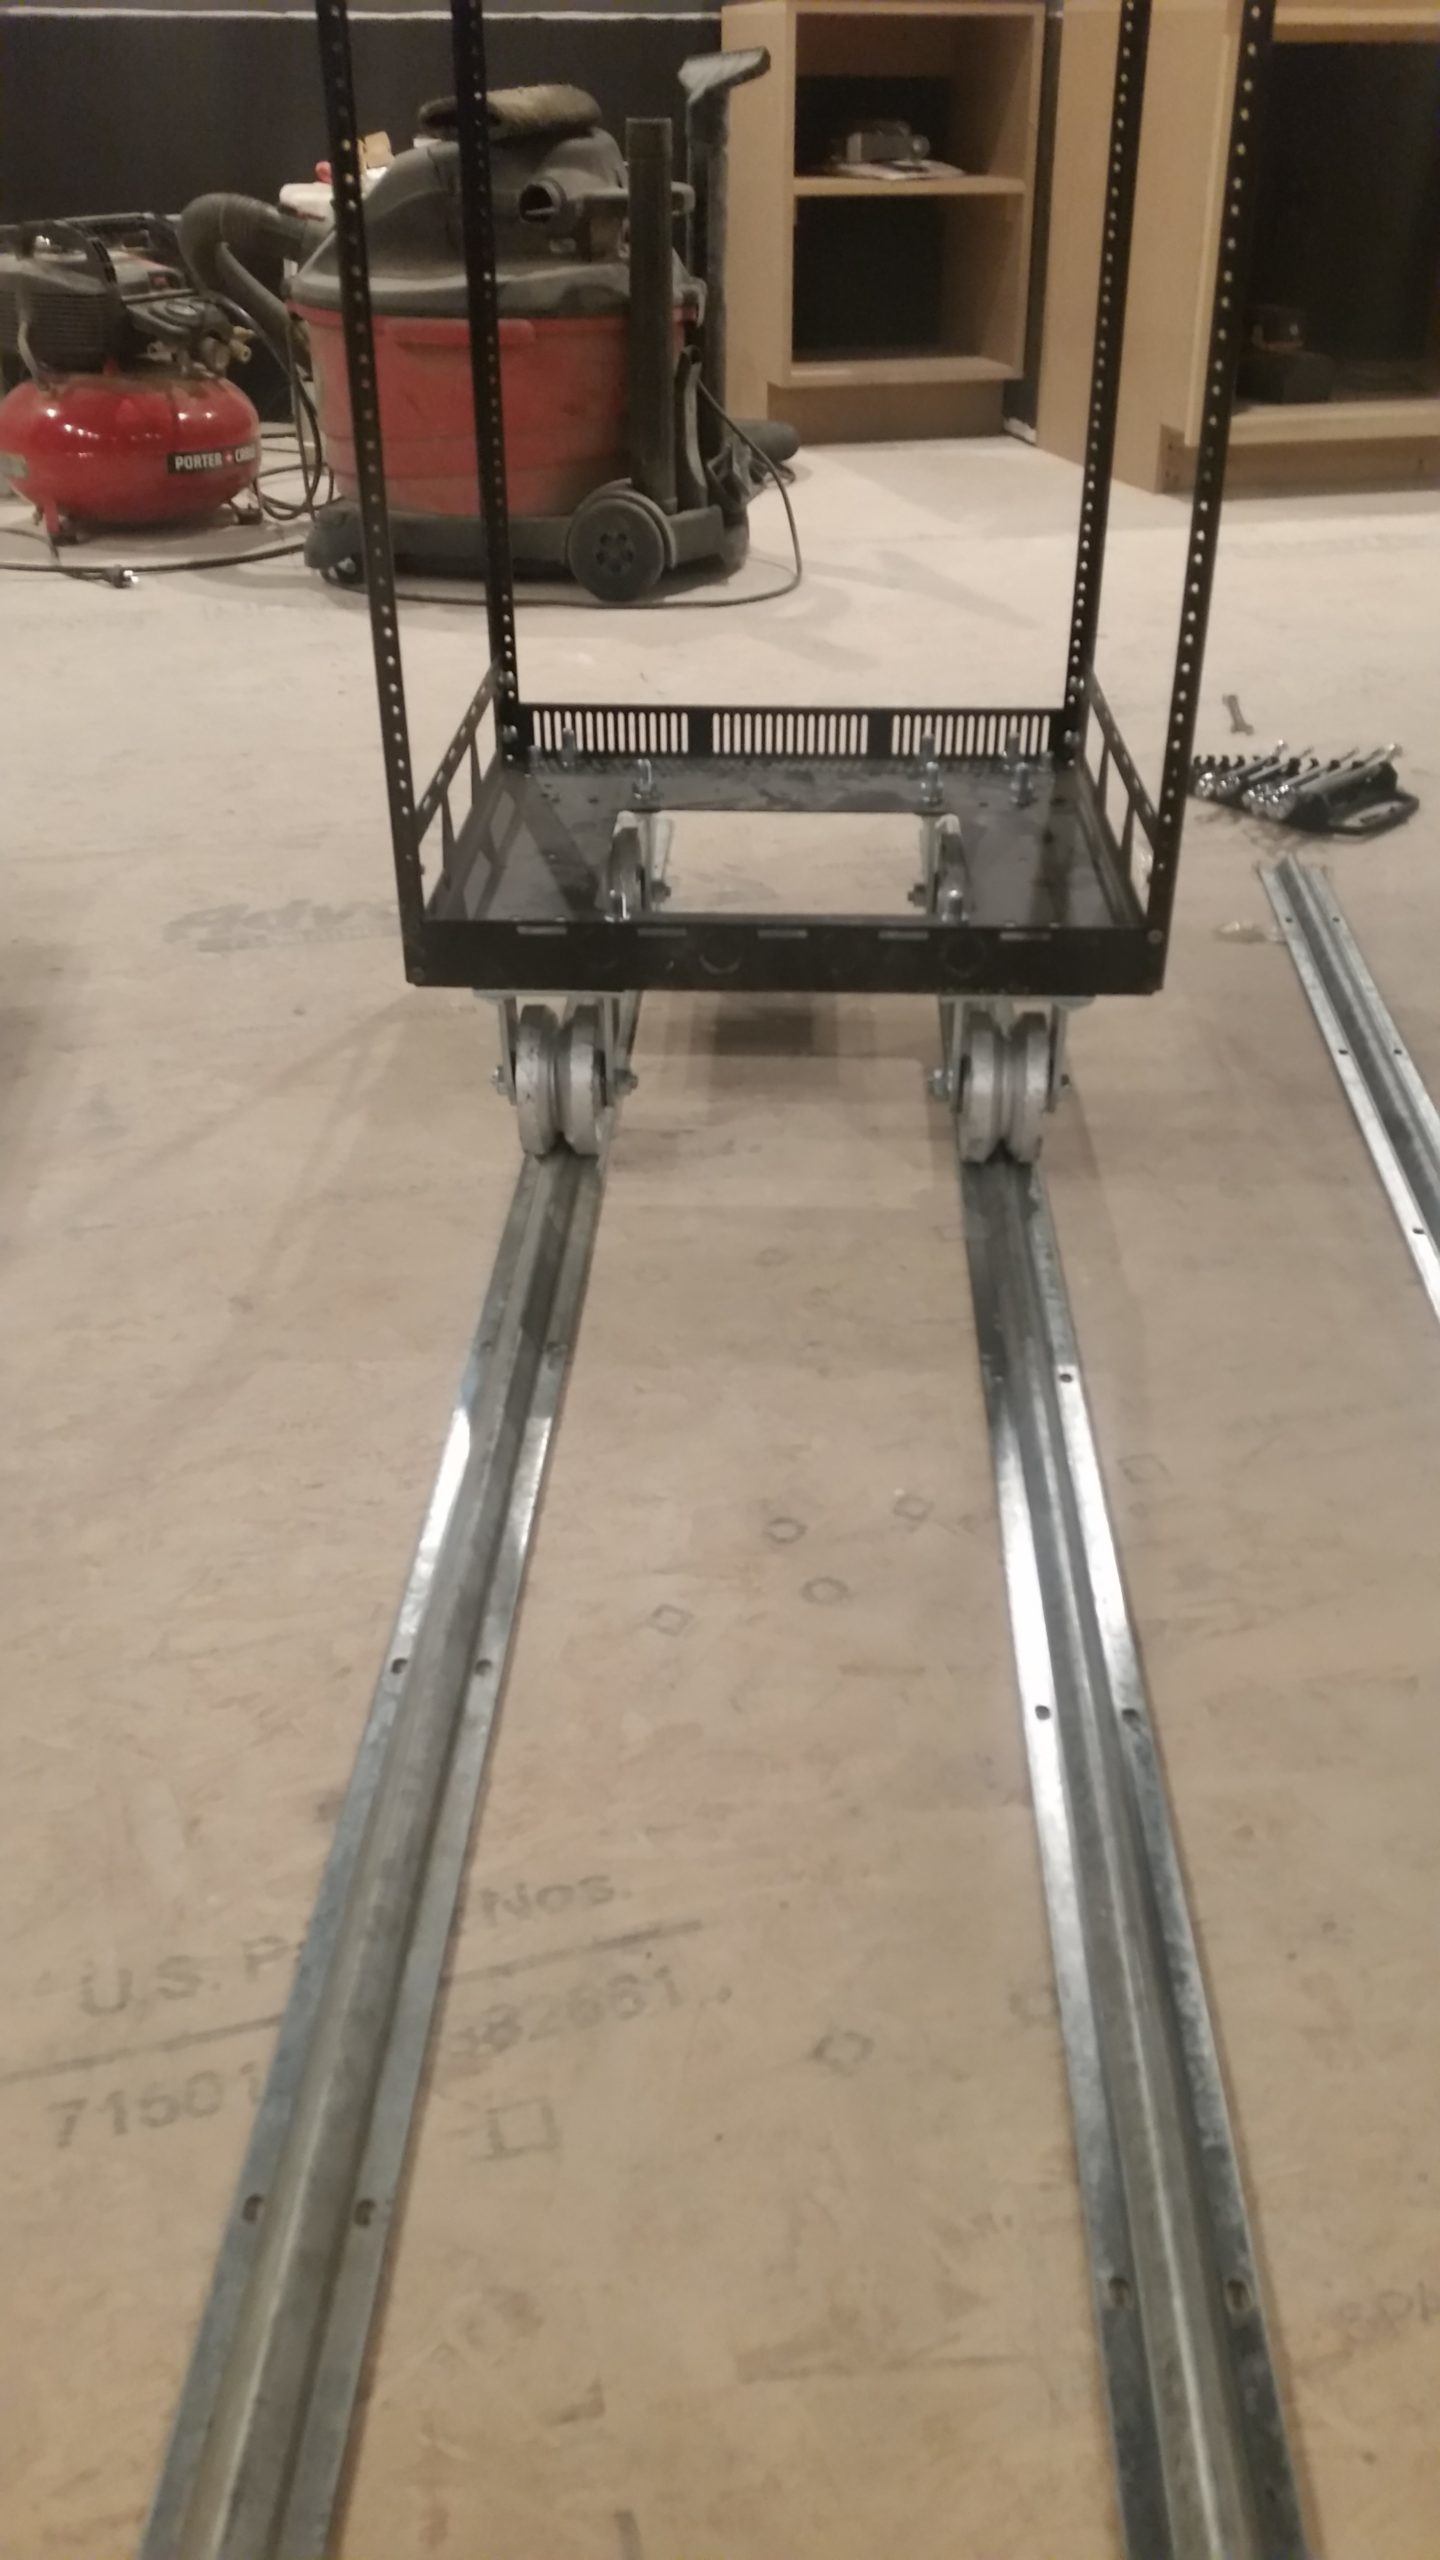
Rack On Wheels
Once you have those measurements, add half an inch to the height and width. This will leave a quarter inch on each side for the rack to move in and out freely. Remember to include any finish trim you plan on putting on the inside of the rough opening. I used 1/4 plywood on the sides and top, so I added another half inch to the width and quarter inch to the height.
Installing the Rails
Once you have the opening finished to your liking, place the rails with the rack on them into the opening and measure to make sure that they are square. Mark the rails so that they are even with the drywall.
[TIP] Trace around the rails, so that when you put them back in later, you can place them without having to square them again.
Now cut the rails at those marks. I cut mine using a metal cutting blade in a Sawzall, but you could do it with a hacksaw too.
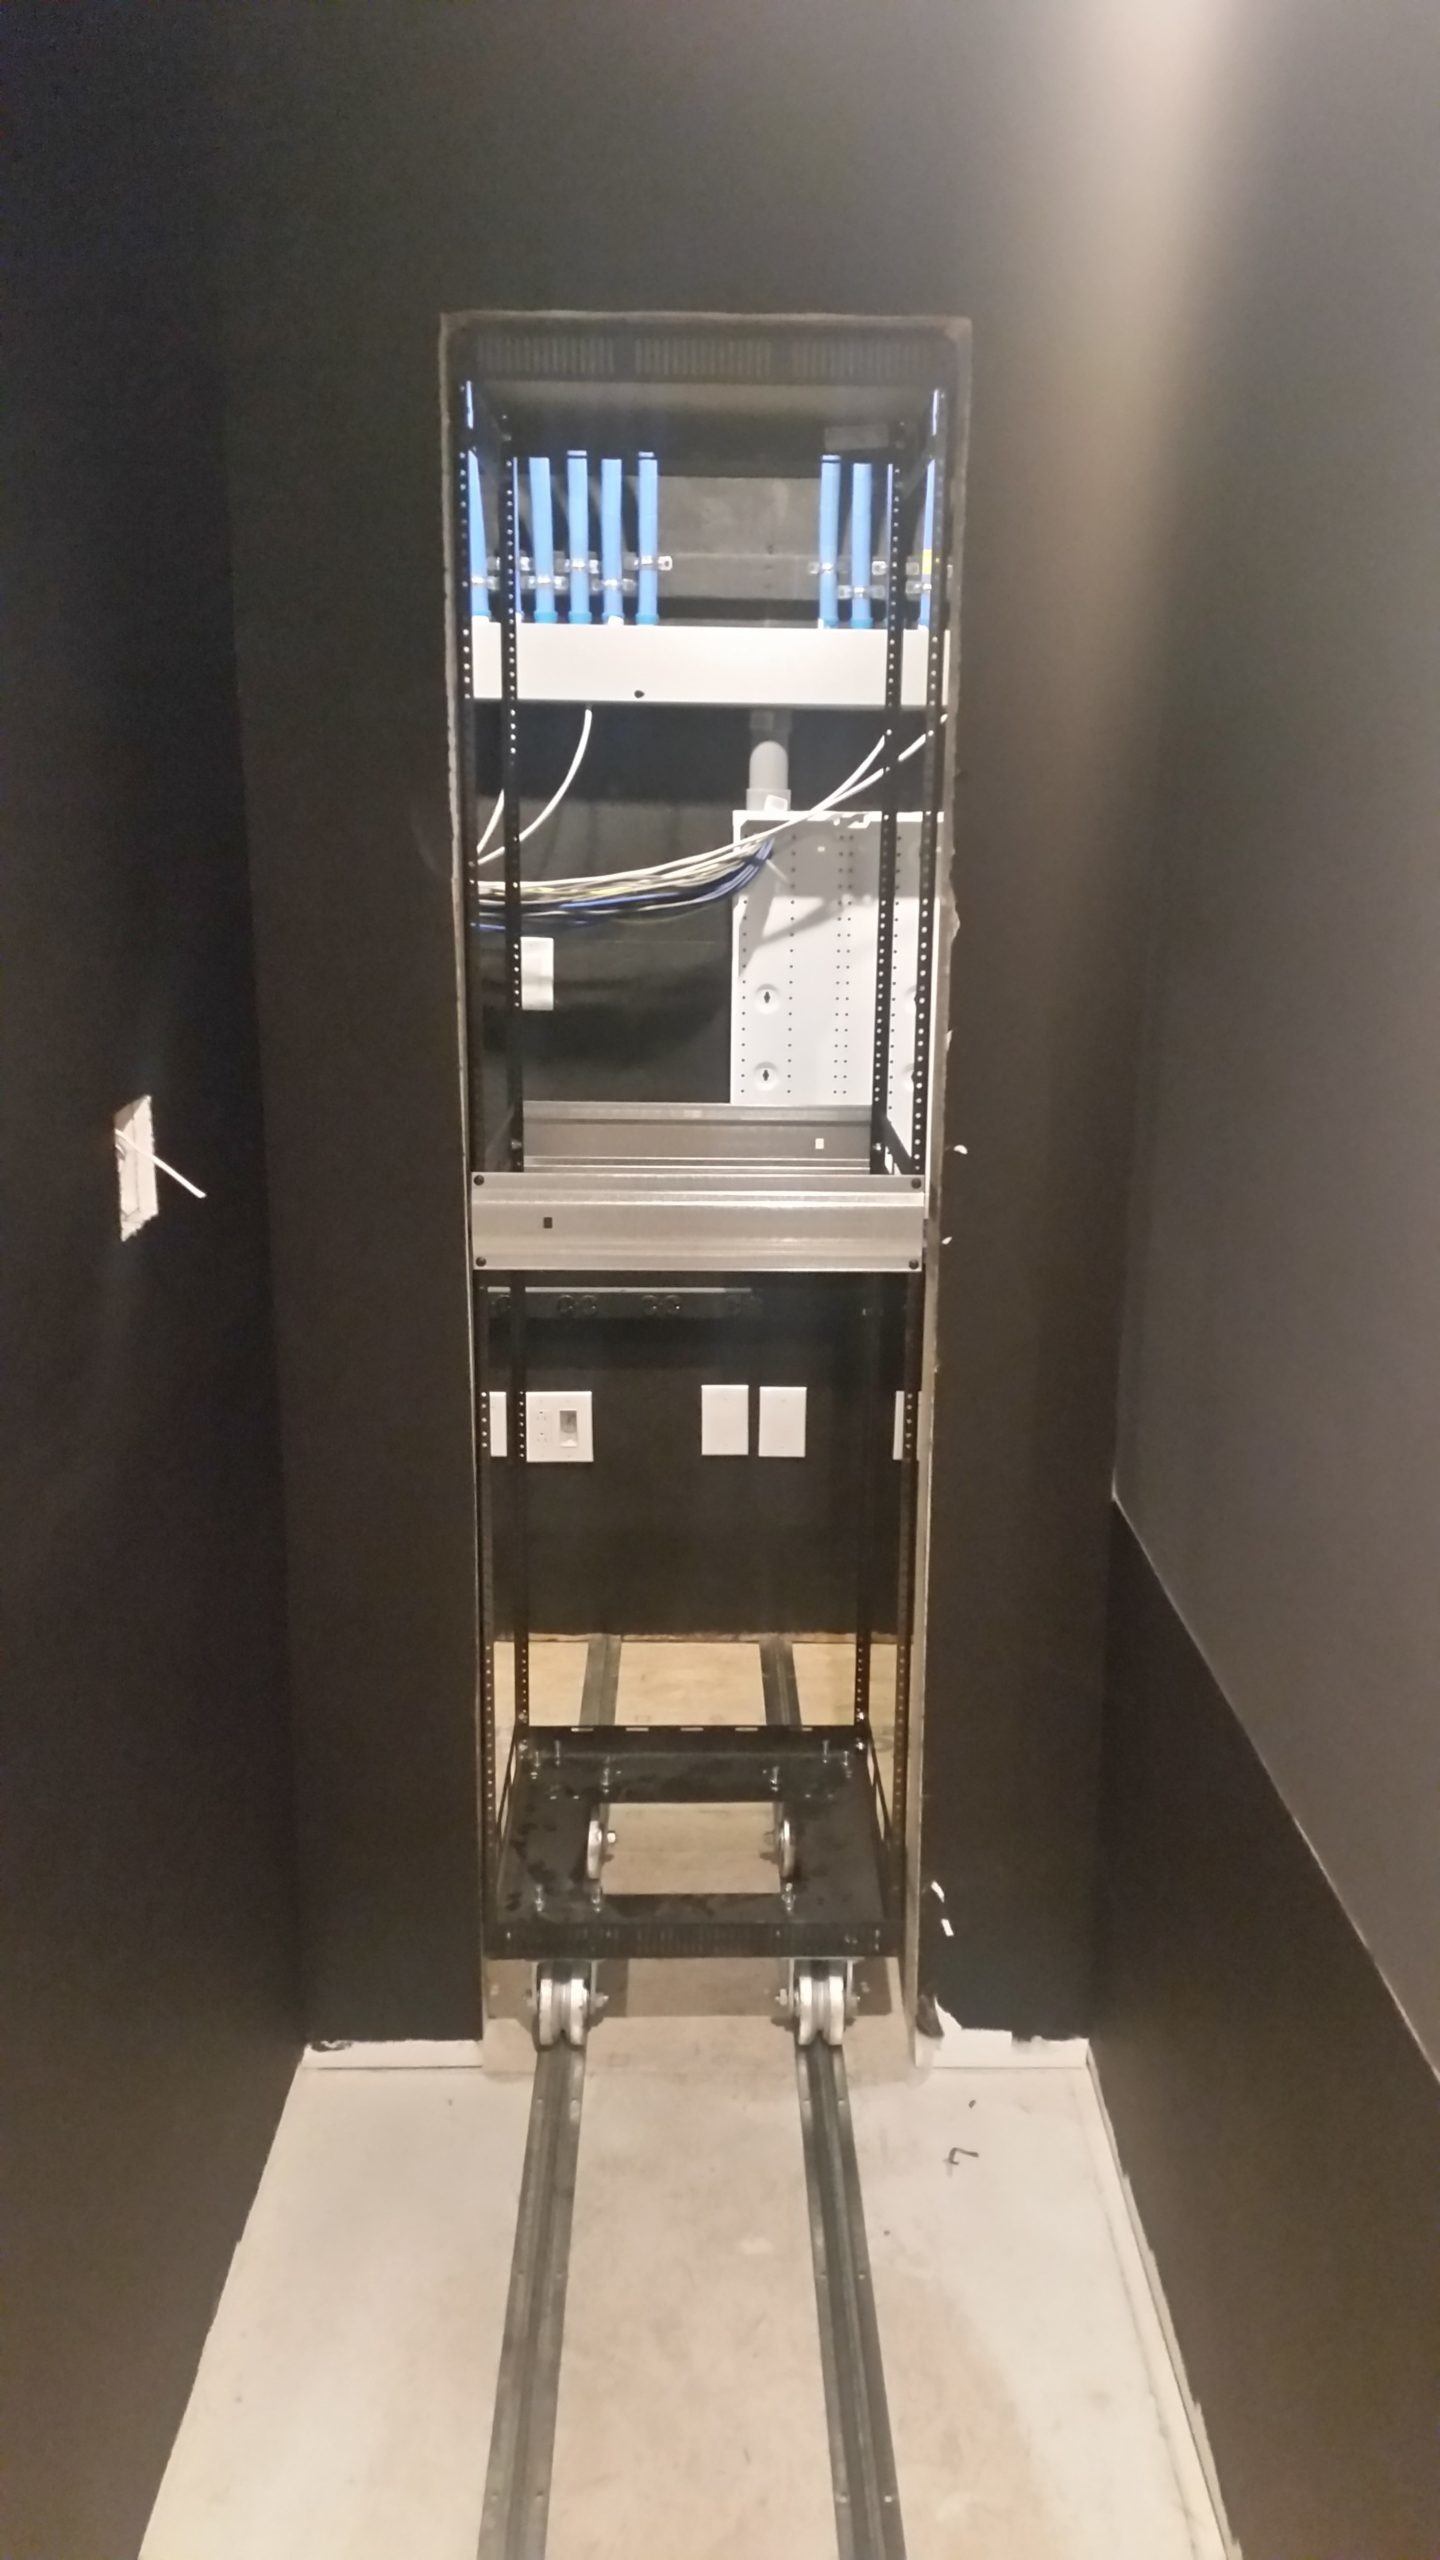
Rail Install
Place the rails back into the opening with the rack on them and once again make sure everything is square. Now you can attach the rails to the sub-floor.
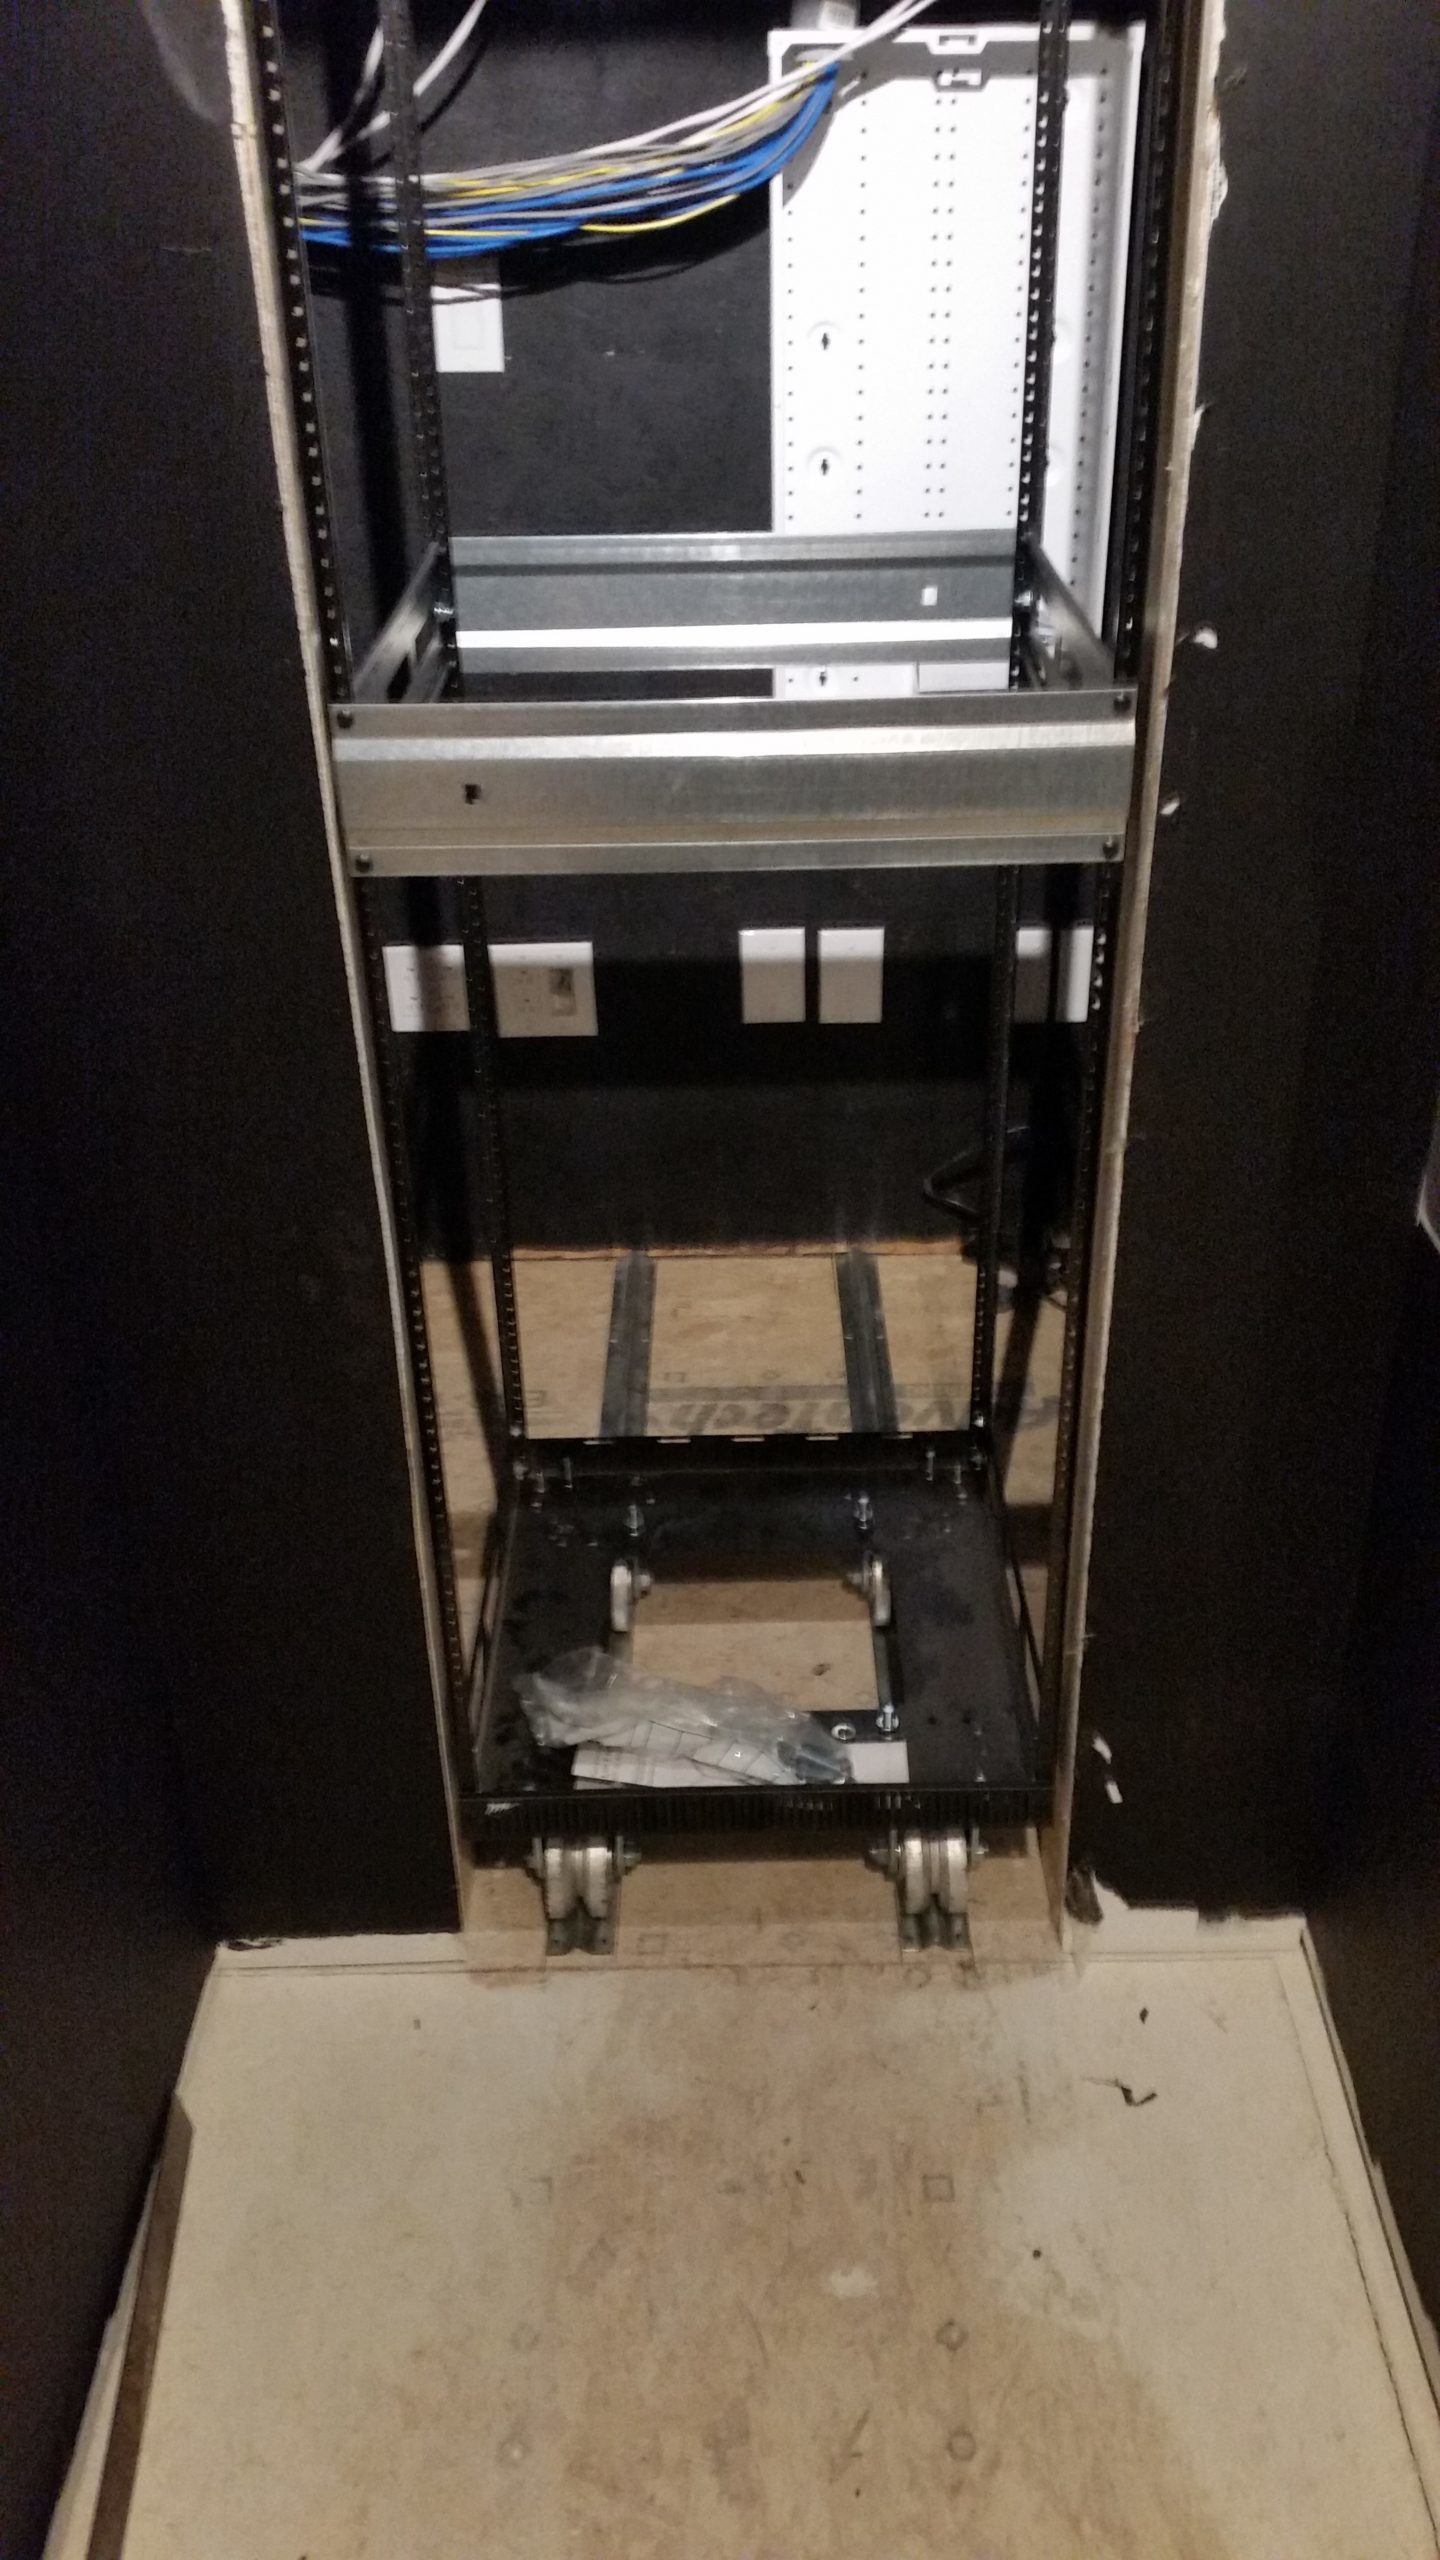
Cut Rails
I attached mine using finish screws. Only put screws on the very back of the rails and the very front of the rails. You'll need to drill holes in the rails to do this.
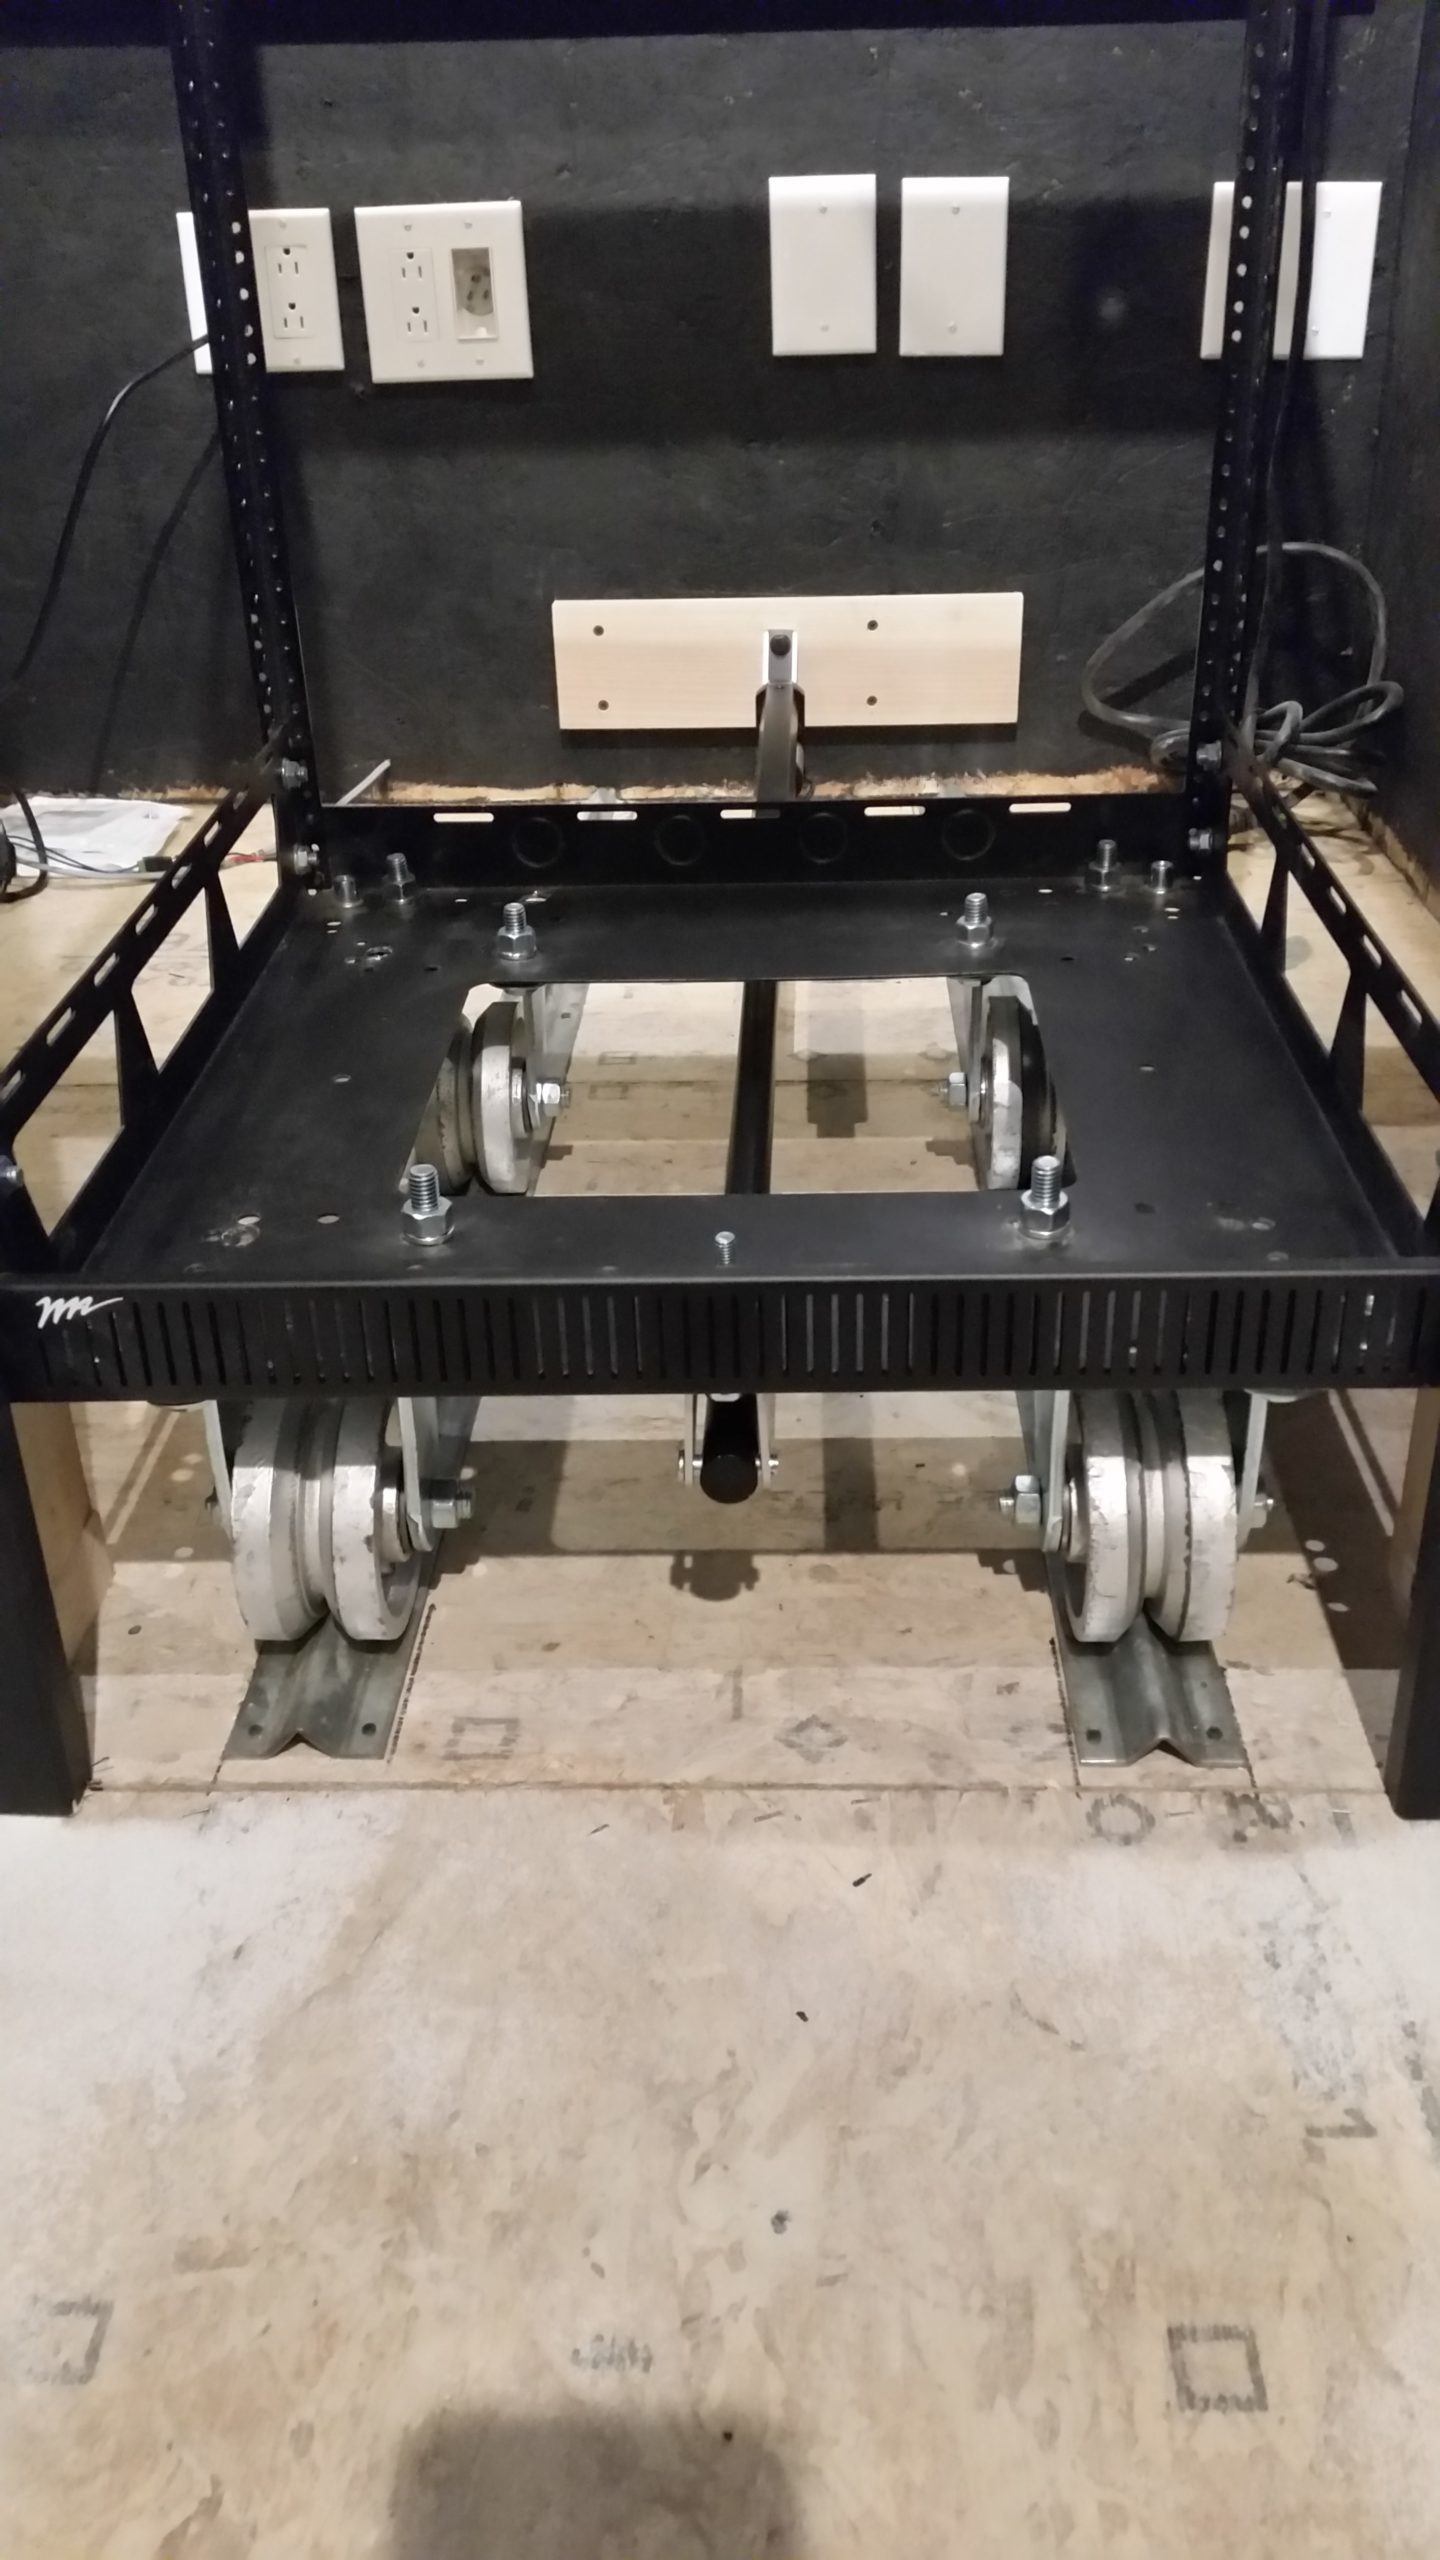
Attached Rails
Attaching the Linear Actuator to the Rack
As you see from the materials list, I used an actuator with a 20 inch stroke. This means that it will move 20 inches from fully closed to fully open. That is plenty of movement to get the rack out of the way and be able to enter the room.
Temporarily connect the 12v power supply to the actuator and fully extend it.
Attach the linear actuator bracket to the front, bottom of the rack as show in the picture above. You will need to drill a couple more holes in the rack and then use bolts, lock washers and nuts to attach it.
This also allows you to easily pull the pin and manually slide the rack open, if something happens that prevents the actuator from working.
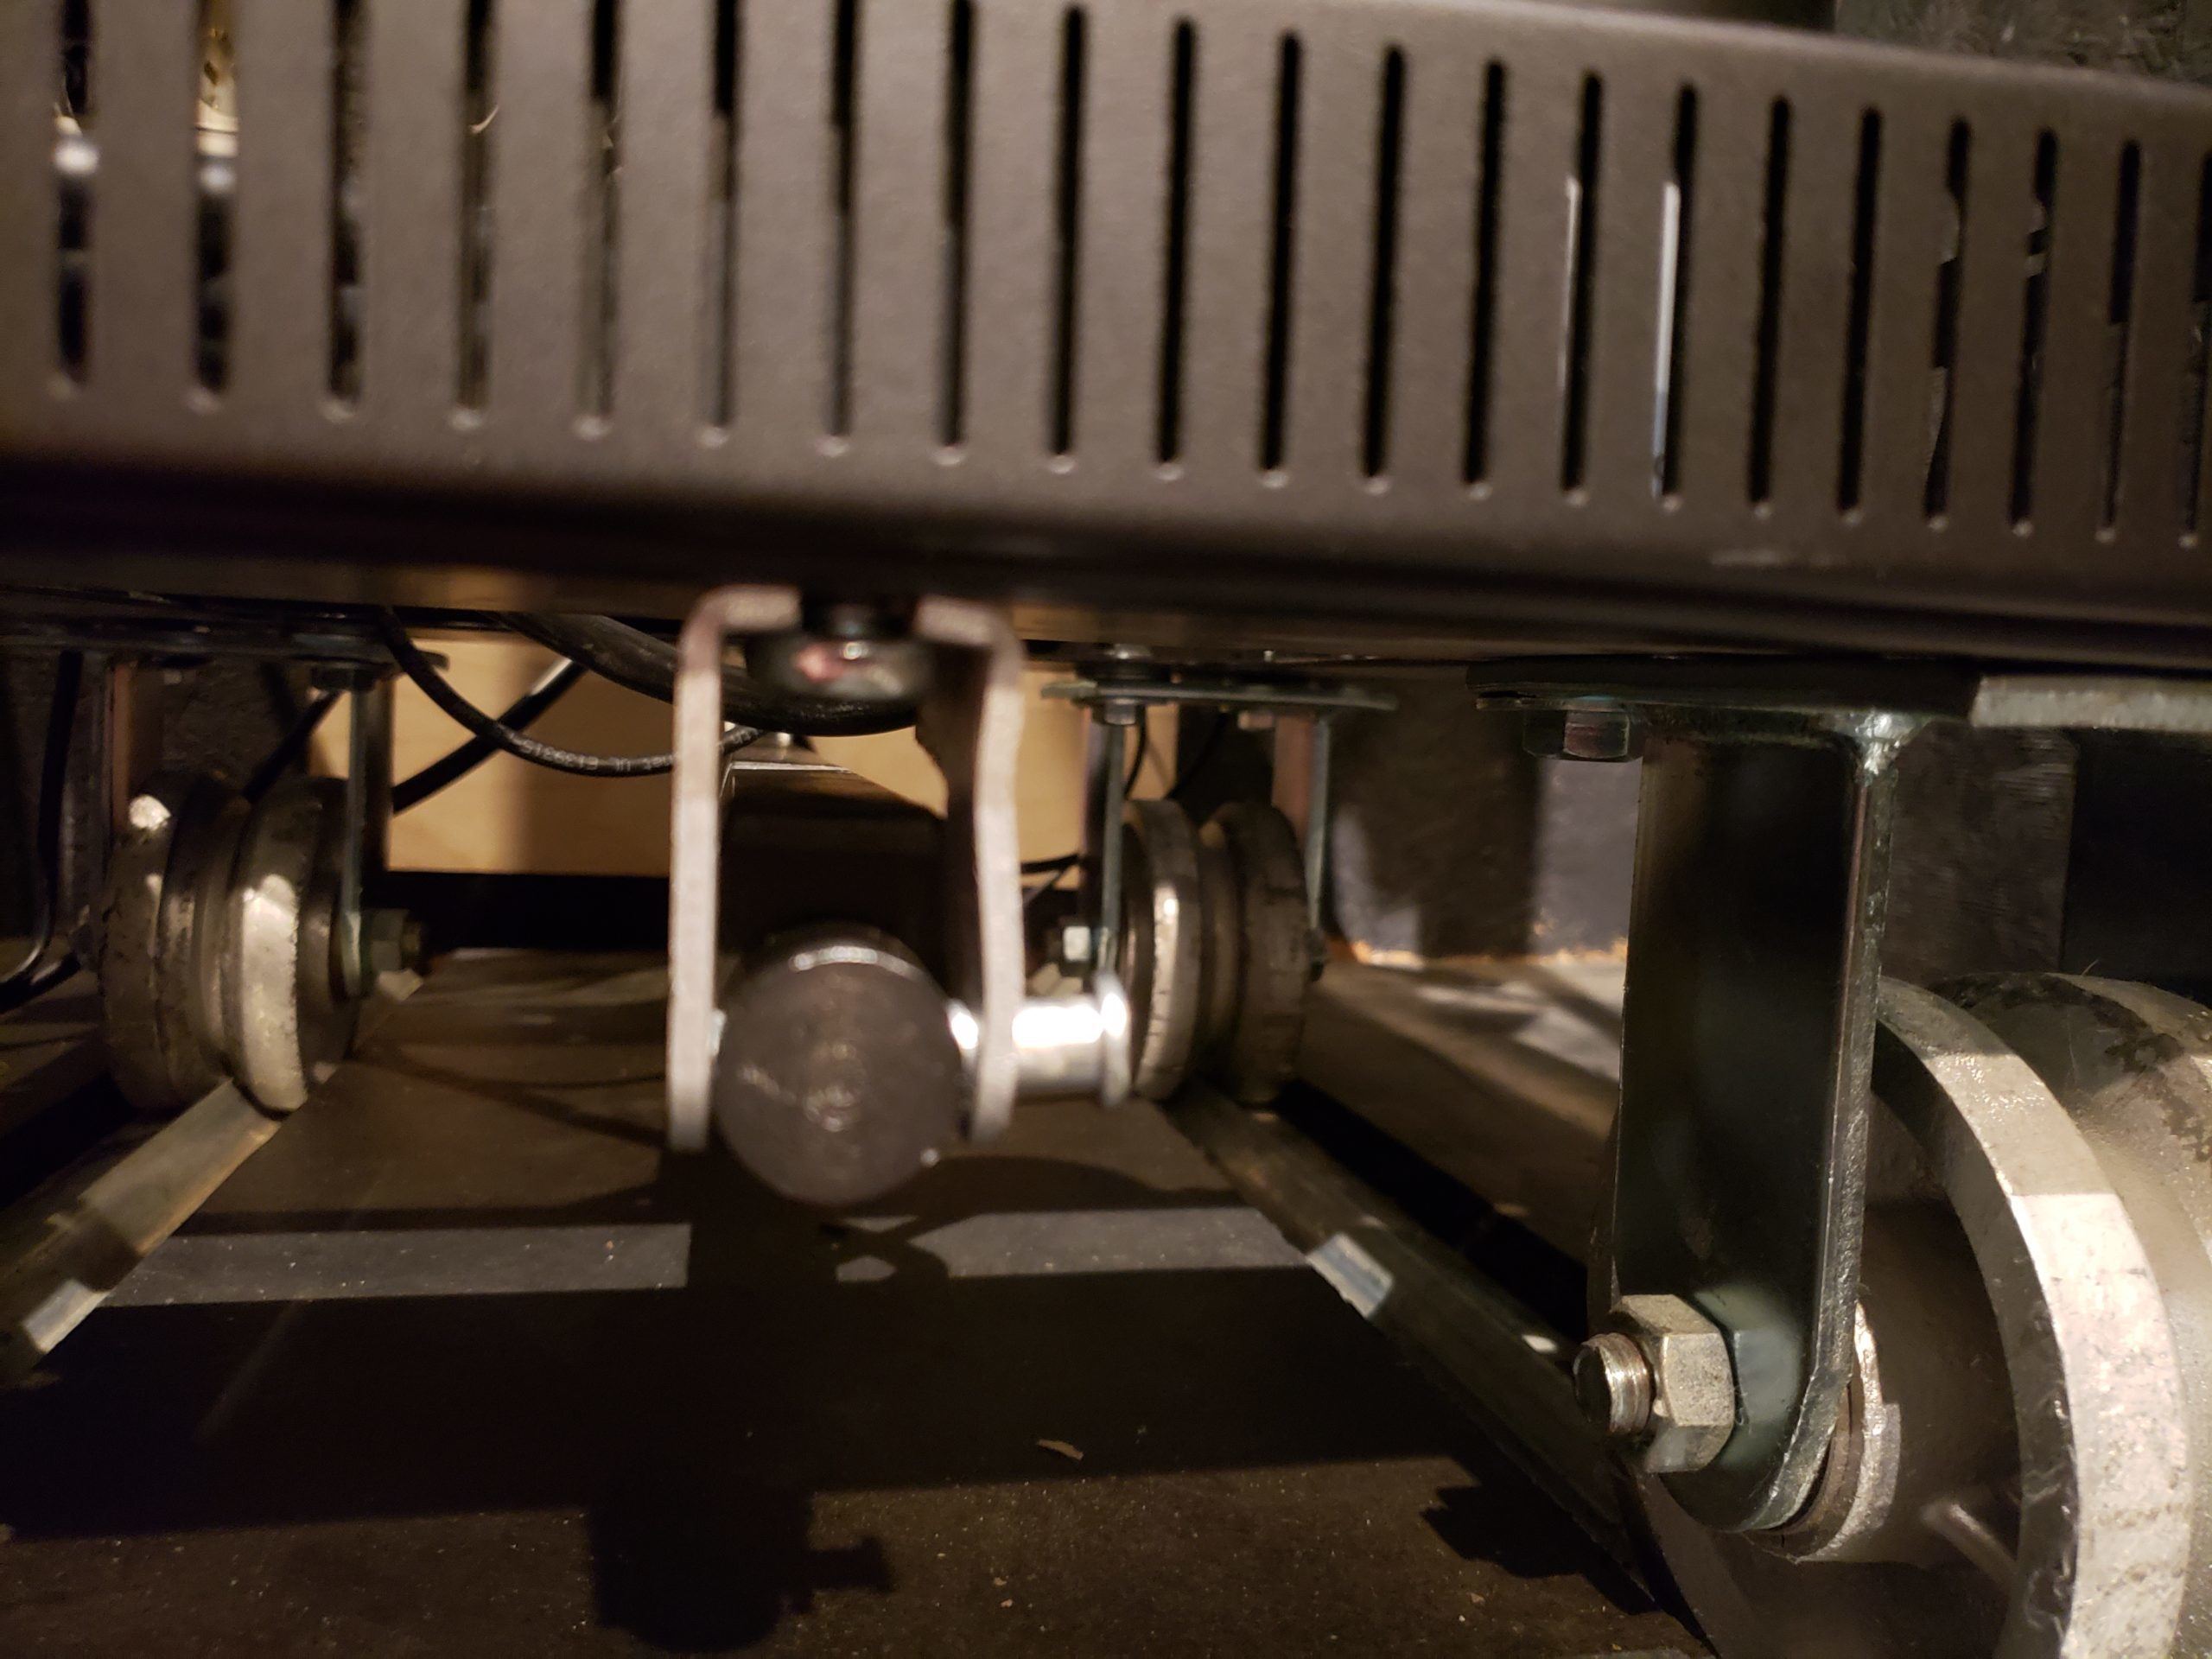
Actuator Rack Attachment
Attaching the Linear Actuator To the Wall
With the linear actuator attached to the rack and fully extended, you need to determine where to attach the actuator to the wall. Make sure the rack is in the fully closed position. For me I wanted it even with my trim boards when it was fully closed.
In my case, I only needed to add 3/4 of an inch, so a poplar trim board work perfect. Anchor it to the wall being sure that you hit a stud. In my case I made sure the 3/4 inch board was securely anchored to two studs, then I was able to simply anchor the actuator to the board with lags. Be sure that the actuator is straight and level, or else it may bind.
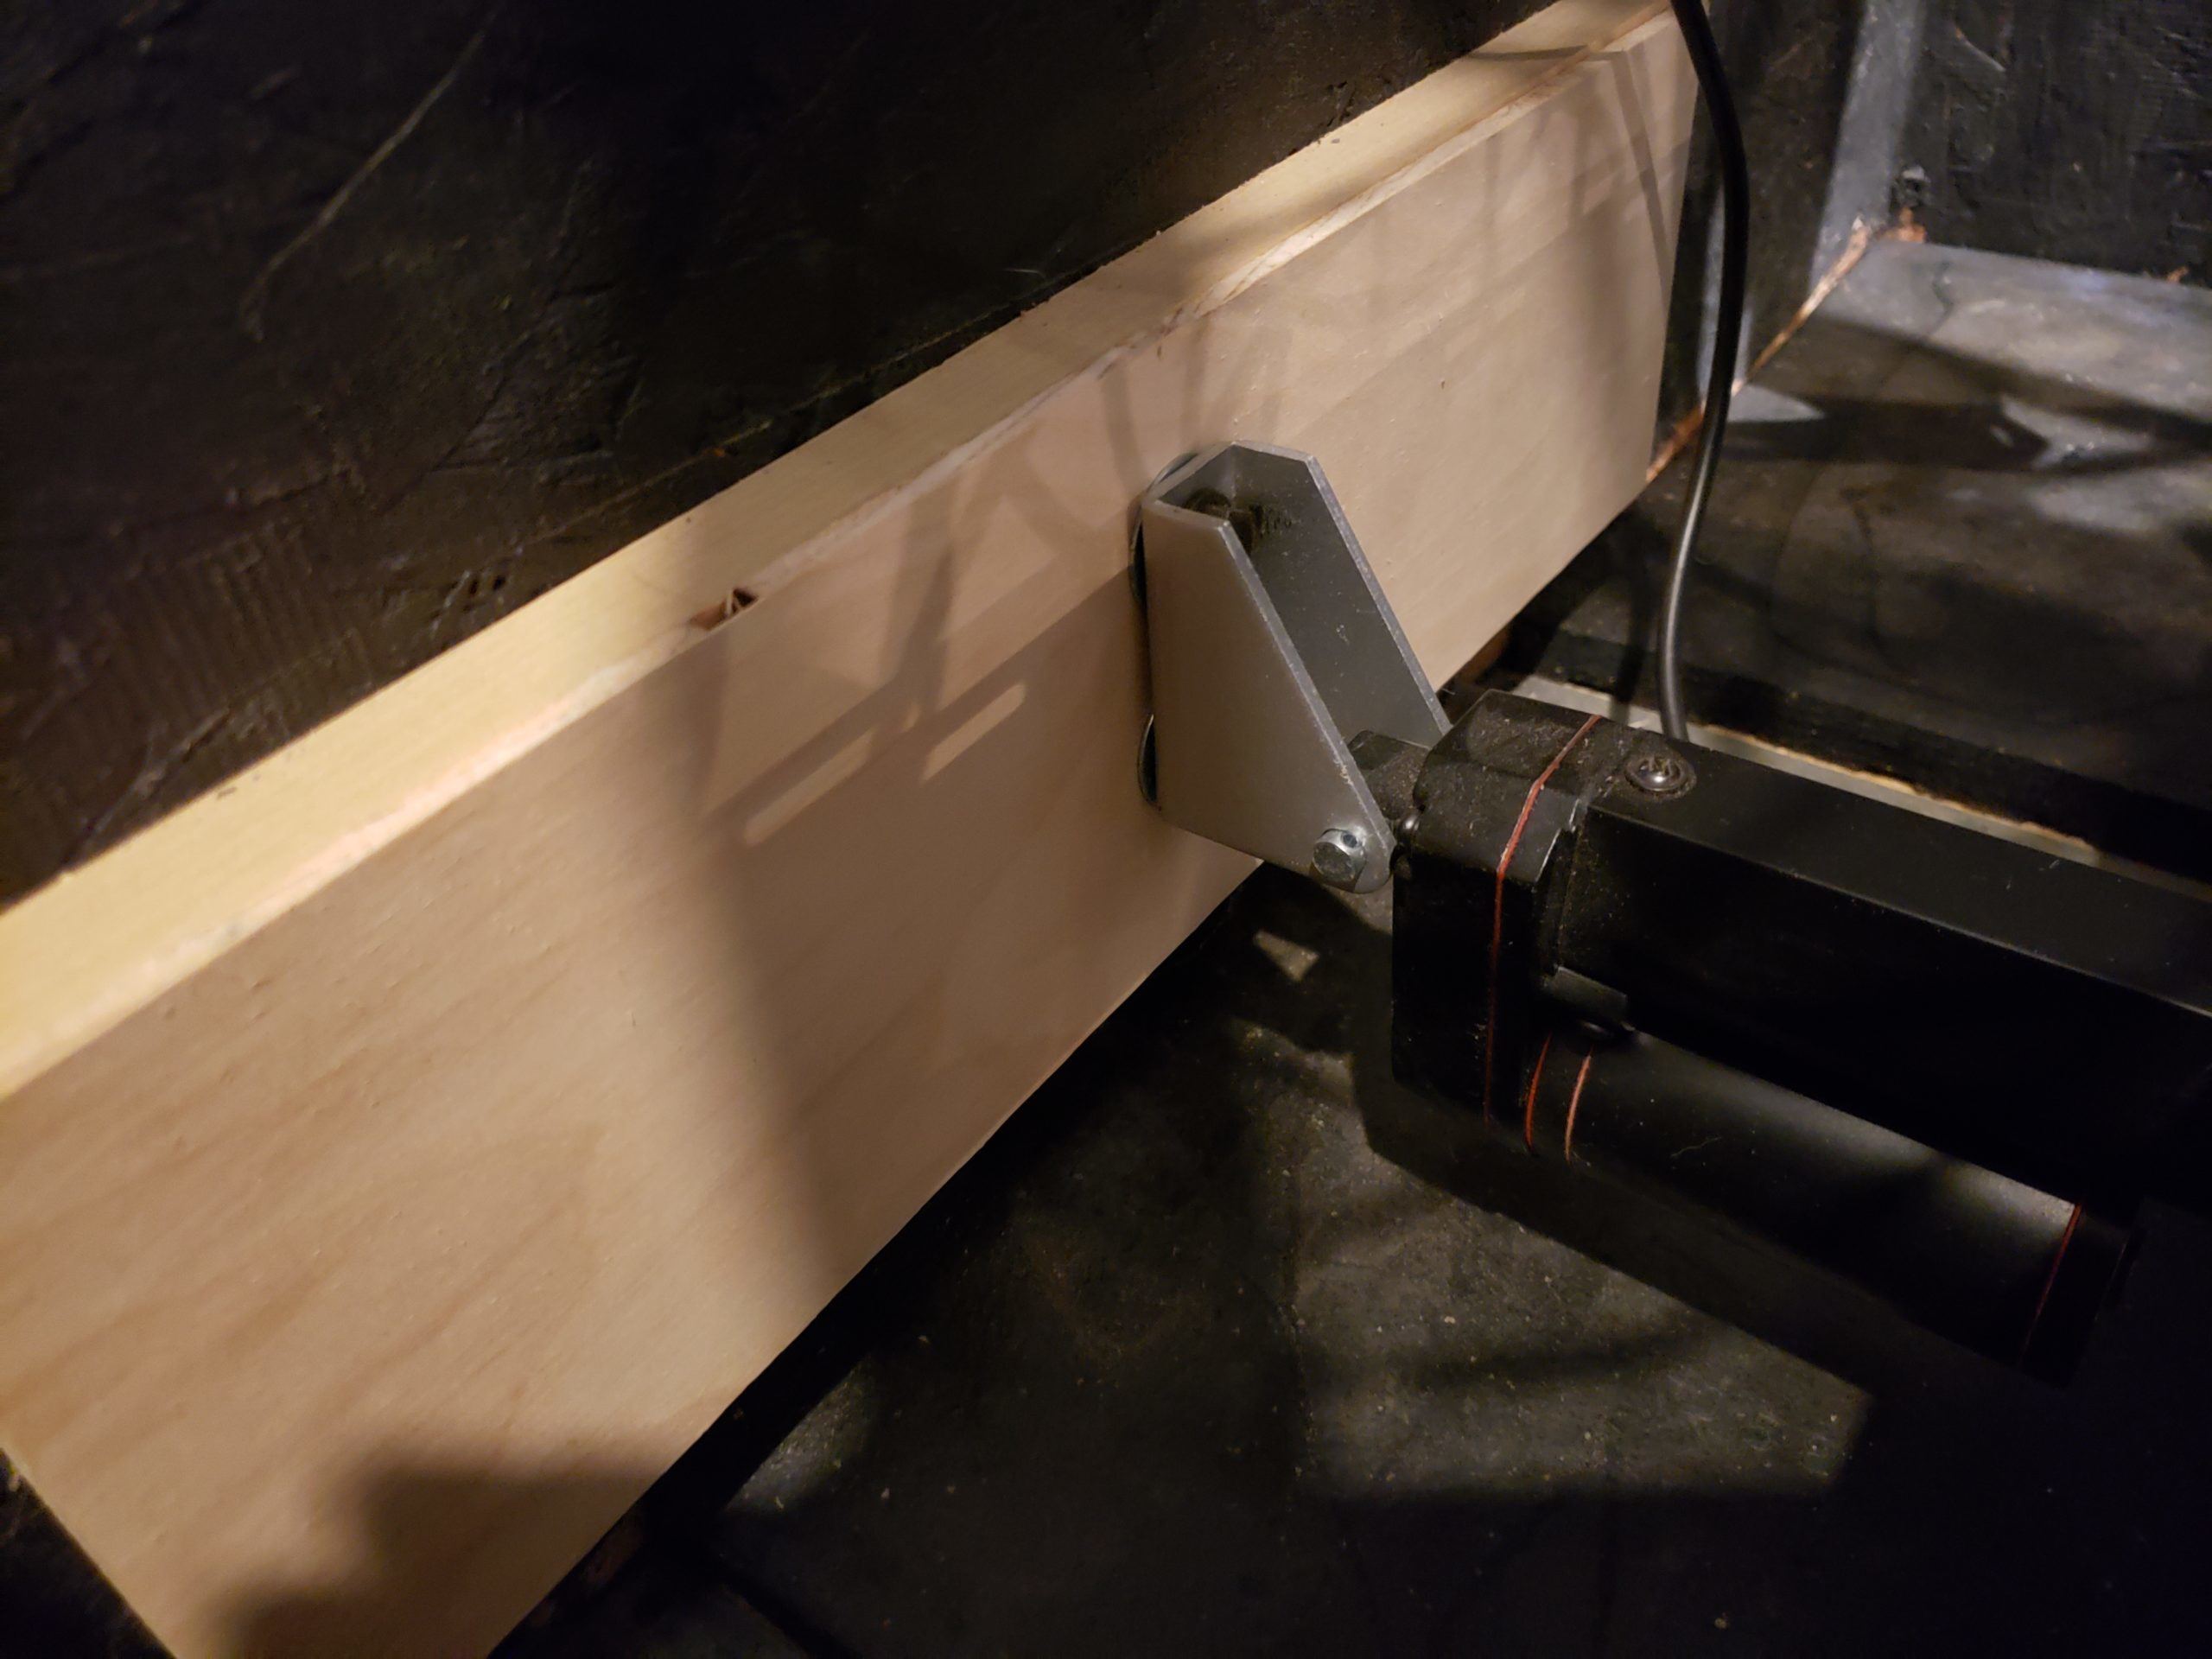
Linear Actuator Wall Anchor
Finish Wiring
Time to wire it up. I won't go into all of the details here because the relay module should come with wiring instructions and yours may have different color wires than mine had. For me the easiest thing to do was to run the wiring back into the closet where I already had structured media panels for my lighting and automated blinds. That allowed me to use the same 12v power supply that I use to power my blinds.
I changed out the momentary switch that came with the relay kit for a latching switch. That way I didn't have to hold the button in the whole time. The actuator has built-in limiting switches, so as long as you are using it fully open to fully closed, it will shut itself off when it reaches either one.
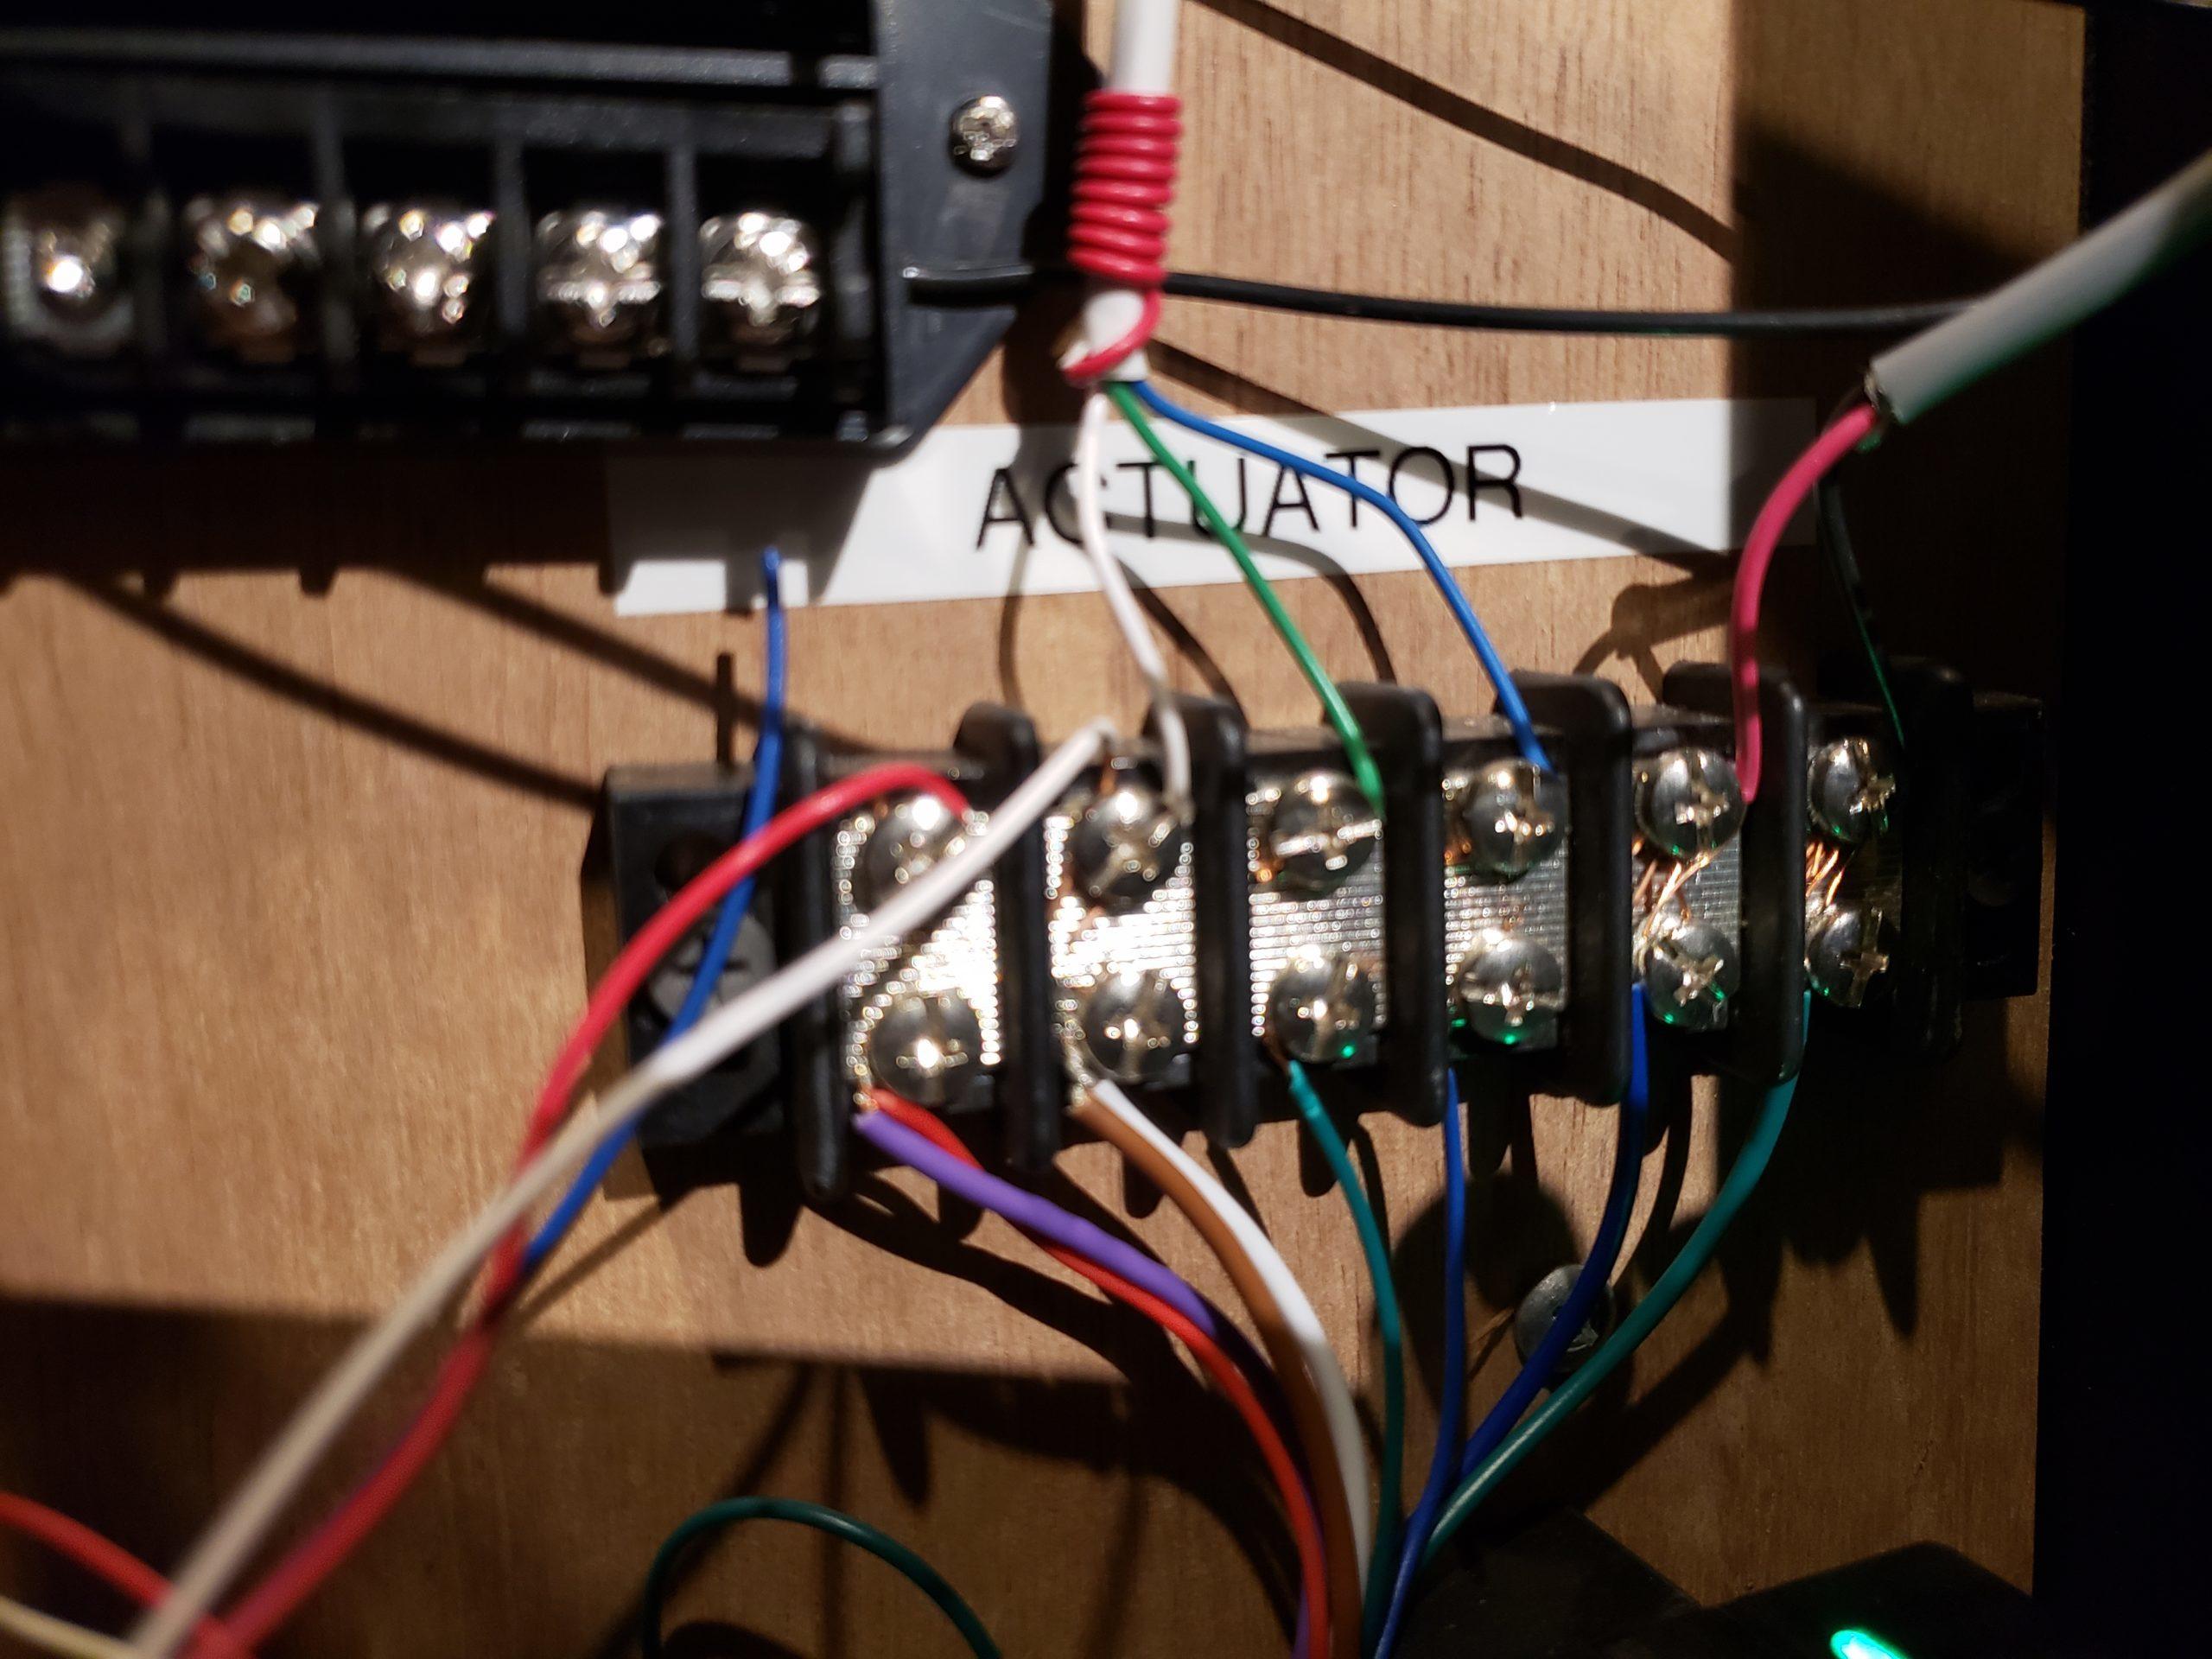
Messy Panel Wiring
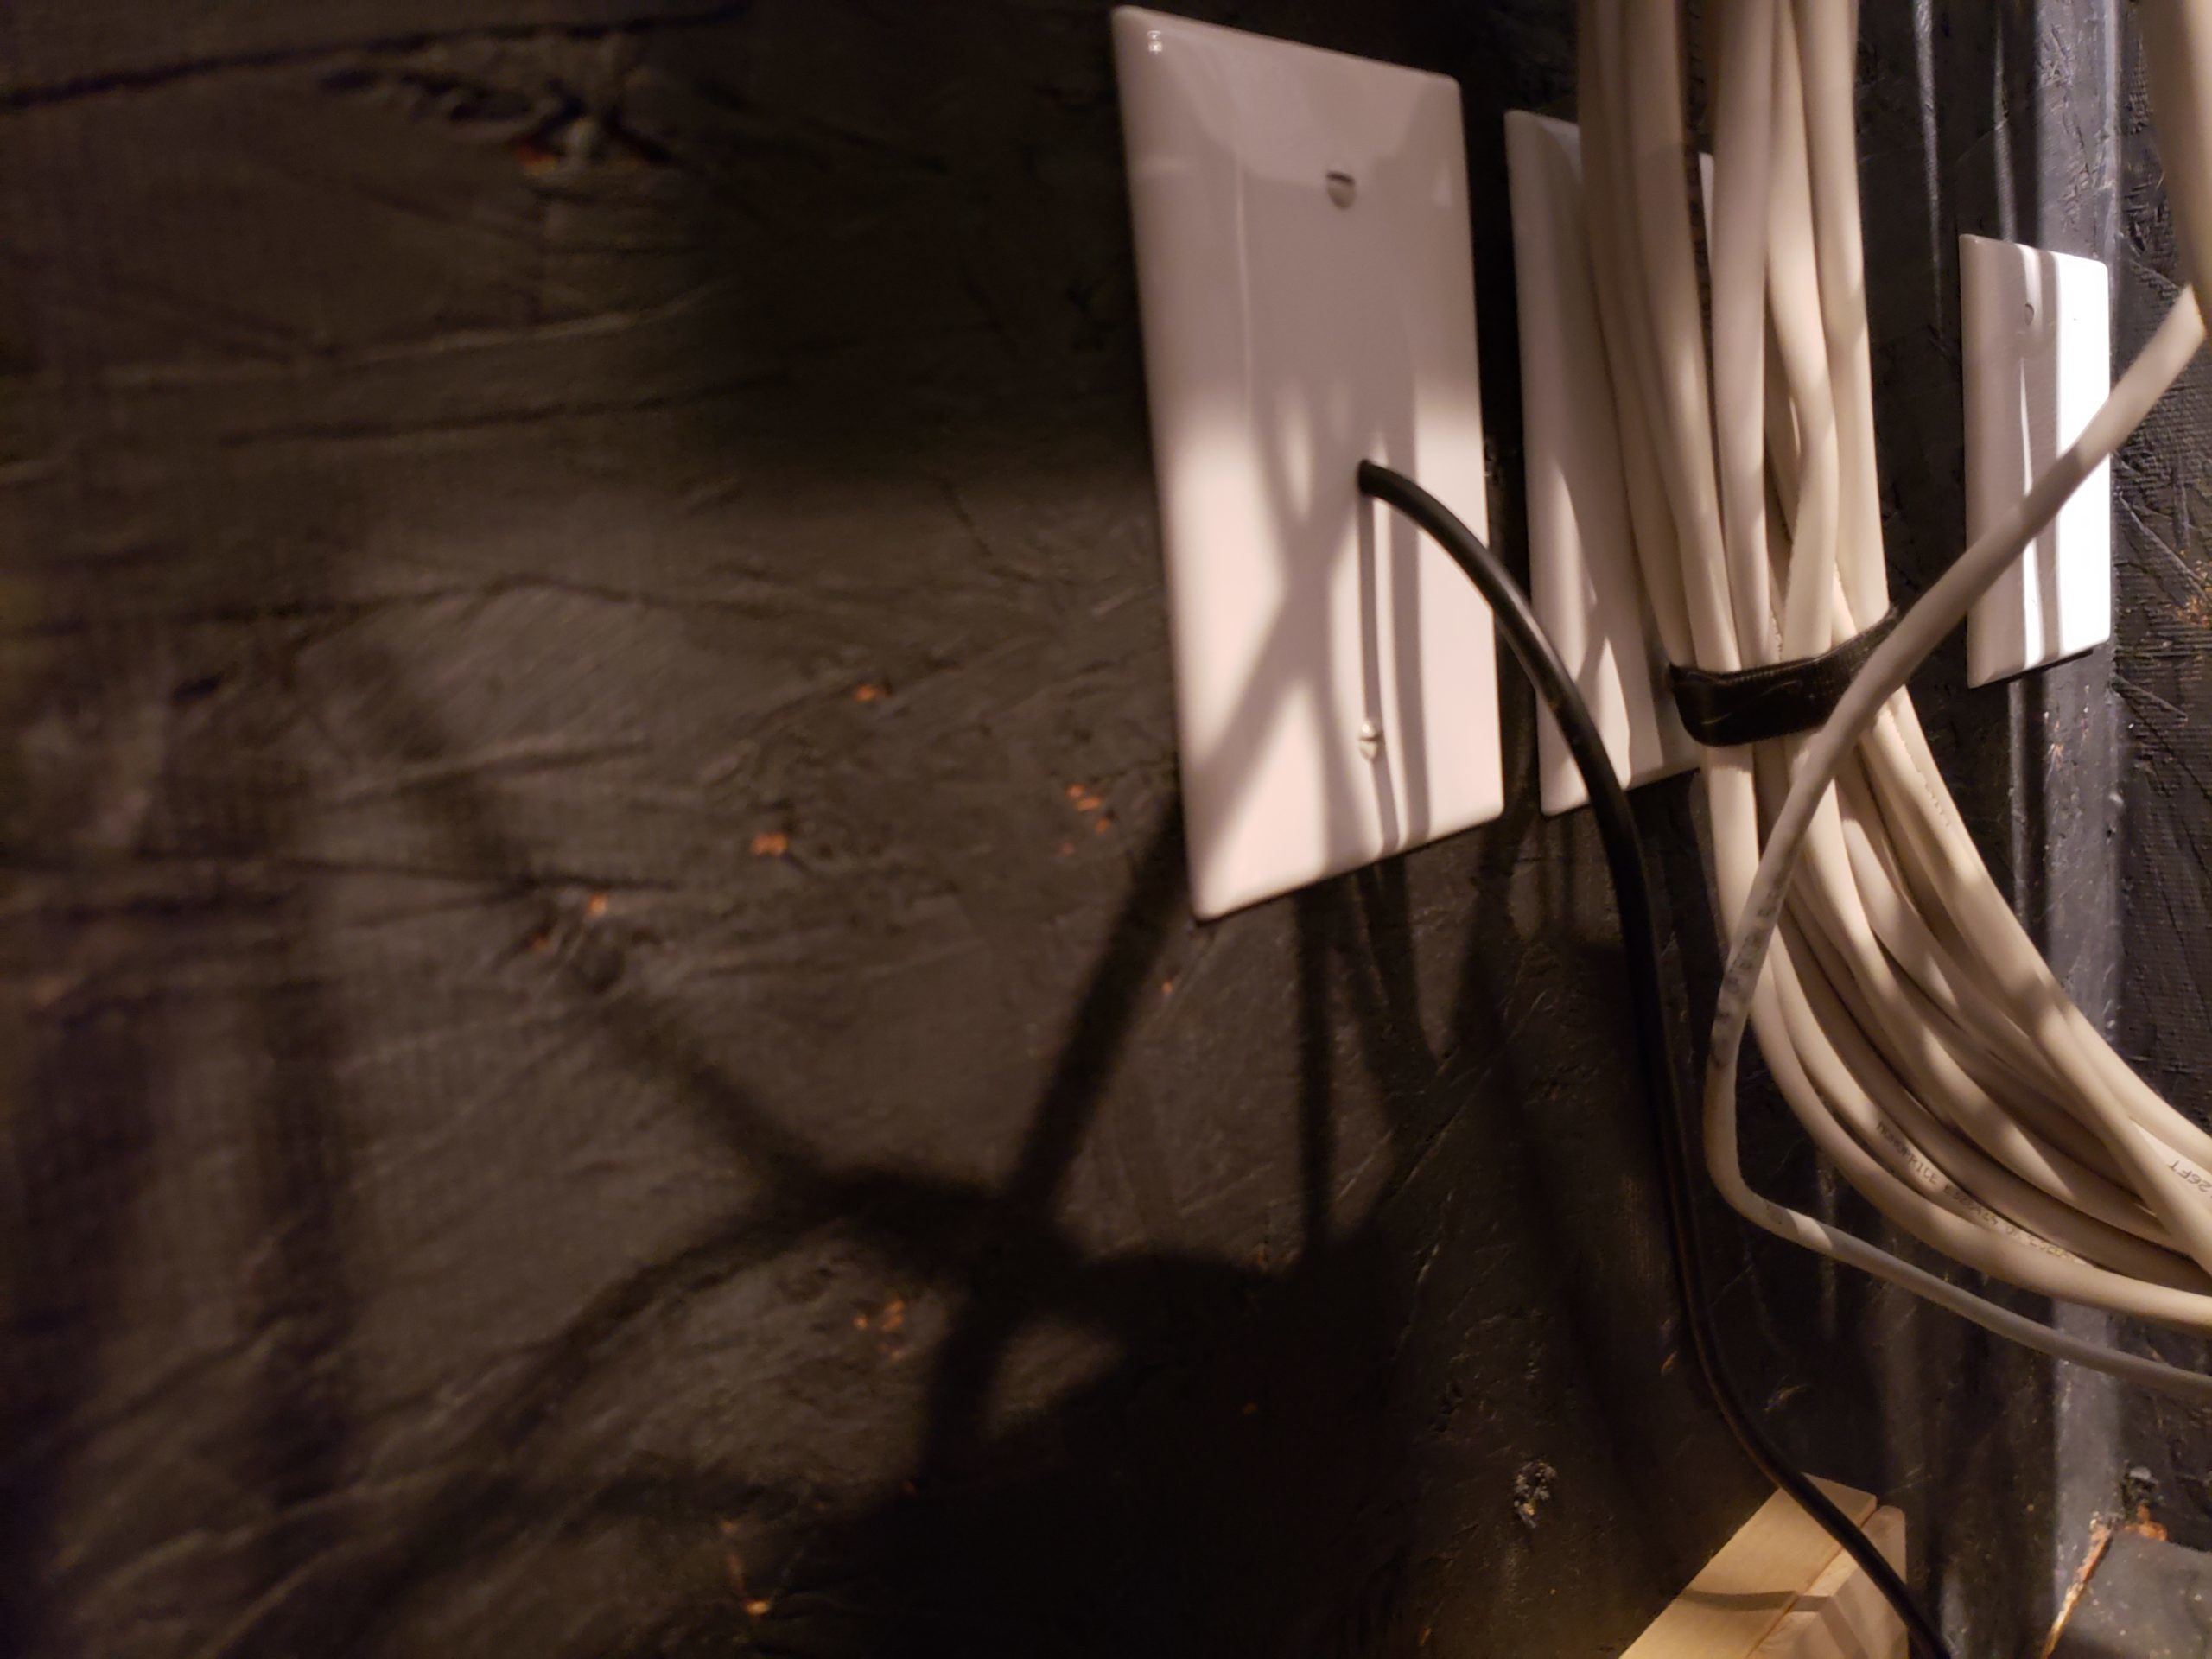
Finished Actuator Wiring
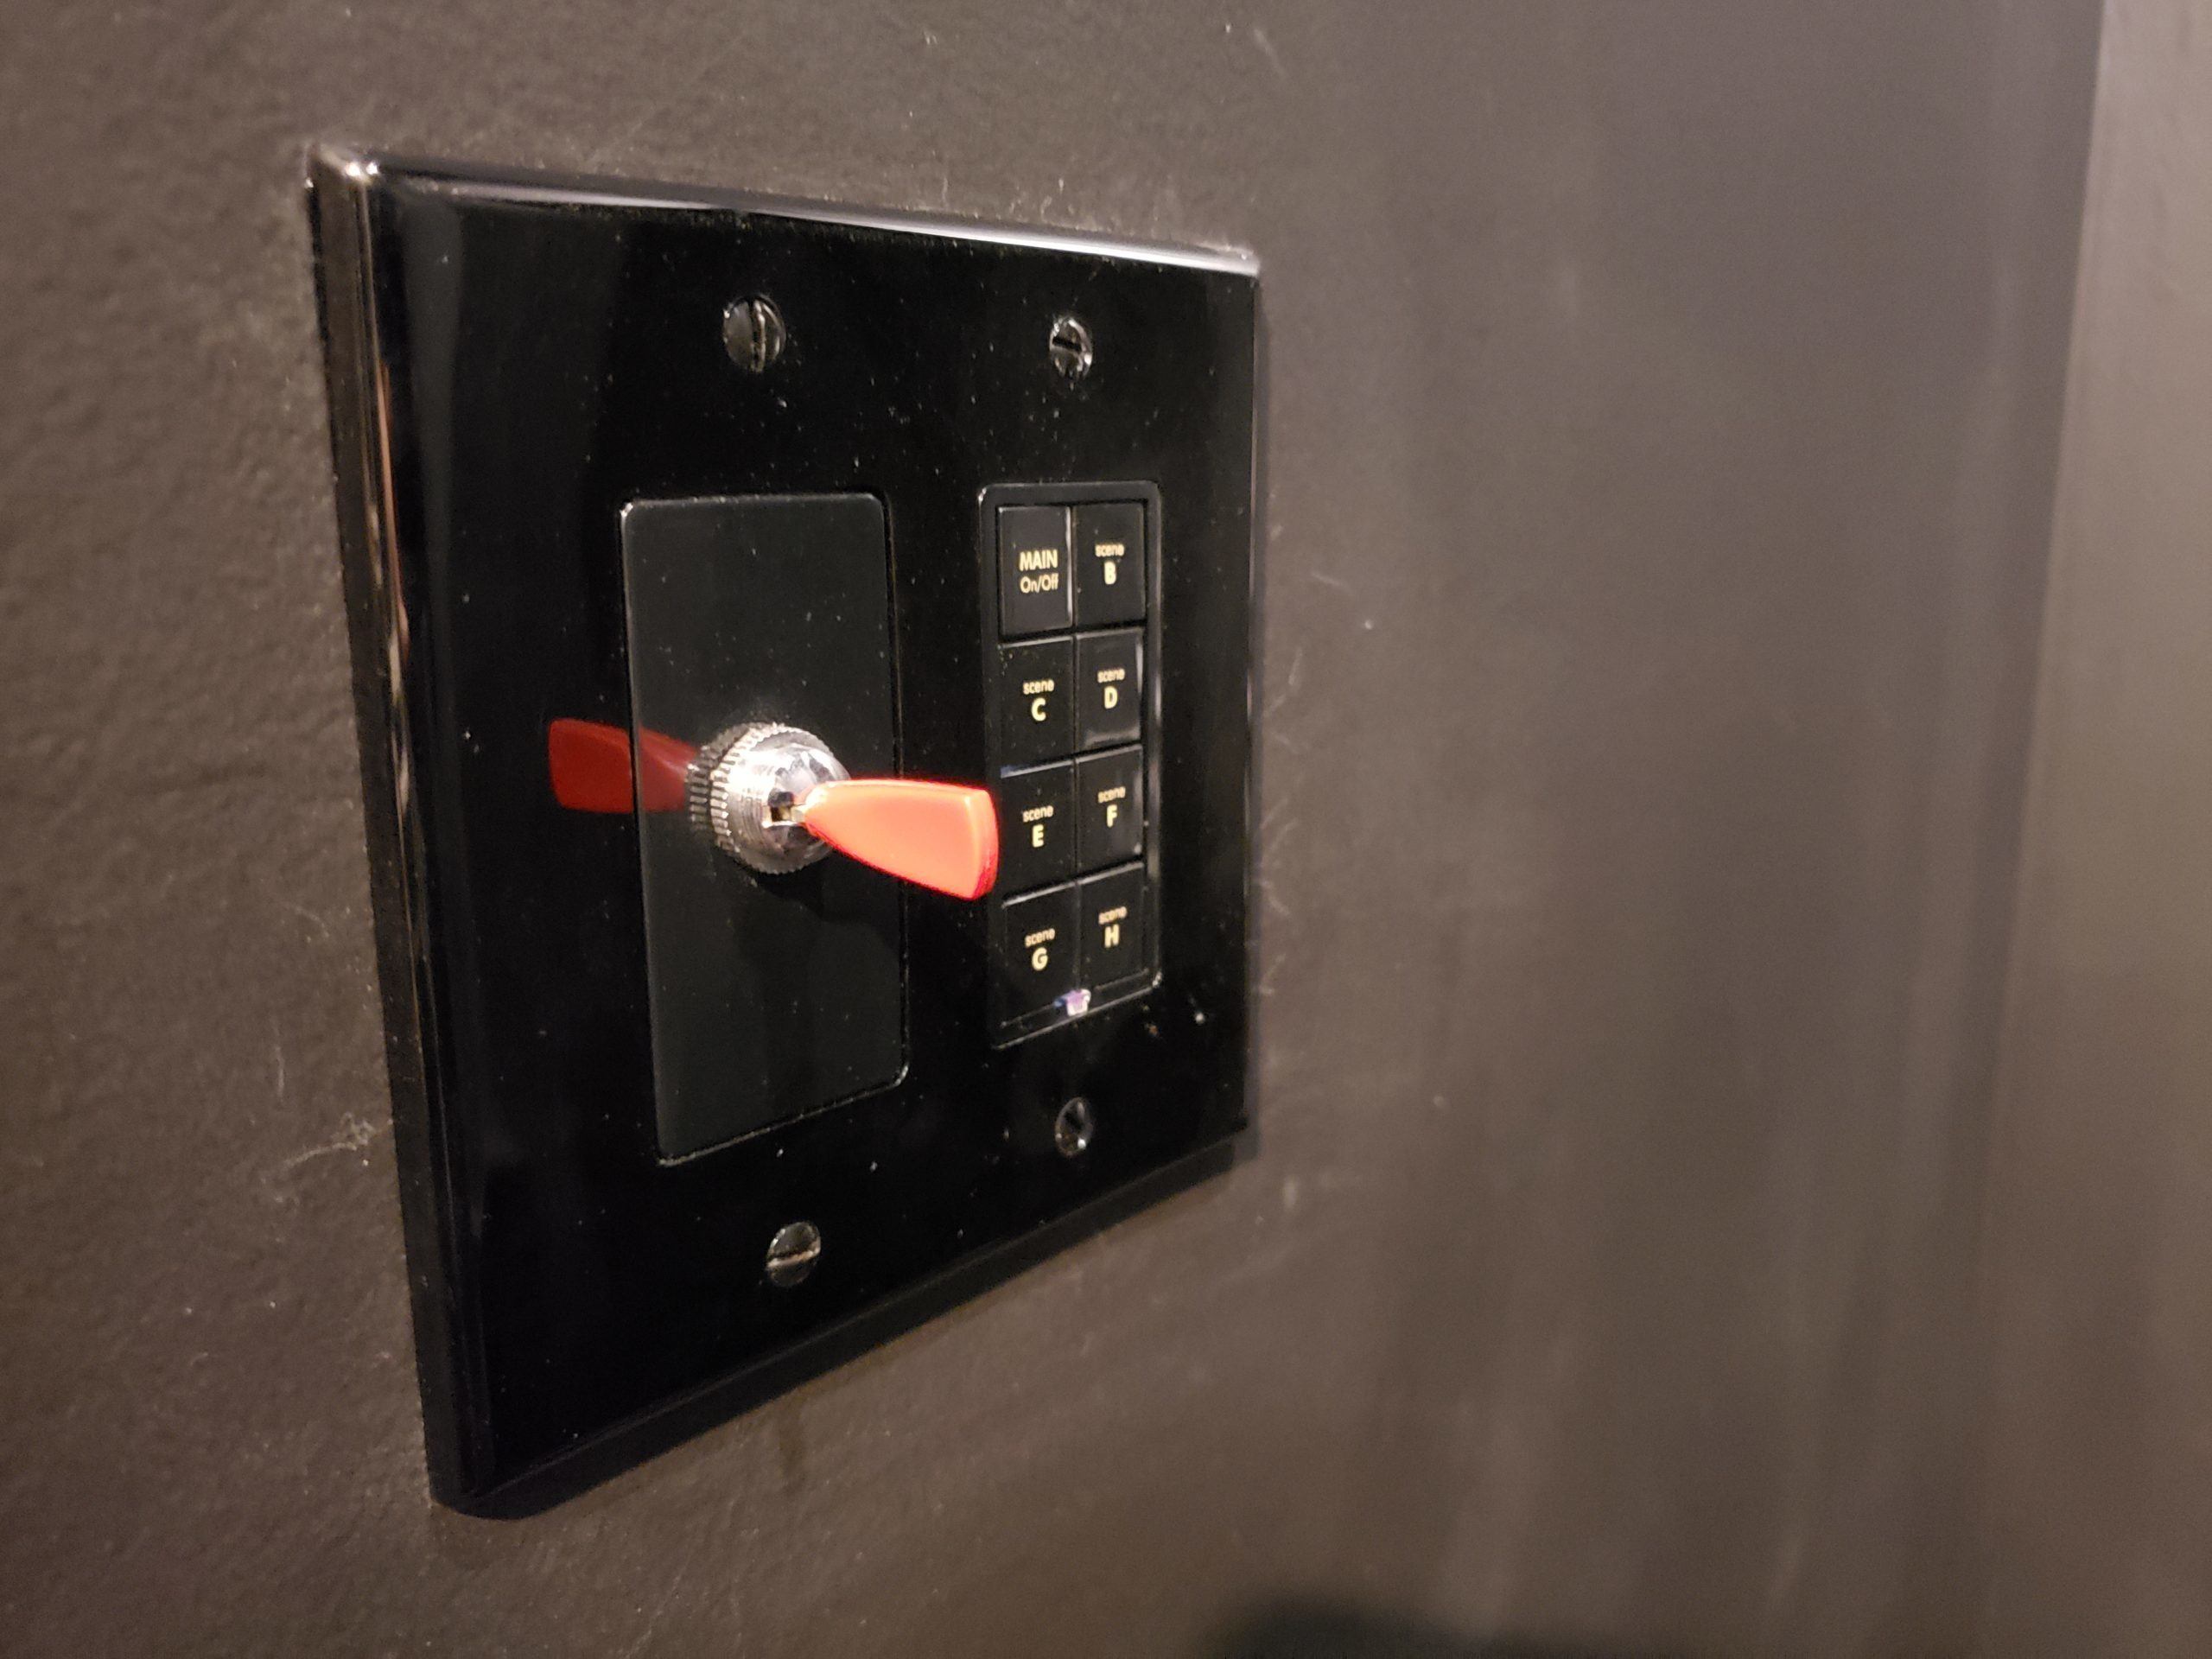
Finished Switch Wiring
Conclusion
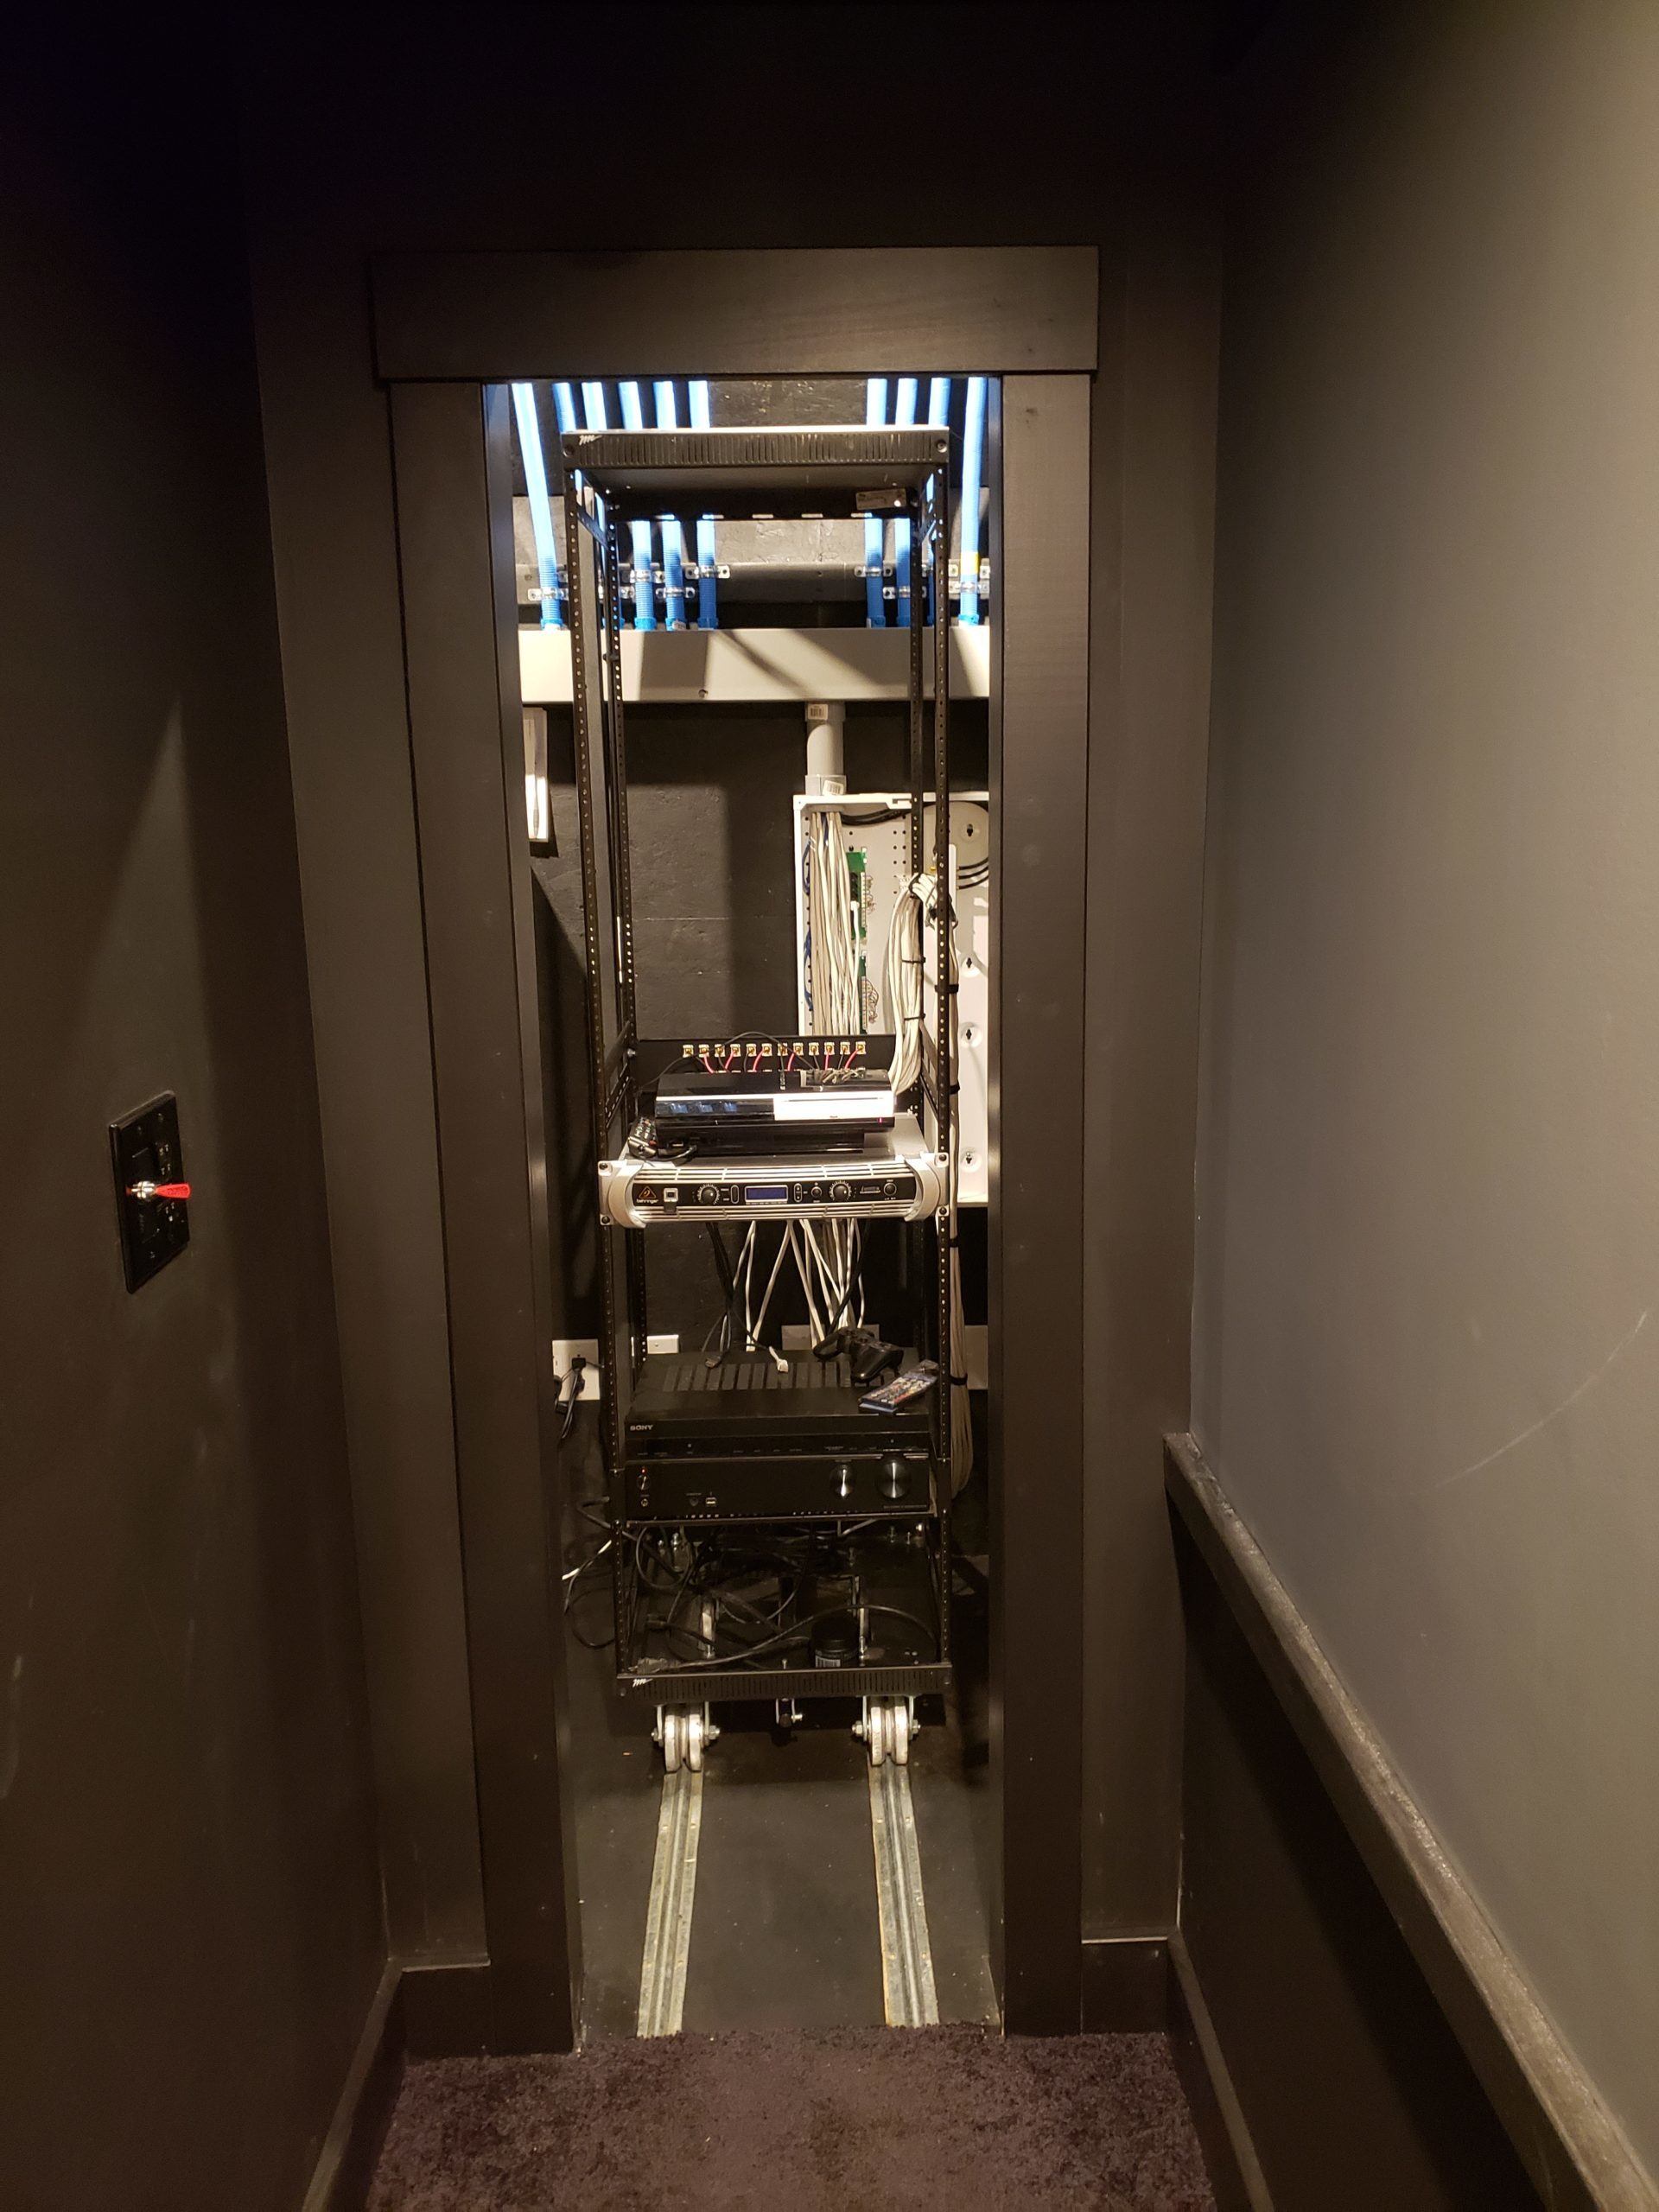
Fully Opened
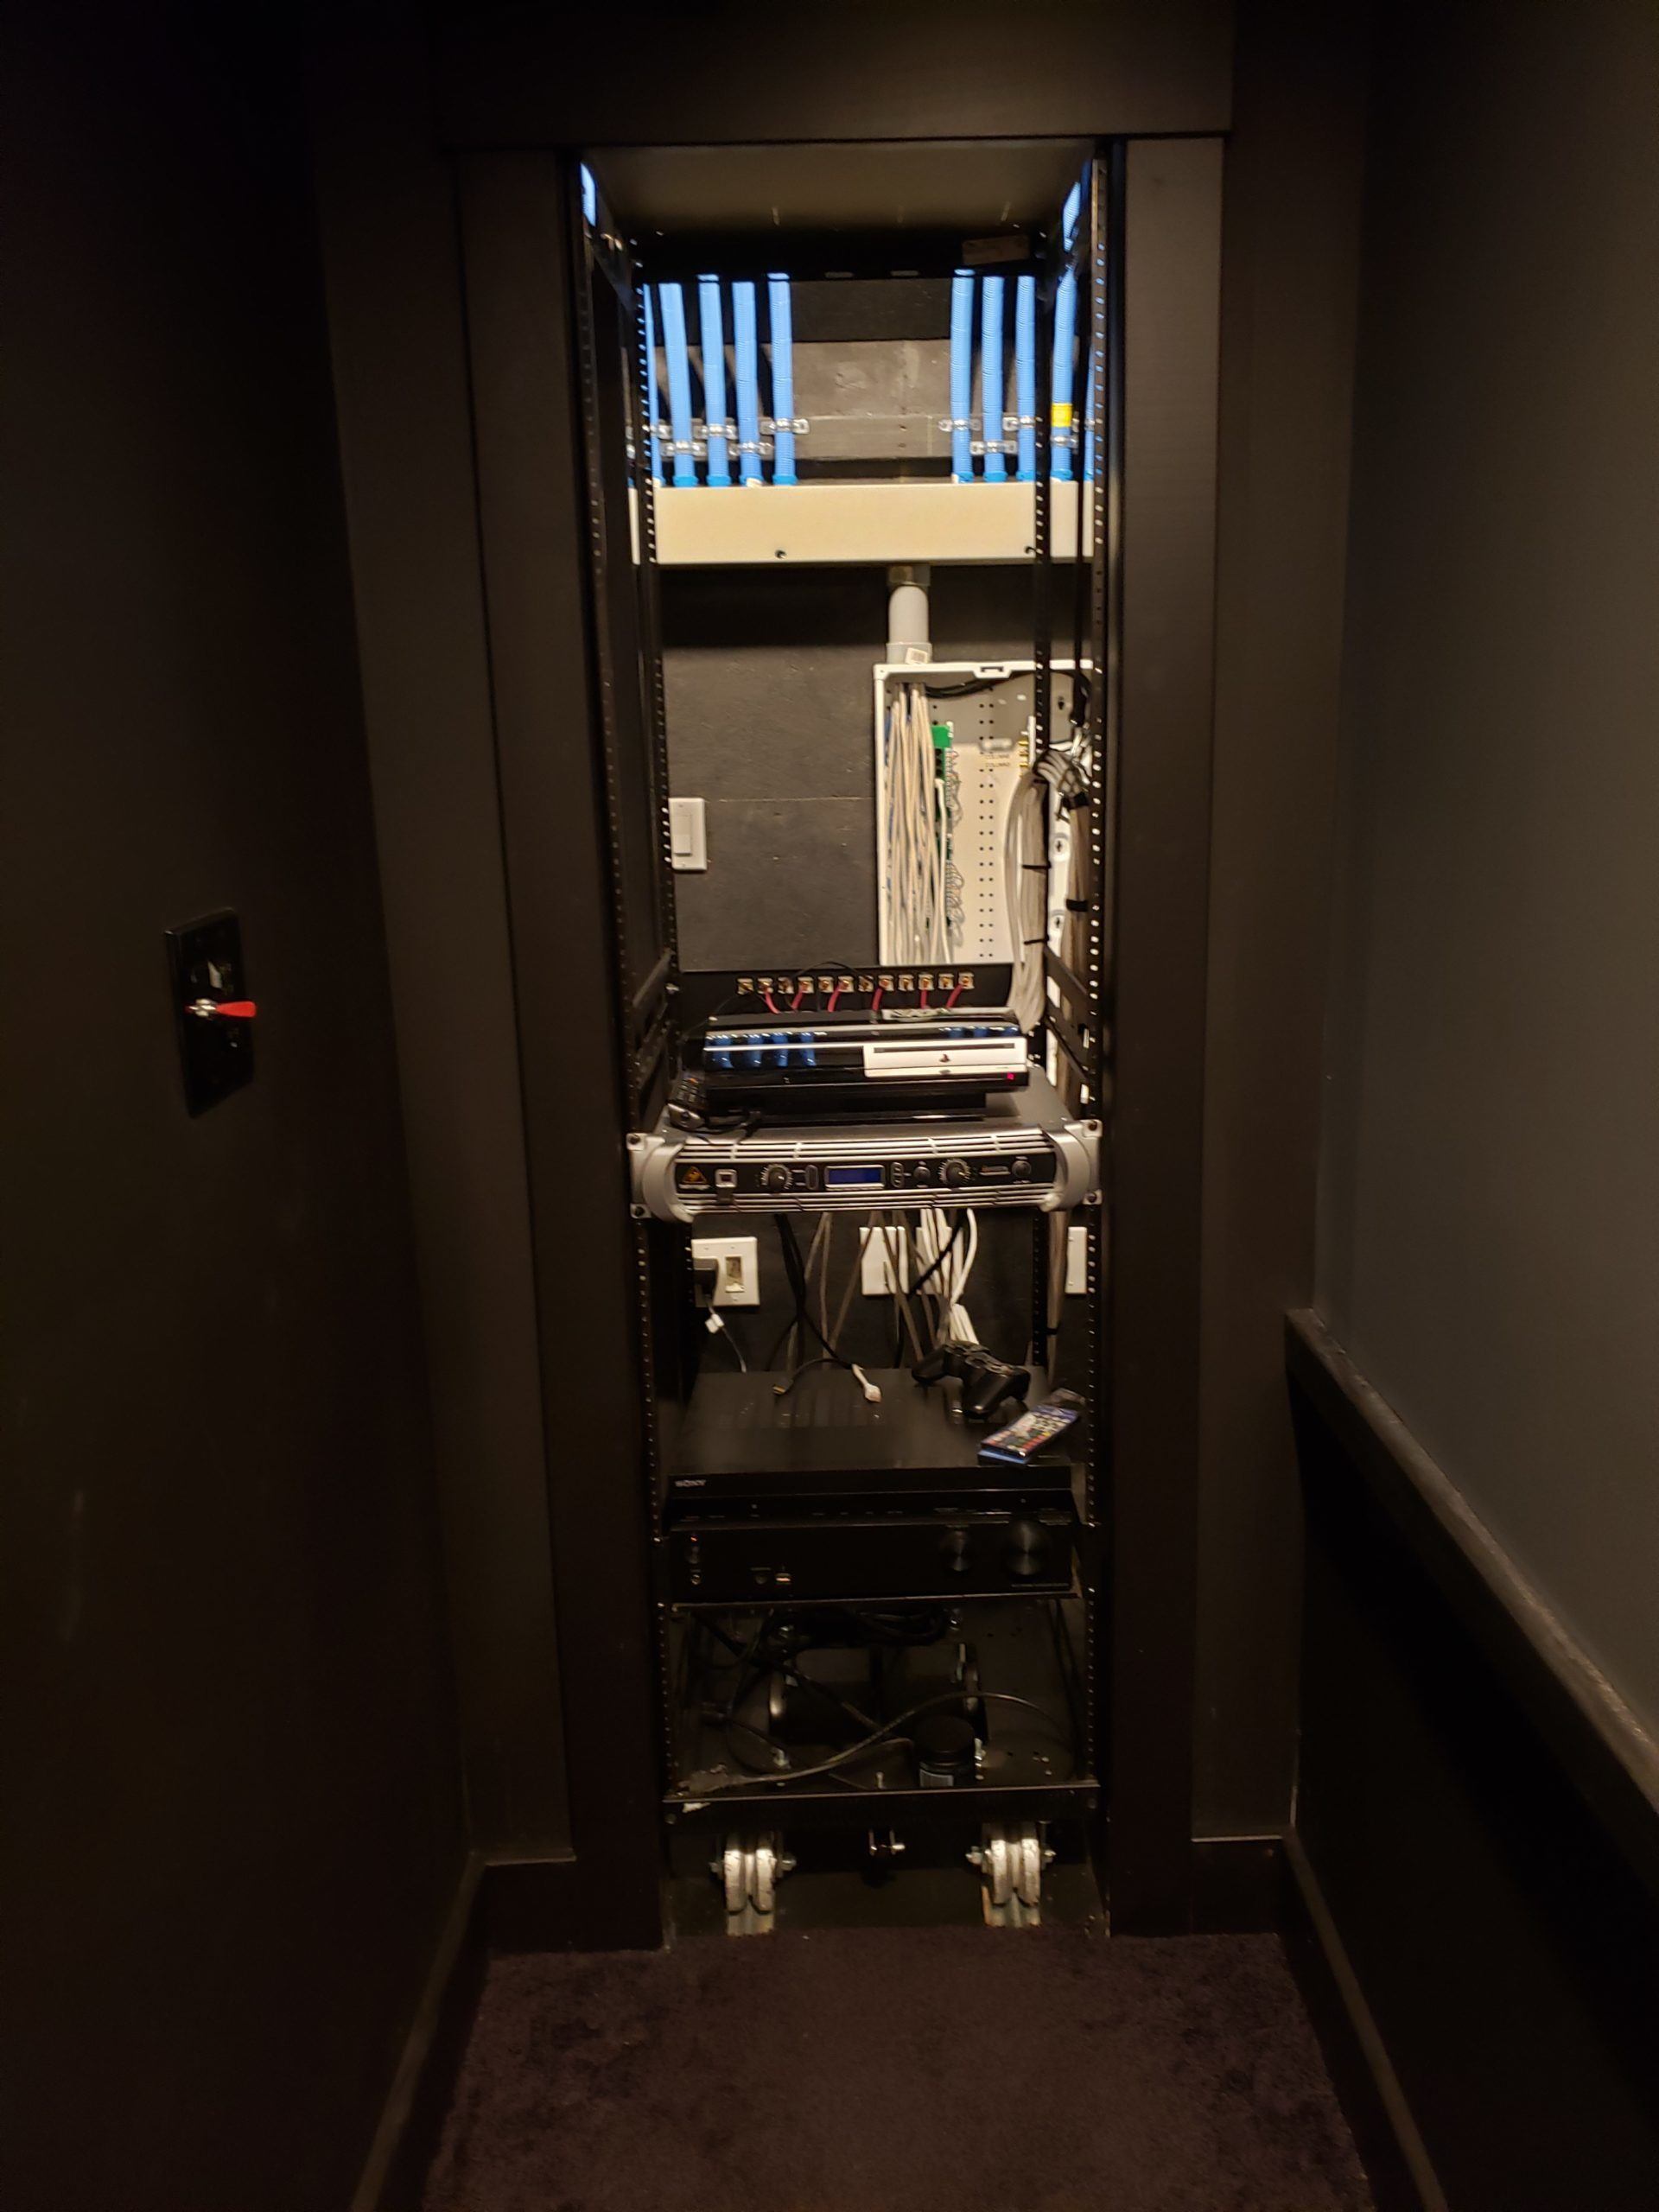
Fully Closed
This project was purely for fun and for the challenge, but it ads a unique element to the theater.
In the picture above you can see I used leftover rubber mats that I used on my front stage as flooring in the equipment room. I was able to fill it in around the rails for a finished look.
Home Theater Stage- Building on the Second Floor>>>
I still need to get all of my equipment installed and the rack blanks inserted. This will give it a much more finished look and make it much harder to tell that there is a room behind it.
I'm also going to be attaching trim to the bottom to cover the wheels.
I'll be sure to post an update once I have that done.

